Okay, friend, let’s be real. Feeding kids can sometimes feel like a high-stakes negotiation with tiny, adorable food critics, right? You’re there, trying to be a superhero, but they just want… well, they don’t even know what they want! But what if I told you there’s a way to win? A way to make their lunchbox *scream* ‘YUM!’ and maybe even get a hug? Enter: Cute Sandwiches!
Why This Recipe is Awesome
Why is this your new best friend in the kitchen? First off, it’s **blazingly fast**. Seriously, faster than trying to explain why broccoli is good for them. Second, it’s ridiculously versatile – like a culinary chameleon. And third, it’s virtually idiot-proof. Even if you usually burn water (no judgment!), you’ll nail these.
Plus, the look on a kid’s face when they see a star-shaped sandwich? Priceless. You’re basically a wizard. You’ll go from kitchen zombie to “Most Fun Human Ever” in about five minutes. Pretty sweet deal, huh?
Ingredients You’ll Need
Here’s what you’ll need for your culinary masterpiece. Don’t worry, it’s nothing wild.
- Soft bread: The squishier, the better. Think white, whole wheat, or even brioche if you’re feeling fancy (and brave enough to give a kid brioche).
- Your kid’s favorite sandwich filling: Peanut butter & jelly (classic!), cream cheese & cucumber, ham & cheese, tuna salad – you get the idea.
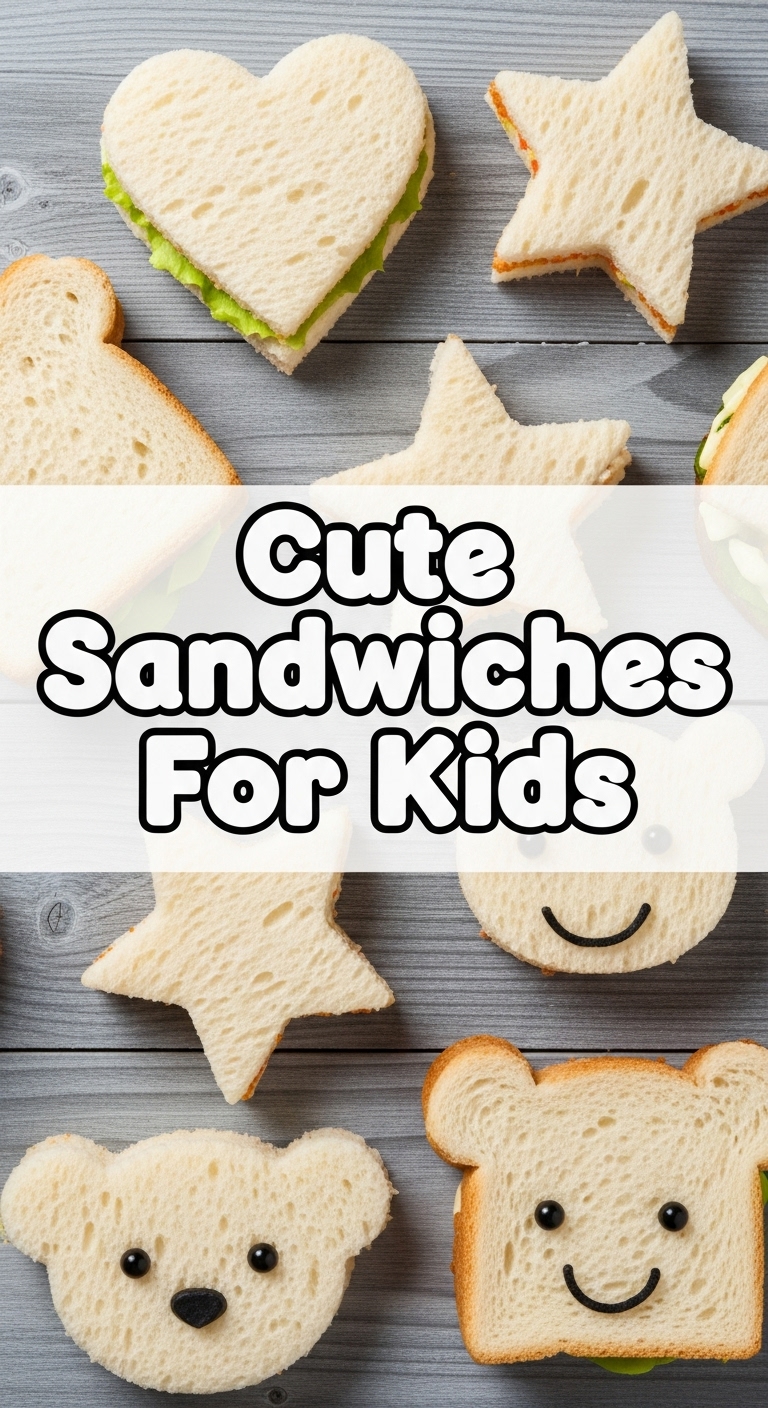
- Cookie cutters: The *real* magic makers! Stars, hearts, dinosaurs, whatever sparks joy.
- Edible embellishments (optional but highly recommended for cuteness overload):
- Veggie sticks: Carrot sticks, cucumber slices, bell pepper strips.
- Fruit slices: Apple, banana, berries.
- Raisins, chocolate chips, candy eyes: For making faces, obviously.
- Cream cheese or hummus: Great for ‘gluing’ little decorations on.
Step-by-Step Instructions
Ready? Let’s make some magic happen!
- Gather your goodies: Lay out your bread, fillings, and cookie cutters. This is where the fun begins, people!
- Prep your bread: If you want extra soft edges, lightly trim the crusts. **Pro tip:** Save those crusts for croutons or breadcrumbs! Waste not, want not.
- Spread the love: Apply your chosen filling evenly to one slice of bread. Don’t go too thick, or it’ll squish out the sides when you cut it. That’s a mess no one wants.
- Top it off: Place another slice of bread on top, making a classic sandwich. Congrats, you’ve made a basic sandwich! Now for the upgrade.
- Cut the cute: Firmly press your cookie cutter through both slices of bread. Give it a gentle wiggle if needed, then lift. Ta-da! Instant cuteness.
- Repeat & Re-purpose: Keep cutting until you’ve used up most of your sandwich. The leftover bread scraps are perfect for little snack bites or your own “chef’s treat.” No judgment here!
- Decorate (optional but encouraged): Use tiny pieces of fruit, veggies, or those candy eyes to make faces or patterns on your cute sandwiches. A dab of cream cheese works wonders as edible glue. Get creative!
- Serve with a flourish: Arrange them on a plate and watch those little eyes light up. You did it! Prepare for adoration.
Common Mistakes to Avoid
Even though this is pretty foolproof, there are a few rookie errors to sidestep. Don’t say I didn’t warn you!
- Overfilling: Thinking more is more, huh? Nope. Too much filling means squishy, messy edges and a sad-looking sandwich. Keep it moderate, friend. Less is often more with cute cuts.
- Using stale bread: This isn’t the time for that leftover loaf. **Soft bread is key** for clean, pretty cuts. Stale bread will just crumble and disappoint everyone involved.
- Not pressing firmly enough: You gotta commit! A wimpy press will result in half-cut shapes and frustration. Go for it, give that cutter a good push!
- Forgetting to have fun: This is supposed to be enjoyable! Don’t stress the crumbs. It’s about making smiles, not Michelin stars. Lighten up!
Alternatives & Substitutions
No problem if you need to tweak things. We’re all about flexibility here!
- Gluten-free bread? Absolutely! Just make sure it’s fresh and soft enough for cutting. Some GF breads can be a bit crumbly, so choose wisely.
- Nut allergy-friendly? Ditch the PB&J and go for sunflower seed butter (SunButter), cream cheese, hummus, or even a savory turkey and cheese combo. There are tons of safe and tasty options.
- No cookie cutters? Improvise! A knife can cut squares, triangles, or even freehand shapes. Or use the rim of a glass for a perfect circle. Don’t let a lack of tools stop your creativity!
- Want to sneak in veggies? Grate carrots or zucchini *super finely* into cream cheese or tuna salad. They’ll never know, and you’ll feel like a genius. It’s your little secret.
FAQ (Frequently Asked Questions)
Got questions? I’ve got answers (and maybe a little sass).
- Do I *really* need cookie cutters? Well, do you *need* extra joy in your life? Yes! But technically, no. A sharp knife works for basic shapes. But the cute factor skyrockets with cutters, just sayin’.
- Can I make these ahead of time? You can, but they’re best served fresh. If you must, make them 1-2 hours ahead, especially if using wet fillings like cucumber. **Store them in an airtight container** to prevent drying out.
- My kids don’t like crusts. What should I do with them? Great question! Turn them into mini croutons for soup, blend them into breadcrumbs, or honestly, just eat them yourself! They’re still bread, people!
- What if my kids only eat plain bread? Start small! Cut plain bread into cute shapes first. Then, maybe a tiny dot of cream cheese. It’s a journey, not a sprint. Patience, young Jedi.
- Can adults eat these? Um, is that even a question? Of course! Who says cute food is just for kids? These are perfect for brunch, parties, or when you just need a little pick-me-up. **Treat yo’ self!**
Final Thoughts
See? That wasn’t so scary, was it? You just made something adorable, delicious, and probably earned yourself some major parent/aunt/uncle/cool-friend points. Now go forth and spread the cute sandwich joy! You’re basically a culinary rockstar in a very specific, delightful niche. High five!


