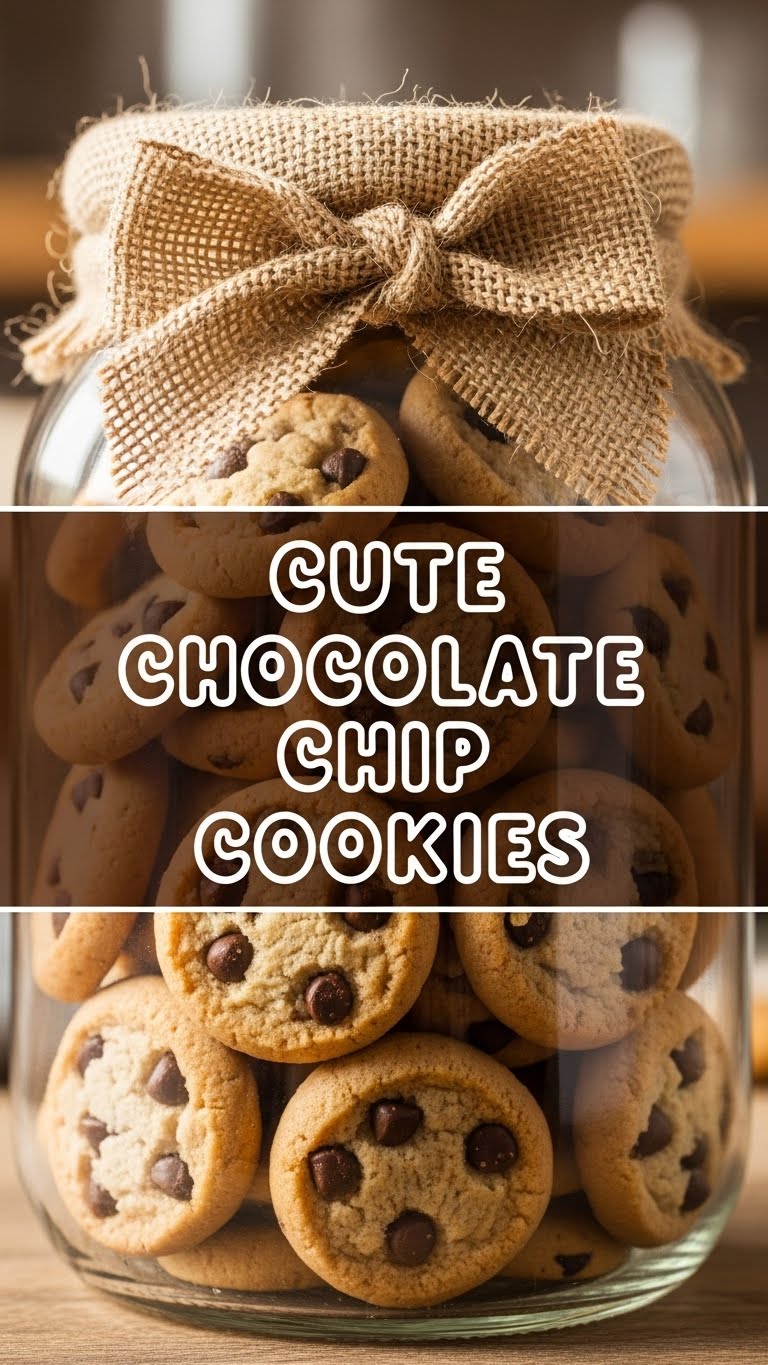
So you’re craving something warm, gooey, and just plain adorable, but you’re also maybe, just maybe, feeling a smidge lazy? Honey, same. Welcome to the club! Today, we’re not just making chocolate chip cookies; we’re crafting little bundles of joy, aka “Cute Chocolate Chip Cookies.” Get ready for smiles, deliciousness, and minimal kitchen drama. Because who needs drama when there’s chocolate involved?
Why This Recipe is Awesome
Okay, so why bother with *this* particular recipe when the internet is drowning in chocolate chip cookie recipes? Simple. This one is practically idiot-proof. Seriously, I’ve made it after a long day (and maybe a glass of wine), and it still turns out perfect. It’s fast, uses ingredients you probably already have, and results in cookies that are perfectly chewy, slightly crispy at the edges, and ridiculously cute. Plus, there’s something magical about biting into a cookie that looks like it belongs on a Pinterest board, right?
No fancy equipment, no overnight chilling required (unless you want to be extra, and we’ll get to that). It’s the kind of recipe that makes you look like a baking wizard without actually needing a wand. You’re welcome.
Ingredients You’ll Need
Gather your troops! Here’s what we need for our adorable cookie mission:
- 1/2 cup (113g) unsalted butter, softened: Not melted, not rock hard. Just soft enough to leave an indent if you poke it. This is key, my friend.
- 1/2 cup (100g) granulated sugar: For that classic sweetness.
- 1/4 cup (50g) packed light brown sugar: The secret to that lovely chewiness. Don’t skip it!
- 1 large egg: Room temperature if you’re feeling fancy, straight from the fridge if you’re like me.
- 1 teaspoon vanilla extract: The soul of the cookie. Use the good stuff!
- 1 1/4 cups (150g) all-purpose flour: No need for anything special here.
- 1/2 teaspoon baking soda: For a little lift. We don’t want flat cookies.
- 1/4 teaspoon salt: Balances the sweetness and makes the chocolate sing. Trust me, it makes a difference.
- 1 cup (180g) chocolate chips: Your choice! Semi-sweet, milk, dark – whatever makes your heart happy.
- Optional: Colorful sprinkles! Because “cute” isn’t cute enough without a little extra pizzazz.
Step-by-Step Instructions
- Preheat & Prep: First things first, crank that oven up to 375°F (190°C). Line a baking sheet (or two, if you’re batching it up) with parchment paper. This makes cleanup a breeze and prevents sticking.
- Cream the Dream Team: In a large bowl, combine your softened butter with both the granulated and brown sugars. Beat them together with an electric mixer (or a really strong arm) until they’re light and fluffy. This usually takes about 2-3 minutes.
- Egg-cellent Addition: Crack in your egg and add the vanilla extract. Beat until just combined. Don’t overmix here; we’re just getting everything friendly.
- Dry Goods Unite: In a separate, medium-sized bowl, whisk together your flour, baking soda, and salt. Give it a good whisk to ensure everything is evenly distributed.
- Combine & Conquer: Gradually add the dry ingredients to the wet ingredients, mixing on low speed until just combined. Stop mixing as soon as you see no more dry streaks of flour. Overmixing means tough cookies, and nobody wants that.
- Chocolate Chip Fiesta: Fold in those glorious chocolate chips (and sprinkles, if you’re going for maximum cute points!). Stir just until they’re evenly distributed throughout the dough.
- Scoop & Shape: Grab a tablespoon or a small cookie scoop (a 1.5-inch one works wonders for cute cookies). Drop rounded spoonfuls onto your prepared baking sheet, leaving about 2 inches between each cookie. These babies like their space!
- Bake ‘Em Up: Pop your baking sheet into the preheated oven for 8-10 minutes. You’re looking for edges that are lightly golden and centers that still look a tiny bit soft. That’s the secret to chewiness!
- Cool Down: Let the cookies cool on the baking sheet for about 5 minutes before transferring them to a wire rack to cool completely. Or, you know, eat one while it’s still warm and melty. I won’t tell.
Common Mistakes to Avoid
- Overmixing the Dough: I know, it’s tempting to keep going, but too much mixing develops the gluten, making your cookies tough. Mix until just combined, please!
- Using Melted Butter: Softened is not melted! Melted butter messes with the cookie’s structure, leading to flat, greasy cookies. Resist the microwave urge!
- Not Using Parchment Paper: Rookie mistake! Parchment paper prevents sticking and ensures even baking. Plus, easy cleanup, FYI.
- Overbaking: This is probably the most common cookie crime. Cookies continue to bake a little on the hot sheet after coming out of the oven. If they look perfectly done in the oven, they’re probably overbaked. Pull them out when the edges are set and lightly golden, but the centers still look soft.
- Eating All the Dough: Look, I get it. It’s delicious. But save some for the actual cookies!
Alternatives & Substitutions
Feeling adventurous? Here are some fun ways to switch things up:
- Chocolate Choices: Instead of regular chips, try white chocolate chunks, dark chocolate discs, or even chopped-up candy bars! M&Ms make for extra cute, colorful cookies, IMO.
- Flour Power: If you’re gluten-free, a good 1:1 gluten-free baking blend usually works wonders here. Just make sure it contains xanthan gum.
- Add-Ins Galore: Want more texture? Throw in a handful of chopped nuts (pecans or walnuts are great!), shredded coconut, or even a tablespoon of instant espresso powder for a mocha twist.
- Butter Swaps: While butter is king, you *can* use a dairy-free butter alternative if needed. The texture might vary slightly, but they’ll still be delicious.
FAQ (Frequently Asked Questions)
Got questions? I’ve got answers!
Can I use margarine instead of butter? Well, technically yes, but why hurt your soul like that? Butter provides superior flavor and texture. If you must, use a high-quality margarine, but be warned, the cookies might spread more or taste a bit different.
Do I *have* to chill the dough? For this recipe, nope! But if you want slightly thicker, chewier cookies that spread less, chilling the dough for 30 minutes to an hour can definitely improve their structure. It also intensifies the flavors. So, if you’ve got time, chill out!
My cookies spread too much! What happened? A few culprits: your butter might have been too soft (or melted!), your oven might not be at the correct temperature (a cheap oven thermometer is your friend!), or you might have used too much baking soda. Make sure your flour is measured correctly, too!
How do I make them extra cute? Sprinkles, my friend! Lots of them. You can also press a few extra chocolate chips on top of each dough ball right before baking for that picture-perfect look. Smaller scoops also make for daintier, “cuter” cookies.
How long do these cute cookies last? Honestly? Not very long in my house! But if you manage to resist, they’ll stay fresh in an airtight container at room temperature for about 3-5 days. They’re best on day 1 or 2, though.
Can I freeze the dough for later? Absolutely! Scoop the dough onto a parchment-lined tray and freeze until solid. Then transfer the frozen dough balls to a freezer-safe bag for up to 3 months. When cravings hit, just bake them from frozen, adding a couple of extra minutes to the baking time.
Final Thoughts
There you have it, your ticket to cookie stardom! These Cute Chocolate Chip Cookies are more than just a sweet treat; they’re a little dose of happiness you can whip up whenever you need it. They’re perfect for sharing with friends, impressing your family, or just treating yourself after a long week. So go forth, bake these beauties, and bask in the glory of your culinary prowess. You’ve earned it!


