So, you’re craving something warm, creamy, and utterly delightful but can’t be bothered to bake a whole cake that will sit there judging you from the counter all week? And definitely not enough to share with anyone who might “pop by”? My friend, you’ve come to the right place. We’re talking about a luscious, individual-sized custard for two. Because sometimes, self-care means not sharing… or at least, only sharing with *one* other very lucky soul.
Why This Recipe is Awesome
Okay, let’s be real. This recipe is awesome because it’s basically idiot-proof. No, seriously. If you can stir and measure, you can make this. It’s so simple, my cat watched me do it and even *he* looked impressed (though he mostly just wanted to lick the cream residue). It requires minimal ingredients, minimal effort, and delivers maximum “I’m a fancy chef who totally knows what I’m doing” vibes. Plus, it bakes up in small portions, so no leftovers to tempt you into a sugar coma for days. Unless you make two for yourself, which, hey, no judgment here.
Ingredients You’ll Need
Gather your edible treasures, my culinary comrade! For two perfectly individual custards, you’ll need:
- 2 large egg yolks: These are the golden heart of your custard. Don’t throw away the whites! Save ’em for an omelet tomorrow or a meringue if you’re feeling ambitious (or just toss ’em, we’re not here to judge).
- 1 cup whole milk: Full fat, baby! This is for decadence. Don’t skimp unless you absolutely have to. We’re making custard, not diet water.
- 1/4 cup granulated sugar: Sweetness is key. If you’ve had a rough day, a *tiny* extra sprinkle won’t hurt.
- 1/2 teaspoon vanilla extract: Go for the real stuff. It makes all the difference, trust me. No artificial vanilla essence crimes in this kitchen, please.
- A tiny pinch of salt: Sounds weird, I know, but it brightens all the other flavors. It’s like magic, seriously.
- A tiny sprinkle of nutmeg (optional): For that classic, cozy custard finish. Or don’t, if nutmeg isn’t your jam. You do you.
Step-by-Step Instructions
Let’s get cooking! This is where you transform simple ingredients into edible gold. Follow these steps, and you’ll be a custard champion in no time:
- First things first: Preheat your oven to 325°F (160°C). And grab two small ramekins (about 4-6 oz each). If you don’t have ramekins, any small, oven-safe bowls will work.
- In a medium bowl, whisk together your egg yolks, sugar, and the pinch of salt until the mixture is pale yellow and slightly thickened. You want it nice and homogenous, like you mean business.
- Gently heat the milk in a small saucepan over medium-low heat until it’s steamy, but not boiling. You’ll see tiny bubbles around the edges. Don’t let it boil! Scrambled custard is not the goal.
- Now for the “tempering” part: Slowly, and I mean SLOWLY, drizzle about half of the hot milk into the egg yolk mixture while whisking constantly. This is crucial for preventing your eggs from cooking too quickly and turning into scrambled eggs. Think of it as introducing them gently.
- Once half the milk is incorporated, pour the tempered egg mixture back into the saucepan with the remaining hot milk. Stir it all together, then add your vanilla extract. Give it another good stir.
- Carefully pour the custard mixture into your prepared ramekins. You can place the ramekins in a larger baking dish if you want to be extra fancy and do a water bath (which helps them cook more evenly), but for a quick two-person job, it’s often fine without.
- Bake for 25-30 minutes, or until the edges are set and the center has a slight jiggle. A knife inserted near the center should come out clean.
- Remove from the oven, let them cool on a wire rack, and then chill them in the refrigerator for at least 2 hours. This is essential for setting the custard properly and getting that perfect creamy texture. A sprinkle of nutmeg before chilling adds a nice touch!
Common Mistakes to Avoid
Nobody’s perfect, but we can try to avoid these rookie errors, right?
- Boiling the Milk: Seriously, this is a one-way ticket to scrambled egg custard land. Keep it steamy, not bubbly.
- Not Tempering the Eggs: Dumping hot milk directly into cold eggs is like throwing them into a sauna unprepared. They’ll seize up. Always introduce them gradually!
- Overbaking: If you bake it too long, your custard will become tough and rubbery. Keep an eye on that jiggle!
- Skipping the Chill Time: Impatience is not a virtue here. Custard needs its beauty sleep to set up properly. Don’t rush it!
- Eating Both Yourself: Okay, fine, not a mistake. More of a personal choice. But *technically* it’s for two. FYI.
Alternatives & Substitutions
Feeling a little rebellious? Here are some ways to shake things up:
- Milk Alternatives: You can absolutely use half-and-half for an even richer custard, or even heavy cream (hello, pure decadence!). For dairy-free, oat milk or almond milk can work, but the custard might be a little less thick and creamy. Stick to full-fat versions for best results.
- Flavor Boosts: Swap out some vanilla for a lemon zest (about half a teaspoon) for a bright, zesty custard. A pinch of cinnamon or cardamom can also add a warm, exotic touch. Or, for chocolate lovers, melt in a tablespoon of cocoa powder with the milk!
- Sweeteners: Honey or maple syrup can replace granulated sugar, but adjust the amount to taste, as they’re often sweeter. Also, liquid sweeteners can subtly change the texture, so keep that in mind.
FAQ (Frequently Asked Questions)
- Can I use whole eggs instead of just yolks?
Technically, yes, you *could*, but why would you want to dilute that glorious richness? Yolks give you that silky, luxurious texture. Whole eggs will yield a lighter, more solid custard, closer to flan. IMO, yolks are the way to go here.
- Do I really need to chill them for 2 hours?
Oh, absolutely. Skipping the chill time is like trying to eat warm ice cream—it’s just not the same. It needs that time to firm up and reach its peak creamy potential. Patience, young padawan.
- What if I don’t have ramekins?
No sweat! Any small, oven-safe ceramic or glass bowls (like those little oven-safe soup crocks or even sturdy coffee mugs) will work. Just make sure they can handle the heat.
- How long do these custards last in the fridge?
If they somehow manage to survive that long, they’ll be good for about 3-4 days, covered tightly. But honestly, they rarely make it past day two in my house.
- Can I make a larger batch?
Of course! Just scale up the ingredients proportionally. Remember, bigger batches might need a slightly longer baking time, so keep an eye on that jiggle.
- My custard looks a bit watery or lumpy. What happened?
Watery usually means it needed more chilling or was slightly underbaked. Lumpy likely means the eggs weren’t tempered correctly or the milk was too hot and cooked them too fast. Don’t worry, practice makes perfect!
Final Thoughts
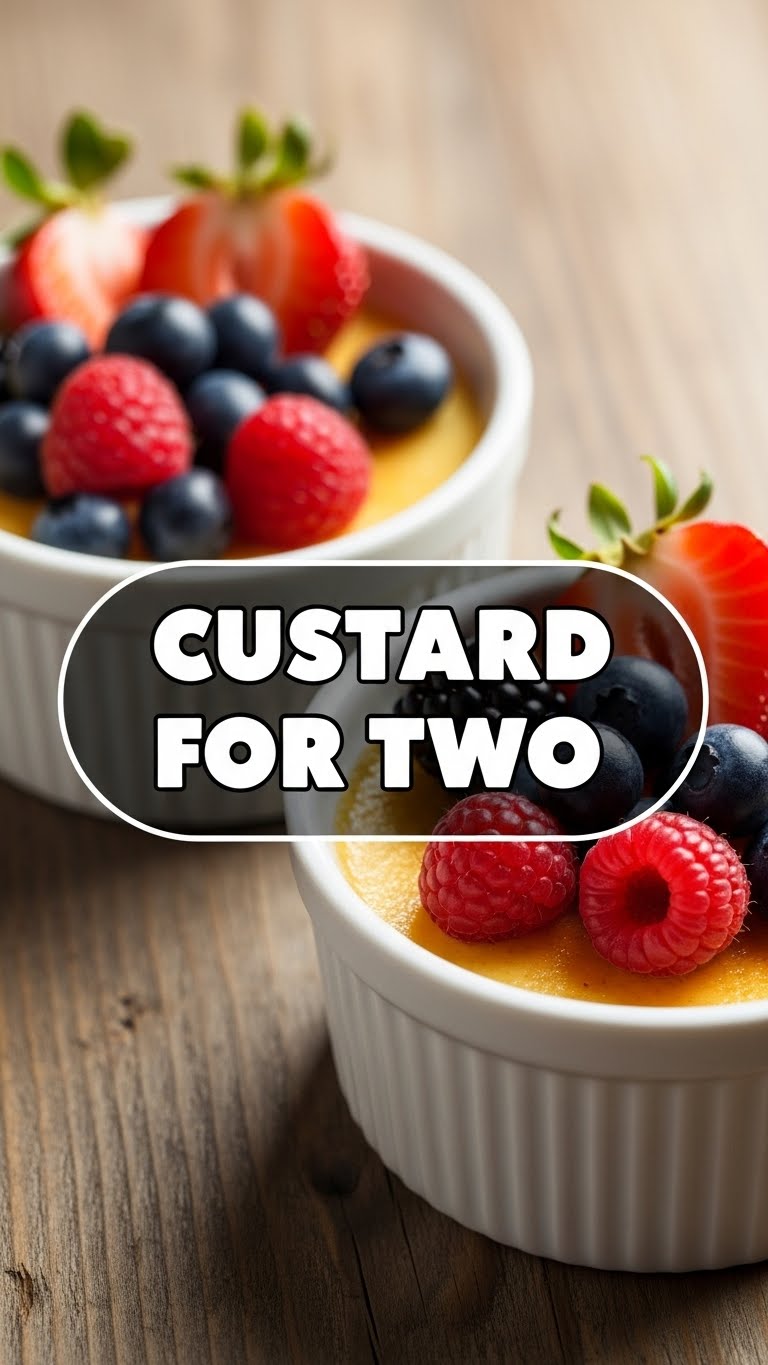
See? I told you it was easy peasy. You’ve just whipped up a delightful, sophisticated dessert with minimal fuss. Now go forth, conquer your sweet tooth, and maybe even impress someone special (or just yourself, because you’re pretty special too). Serve it plain, or with a few fresh berries, a dollop of whipped cream, or a drizzle of caramel sauce if you’re feeling extra. You’ve earned this little moment of creamy bliss. Enjoy!


