Okay, so Thanksgiving is basically a feast for grown-ups, right? All that fancy turkey, gravy, and… pumpkin pie. Meanwhile, the kids are looking at you like, “Where’s the fun stuff?!” Well, friend, I got you. We’re talking cupcakes! Specifically, super fun, kid-friendly Thanksgiving cupcakes that the little turkeys (and you!) will actually *want* to gobble up. Forget the pie drama; let’s get baking!
Why This Recipe is Awesome
Because, let’s be honest, adult-sized desserts can be a bit much for tiny hands. This recipe? It’s like the superhero of holiday baking: simple, satisfying, and seriously adorable. It’s idiot-proof, even I didn’t mess it up – and that’s saying something! You get individual portions, meaning no awkward pie-slicing moments, and everyone gets their own little festive treat. Plus, it’s a fantastic way to get the kids involved without them destroying your entire kitchen (mostly). And if you happen to sneak one or two for yourself? Your secret’s safe with me. 😉
Ingredients You’ll Need
Gather ’round, my culinary adventurer! Here’s what you’ll need for these bite-sized bundles of joy:
- 1 ½ cups All-Purpose Flour: The unsung hero of baked goods, obvs.
- 1 ½ teaspoons Baking Powder: Your cupcake’s personal lift instructor.
- ½ teaspoon Salt: Because every sweet treat needs a little savory sass.
- ½ cup (1 stick) Unsalted Butter: Softened, please! The real stuff, because life’s too short for margarine disappointment.
- 1 cup Granulated Sugar: Aka happiness dust.
- 2 Large Eggs: Room temp, if you can remember to take them out. If not, don’t sweat it too much.
- 1 teaspoon Vanilla Extract: Don’t skimp here; it’s the soul of the cupcake!
- ½ cup Whole Milk: Or whatever milk you have on hand.
- For Frosting: Your favorite vanilla buttercream (store-bought is totally fine, no judgment!), or cream cheese frosting if you’re feeling fancy.
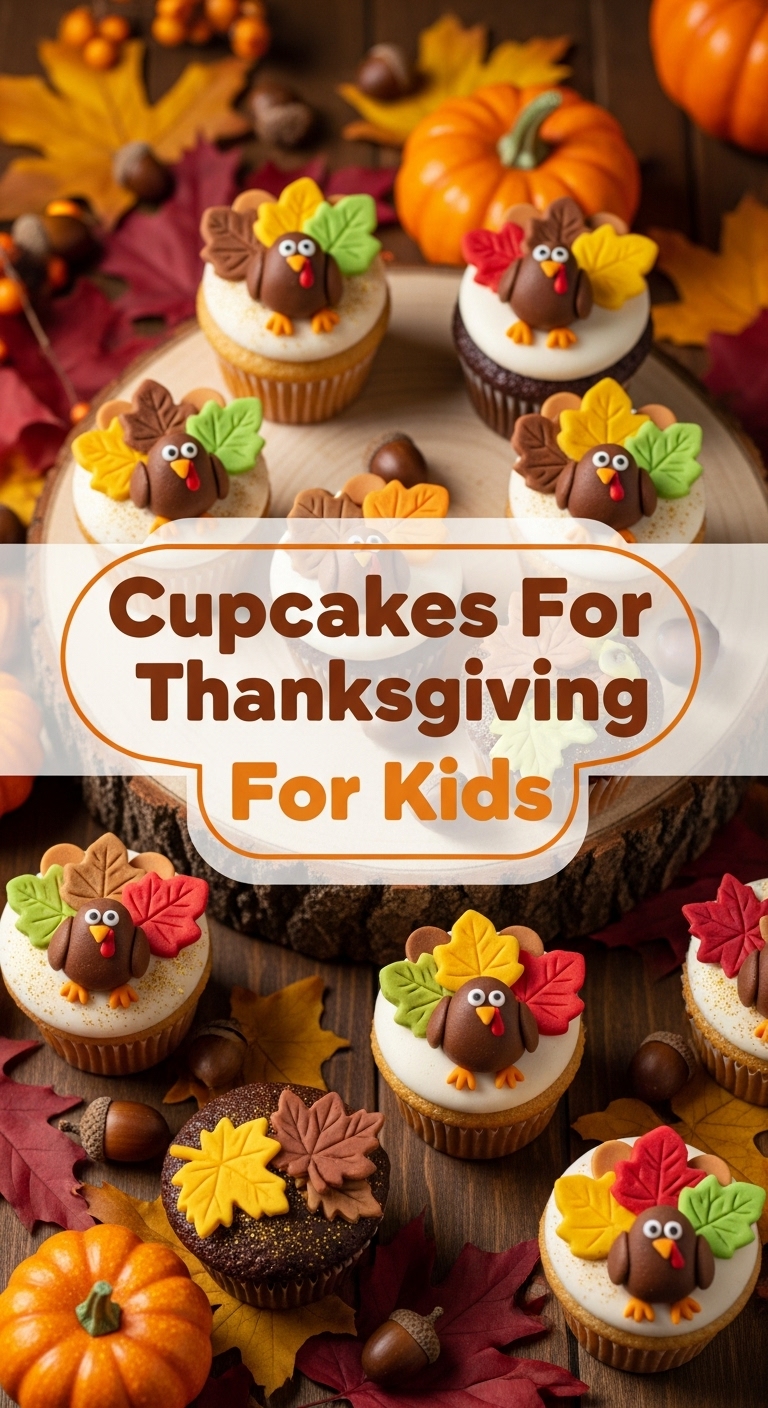
- For Decorating: Fall-themed sprinkles, candy corn, mini chocolate chips, maybe some orange and brown food coloring for the frosting.
Step-by-Step Instructions
- Preheat & Prep: First things first, get that oven humming to 350°F (175°C). Line a 12-cup muffin tin with paper liners. Don’t skip this, unless you enjoy scraping baked goods later.
- Dry Mix Magic: In a medium bowl, whisk together the flour, baking powder, and salt. Just a quick swirl to combine. Set aside.
- Wet Mix Whiz: In a larger bowl, using an electric mixer (or a strong arm!), cream together the softened butter and granulated sugar until it’s light and fluffy. This usually takes about 2-3 minutes.
- Egg-cellent Addition: Beat in the eggs, one at a time, making sure each one is fully incorporated before adding the next. Then, stir in that glorious vanilla extract.
- Combine & Conquer: Now for the fun part! Gradually add the dry ingredients to the wet ingredients, alternating with the milk. Start with about a third of the flour mixture, mix until just combined, then add half the milk, mix, then another third of the flour, the rest of the milk, and finish with the last of the flour. Do not overmix! A few lumps are okay; tough cupcakes are not.
- Fill ‘Em Up: Divide the batter evenly among the prepared cupcake liners, filling each about two-thirds full. This is crucial for nicely domed tops, not overflowing messes.
- Bake Time Bliss: Pop that tin into your preheated oven and bake for 18-22 minutes, or until a wooden skewer inserted into the center of a cupcake comes out clean.
- Cool Down Crew: Let the cupcakes cool in the muffin tin for about 5 minutes before transferring them to a wire rack to cool completely. Patience, young Jedi, patience!
- Frost & Feast: Once they’re completely cool (this is important, folks!), frost them with your chosen frosting and let the kids go wild with the sprinkles and candy.
Common Mistakes to Avoid
Listen, we all make mistakes. But these ones? Try to dodge ’em for cupcake perfection!
- Not preheating the oven: Rookie mistake! Your cupcakes need a hot start to rise properly. Otherwise, you’re aiming for sad, dense pucks.
- Overmixing the batter: This is a biggie. Overmixing develops the gluten too much, leading to tough, chewy cupcakes. Mix until *just* combined, then stop. Seriously.
- Overfilling the liners: Resist the urge to cram too much batter in there. Two-thirds full is the sweet spot; any more and you’ll have muffin tops that spill over everywhere.
- Opening the oven door too early: Curiosity killed the cupcake! Keep that door shut, especially in the first 15 minutes, or your cupcakes might sink.
- Frosting warm cupcakes: Unless you enjoy soupy, runny frosting, wait until they are completely, utterly, stone-cold cool. This is non-negotiable!
Alternatives & Substitutions
Feeling adventurous? Or just realized you’re missing an ingredient? No stress, I got you!
- Milk Swap: Out of whole milk? Almond milk, soy milk, or even buttermilk (reduce baking powder slightly if using buttermilk) will work. Just promise me you won’t try to substitute it with something questionable like… sadness. *Kidding!* (mostly).
- Butter Blip: You *can* use vegetable oil instead of butter for a slightly moister (but less flavorful) cupcake. Use the same quantity.
- Gluten-Free Goals: Swap out the all-purpose flour for a 1:1 gluten-free baking blend. FYI, the texture might be slightly different, but still delish.
- Thanksgiving Twist: Want to lean into the holiday more? Add ½ teaspoon of cinnamon, ¼ teaspoon of nutmeg, and a pinch of ground cloves to your dry ingredients for a spiced cupcake. Or, add about ½ cup of pumpkin puree to the wet ingredients for pumpkin cupcakes!
- Frosting Fun: Don’t want to make frosting? Store-bought is your best friend. For a lighter touch, whipped cream is always a hit, though it needs to be served immediately.
FAQ (Frequently Asked Questions)
Got questions? I probably do too, but here are some common ones that actually have answers!
Can I make these ahead of time? Absolutely! Bake the cupcakes, let them cool completely, and store them unfrosted in an airtight container at room temperature for up to 2 days, or in the freezer for a month. Frost them closer to serving time!
My cupcakes sunk in the middle! What gives? Ah, the dreaded cupcake crater! Usually, this means you either opened the oven door too early (curiosity killed the cupcake!), your baking powder might be past its prime, or you overmixed. Check those expiration dates, my friend!
Can kids really help with this recipe? Oh, heck yes! They can whisk dry ingredients, add sprinkles (their favorite part, IMO), and maybe even help with frosting if you’re brave. Just manage expectations on tidiness.
What if I don’t have a stand mixer? No worries! A hand mixer works just fine, or even a good old whisk and some elbow grease for the wet ingredients. You’ll get a good arm workout!
Can I use margarine instead of butter? Well, technically yes, but why hurt your soul like that? Butter is flavor, friend. Embrace it! But in a pinch, margarine can work, though the flavor and texture will be slightly different.
How do I store leftovers? Pop any leftover frosted cupcakes into an airtight container. They’ll stay fresh at room temperature for 1-2 days, or in the fridge for up to 4 days (especially if you used cream cheese frosting).
Final Thoughts
So there you have it! A super simple, ridiculously fun recipe to make your Thanksgiving a little sweeter for the tiny humans (and let’s be real, for you too). It’s a low-stress way to bring some festive cheer and a much-needed break from the seriousness of the main meal. Go forth and conquer those cupcake cravings! You’ve earned it, superstar!


