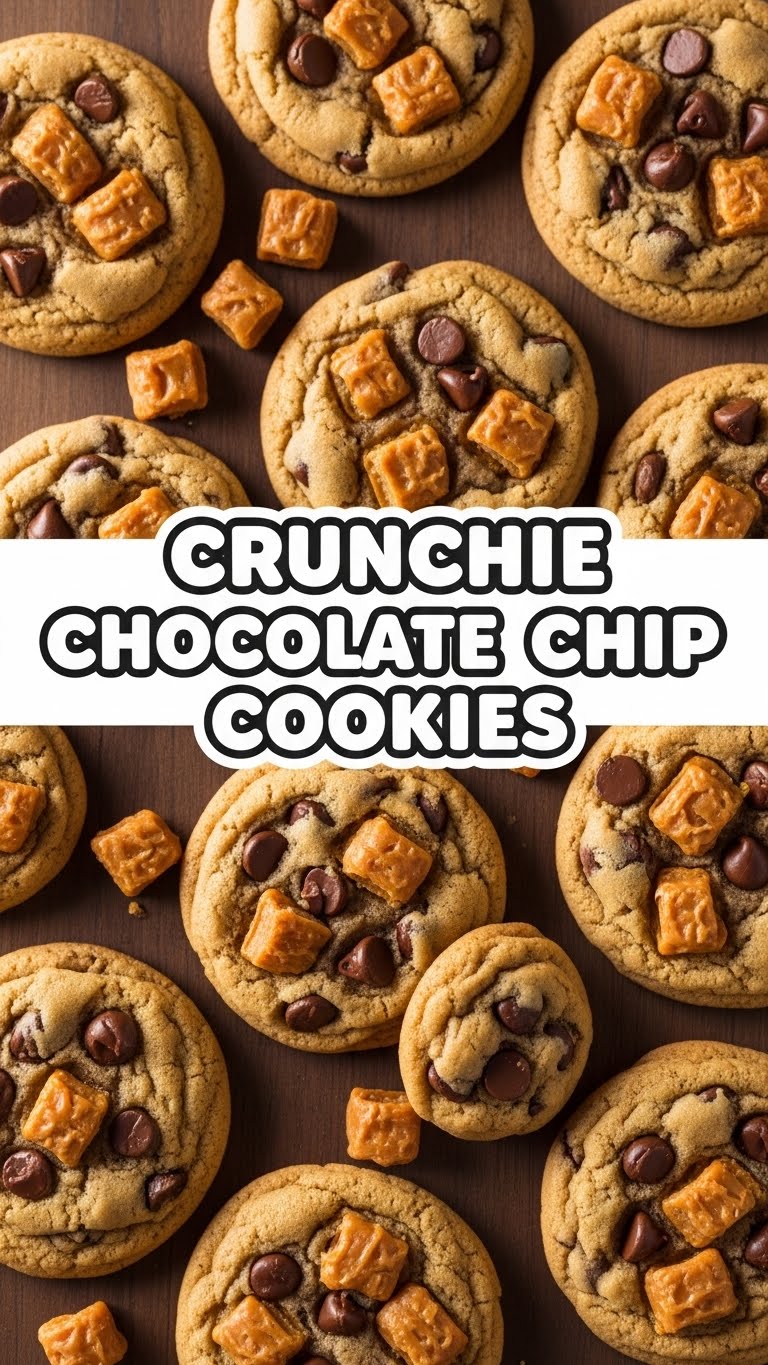
So, you’re staring into the abyss of your snack cupboard, dreaming of something epic but also… incredibly easy, right? Like, “can I make this while simultaneously binging Netflix and maybe napping?” kinda easy. My friend, you’ve come to the right place. Because today, we’re making Crunchie Chocolate Chip Cookies, and trust me, they’re basically pure joy in cookie form, without the actual effort of, you know, *effort*. We’re talking golden, chewy perfection studded with glorious chocolate and chunks of your fave honeycomb candy. Prepare for your tastebuds to do a happy dance.
Why These Cookies Are Your New Best Friend (and Why I Didn’t Screw Them Up)
Okay, let’s be real. There are approximately one zillion chocolate chip cookie recipes out there. So, why *this* one? Because it’s literally idiot-proof. I made them, and I once burnt water. Seriously. This recipe is your ticket to looking like a baking guru without actually *being* one. It’s quick, it’s ridiculously forgiving, and the addition of Crunchie bars? Game. Changer. We’re talking next-level texture and a little bit of honeyed magic that elevates your basic choc-chip to “OMG, what is this sorcery?” status. Plus, they disappear fast, which means fewer leftovers to tempt you. Win-win, IMO.
Stuff You Need to Raid Your Pantry For (No Ancient Sacrifices Required)
- Unsalted Butter (1 cup / 2 sticks), softened: Please, for the love of all that is holy, take it out of the fridge an hour before. Or microwave it for precisely 8 seconds. Don’t melt it!
- Granulated Sugar (½ cup): The sweet stuff. Nothing fancy.
- Light Brown Sugar (1 ½ cups), packed: This is key for that chewy texture. Don’t skip it, unless you want crumbly sadness.
- Large Eggs (2): Room temperature if you’re feeling fancy, straight from the fridge if you’re like me and remember last minute.
- Vanilla Extract (2 teaspoons): Don’t skimp. Good vanilla makes happy cookies.
- All-Purpose Flour (2 ¼ cups): Your basic baking buddy.
- Baking Soda (1 teaspoon): Gives them that perfect lift without making them cakey.
- Salt (½ teaspoon): Balances the sweetness. Don’t forget it, seriously.
- Chocolate Chips (1 cup): Your choice! Milk, semi-sweet, dark… go wild. Or mix ’em up!
- Crunchie Bars (2-3 bars, about 100-150g total), roughly chopped: The star of the show! Or, as I like to call them, crispy, honeycombed nuggets of joy.
Let’s Get This Cookie Party Started (No Fancy Moves Needed)
- Preheat & Prep: Crank your oven to 375°F (190°C). Line two baking sheets with parchment paper. Trust me, parchment paper is your friend.
- Cream the Buttery Goodness: In a large bowl, or your stand mixer (if you’re fancy), beat together the softened butter, granulated sugar, and brown sugar until it’s light and fluffy. This usually takes about 2-3 minutes. Don’t rush it!
- Egg-cellent Addition: Crack in your eggs, one at a time, beating well after each addition. Stir in the vanilla extract. Scrape down the sides of the bowl to make sure everything’s incorporated.
- Dry Mix Magic: In a separate bowl, whisk together the flour, baking soda, and salt. Then, gradually add this dry mixture to your wet ingredients, mixing on low speed until *just* combined. Do not overmix! We’re making cookies, not brick.
- Fold in the Fun: Gently fold in your chocolate chips and those glorious chopped Crunchie pieces. Try not to eat all the Crunchie bits before they make it into the dough. It’s tough, I know.
- Scoop & Bake: Drop rounded tablespoons of dough onto your prepared baking sheets, leaving about 2 inches between them. These babies need room to spread their wings (and deliciousness).
- Bake ‘Em Up: Bake for 9-11 minutes, or until the edges are golden brown and the centers are still looking slightly soft. Don’t overbake, or you’ll lose that chewy goodness!
- Cool Down (if you can wait): Let them cool on the baking sheets for a few minutes before transferring them to a wire rack to cool completely. Or, you know, eat one hot. I won’t tell.
Oopsie-Daisy Moments (How Not to Ruin Perfectly Good Cookies)
- Melting the Butter: Softened is key, folks. Melted butter makes flat, greasy cookies. Don’t do it.
- Overmixing the Dough: Once the flour goes in, mix only until combined. Overmixing develops the gluten too much, leading to tough cookies. Nobody wants a tough cookie.
- Skipping Parchment Paper: You *can* grease the pan, but then you’re stuck scrubbing. Parchment paper is literally a non-stick superhero. Use it.
- Crowding the Baking Sheet: Give your cookies space! They spread. If they touch, you get one giant cookie blob. Delicious, but not what we’re aiming for.
- Not Chilling the Dough (Optional but helpful): If your kitchen is warm or you want thicker cookies, a 30-minute chill in the fridge can save the day. It also lets the flavors meld, FYI.
Mix It Up! (Because Variety is the Spice of Life, Even for Cookies)
Feeling adventurous? Or just missing an ingredient? No worries, I got you!
- No Crunchie? No Problem! You could use other chocolate bars (Daim bars for toffee crunch, Twirl for extra chocolatey swirls), pretzels for a salty crunch, or even toasted nuts for a different kind of texture. Get creative!
- Butter Swap? While butter is king here, if you’re in a pinch, you *could* use half butter, half shortening for a slightly softer cookie. Margarine? Well, technically yes, but why hurt your soul like that? Butter is better, trust me.
- Chocolate Chip Chaos: Don’t limit yourself to just one type! White chocolate chips, dark chocolate chunks, peanut butter chips… go wild! A mix is often the best.
- Flavor Boosters: A pinch of cinnamon, a dash of almond extract (reduce vanilla if you do!), or even a sprinkle of sea salt on top before baking can take these to another level.
Burning Questions (and My Highly Unprofessional Answers)
- Can I make the dough ahead of time? Heck yes! This dough loves a good snooze in the fridge for up to 3 days. The flavors deepen, and the cookies often turn out thicker and chewier. Win-win!
- My cookies are flat. What gives? Usually, it’s melted butter, not enough flour (did you measure correctly?), or your oven isn’t hot enough. Also, a warm dough can spread more. Try chilling it next time!
- Can I freeze these cookies? Absolutely! You can freeze the baked cookies (once cooled) in an airtight container for up to 3 months. Or, even better, freeze individual dough balls! Pop ’em in the oven straight from the freezer, adding a couple of extra minutes to the bake time. Instant gratification later!
- Do I really *need* both types of sugar? For the best results, yes. Granulated sugar provides crispness, while brown sugar adds moisture, chewiness, and that lovely molasses flavor. Trust the process!
- My Crunchie bits melted away! Help! Sometimes the honeycomb can get a little melty. To minimize this, you can chill your chopped Crunchie pieces before adding them to the dough, or even gently press some extra pieces into the tops of the dough balls right before baking.
You Did It! Now Go Brag (or Just Eat Them All)
Seriously, look at you! You just whipped up a batch of glorious, crunchy, chewy, chocolatey perfection. These Crunchie Chocolate Chip Cookies are proof that you don’t need a culinary degree to create something utterly delicious. Go on, take a bow. Or, more importantly, take another cookie. Now go impress someone—or yourself—with your new culinary skills. You’ve earned it!


