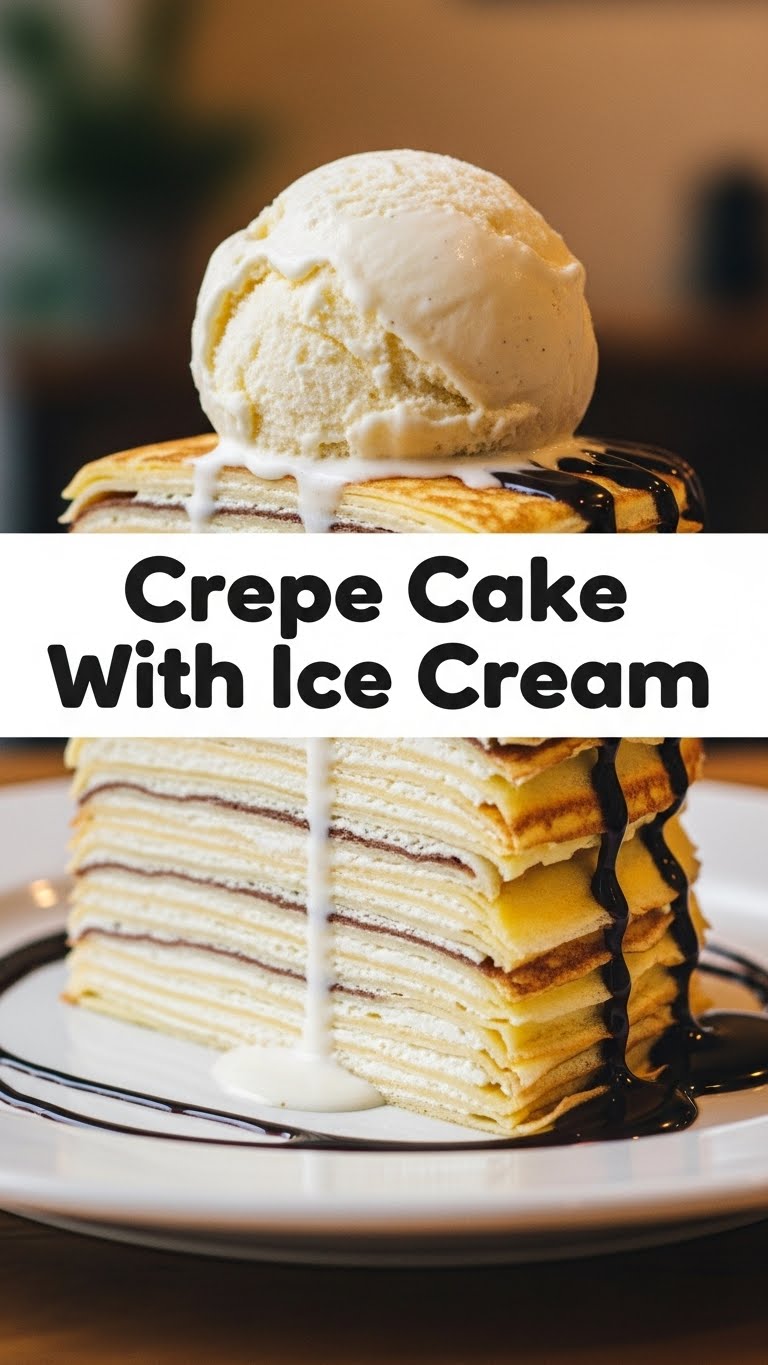
So, you’re looking for something that screams “I’m a culinary genius!” but actually just whispers “I found a really smart hack on the internet,” right? Good, because same. We’re diving headfirst into the glorious world of Crepe Cake With Ice Cream. It’s elegant, it’s delicious, and honestly, it’s not nearly as intimidating as it sounds. Think of it as a fancy stack of pancakes that got a glow-up and decided to go to a much classier party. And, bonus: ice cream!
Why This Recipe is Awesome
Let’s be real, who doesn’t love a dessert that looks like you spent hours slaving away, but in reality, you were probably binging Netflix while flipping crepes? This crepe cake is your new best friend, your culinary alibi. It’s **idiot-proof** (and trust me, if I can do it, anyone can). It allows for maximum creativity with fillings, and when you slice into that beautiful stack, people will gasp. A *good* gasp, not the “oh god, what did you just make” kind. Plus, adding ice cream turns it from “delicious” to “mind-blowingly epic.”
Ingredients You’ll Need
Gather your troops! Here’s what you’ll need to make this masterpiece. Don’t worry, it’s mostly pantry staples.
- For the Crepes:
- 1 ½ cups All-Purpose Flour: The backbone of our operation. Don’t get fancy with whole wheat here, unless you’re trying to be healthy (and let’s be real, we’re making a crepe cake).
- 2 large Eggs: For binding and structure. You can’t make an omelet without breaking a few, and you can’t make crepes without cracking these beauties.
- 2 cups Milk: Whole milk is your best bet for richness, but hey, if you’re a rebel, go plant-based. I won’t tell.
- ¼ cup Melted Butter: Unsalted, please! Or salted, if you like a little zing. Up to you, chef.
- 2 tbsp Granulated Sugar: Just a touch of sweetness for those lovely crepes.
- ½ tsp Vanilla Extract: Because everything is better with vanilla, IMO.
- Pinch of Salt: Balances everything out. It’s science!
- For the Filling & Assembly:
- 2 cups Heavy Cream: The good stuff. We’re whipping this into a cloud of joy.
- ¼ cup Powdered Sugar: For sweetening that cream.
- 1 tsp Vanilla Extract: More vanilla, because why not?
- Your Favorite Ice Cream: This is where the magic happens. Vanilla, chocolate, strawberry swirl – whatever floats your boat!
- Optional toppings: Fresh berries, chocolate sauce, caramel, sprinkles, whatever makes your heart sing.
Step-by-Step Instructions
Alright, apron on (or not, if you like living dangerously), let’s do this!
- Whisk Away the Batter: In a large bowl, whisk together the flour, sugar, and salt. In a separate bowl, whisk the eggs, milk, melted butter, and vanilla extract. Now, slowly pour the wet ingredients into the dry, whisking until smooth. **Don’t overmix!** Lumps are fine, they’ll sort themselves out.
- Let it Chill (Literally): Cover the bowl and pop the batter in the fridge for at least 30 minutes. This lets the gluten relax and ensures super tender crepes. **This step is crucial**, don’t skip it!
- Crepe Time!: Heat an 8-inch non-stick pan or crepe maker over medium heat. Lightly grease it with butter or oil. Pour about ¼ cup of batter into the center, swirling immediately to cover the bottom evenly. Cook for 1-2 minutes until the edges are golden and start to lift.
- Flip It Real Good: Carefully loosen the crepe with a spatula and flip it. Cook for another 30 seconds to a minute on the other side. Transfer to a plate and repeat with the remaining batter, stacking them as you go. You should get about 15-20 crepes. Let them cool completely.
- Whip the Cream: In a cold bowl, whip the heavy cream, powdered sugar, and vanilla extract with an electric mixer until medium-stiff peaks form. This is your dreamy, creamy filling.
- Assemble Your Masterpiece: Lay one crepe on your serving plate. Spread a thin layer of whipped cream evenly over it. Repeat, stacking crepes and cream, until you run out of crepes or get your desired height.
- Chill Out: Once stacked, chill the crepe cake in the fridge for at least 1-2 hours. This helps it set and makes for cleaner slices.
- Serve with a Scoop (or three!): When ready to serve, slice a piece of your glorious crepe cake and serve it with a generous scoop (or two!) of your favorite ice cream. Drizzle with chocolate or caramel if you’re feeling extra fancy.
Common Mistakes to Avoid
We’ve all been there. Learn from my past kitchen mishaps:
- Impatience is Not a Virtue: Trying to flip the crepe too soon. It will tear, it will make you sad. **Wait until the edges curl and the surface looks set!**
- Overmixing the Batter: Hello, rubbery crepes! We want tender, delicate crepes, so whisk until just combined. A few lumps are okay.
- Not Chilling the Batter: Skipping this step means your crepes might be tough or tear easily. It’s like sending a warrior into battle without their armor. Bad idea.
- Greasing the Pan Too Much: You only need a *very* light coating of butter or oil for each crepe, not a swimming pool. Too much grease equals greasy crepes. Gross.
- Forgetting the Ice Cream: Seriously, what are we even doing here if you forget the ice cream? It’s literally in the name of the recipe!
Alternatives & Substitutions
Feeling adventurous? Or maybe you just ran out of something key? I got you.
- Flour Power: While all-purpose is classic, you can experiment with gluten-free flour blends. Just make sure it’s a 1:1 substitute.
- Milk It: Any milk works, really. Almond, oat, soy – they’ll all give a slightly different flavor profile, but the crepes will still be delicious.
- Flavor Boost: Add a tablespoon of cocoa powder to your crepe batter for chocolate crepes! Or a teaspoon of cinnamon for a spiced twist.
- Creamy Dreamy Fillings: Instead of plain whipped cream, try a lemon curd, Nutella, or a cream cheese frosting. The possibilities are endless!
- Ice Cream Extravaganza: Don’t limit yourself to just one flavor! Serve with a trio of mini scoops for a gourmet feel. Or, try sorbet for a lighter, fruitier option.
FAQ (Frequently Asked Questions)
- Can I make the crepes ahead of time? Oh, absolutely! In fact, I highly recommend it. Stack them with parchment paper in between, wrap them tightly, and refrigerate for up to 3 days. Your future self will thank you.
- My first crepe always looks terrible, what gives? Welcome to the club! The first crepe is always a “tester crepe” or, as I like to call it, a sacrifice to the crepe gods. The pan usually needs to regulate its temperature. Don’t stress, just eat it.
- Do I really need to chill the batter? Yes, yes, a thousand times yes! It lets the flour hydrate fully, making for more tender, less fragile crepes. **FYI:** It’s non-negotiable for best results.
- How do I get my crepes perfectly round? Practice makes perfect! But a good non-stick pan and a quick, confident swirl of the batter are your best friends. Don’t be afraid to gently tilt the pan.
- How long does the crepe cake last? If kept refrigerated, it’ll last about 2-3 days. Though, honestly, mine never makes it past 24 hours.
- Can I add liquor to the filling? You’re speaking my language! A splash of Grand Marnier or a coffee liqueur in your whipped cream would be divine. Just a splash though, we don’t want it too runny.
Final Thoughts
There you have it, folks! Your new favorite dessert that looks like a million bucks but doesn’t require a culinary degree. This crepe cake with ice cream is perfect for impressing guests, indulging yourself, or just proving to your cat that you *can* make something pretty. So go on, conquer those crepes, whip that cream, and get ready to enjoy pure bliss. You’ve earned it!


