So, you’re scrolling through social media, seeing all those impossibly perfect dessert photos and thinking, “Ugh, I wish I could make something that fancy without setting my kitchen on fire.” Am I right? Well, today’s your lucky day, because we’re about to dive into the magical world of Crème Brûlée with a zesty little orange twist. And no, you don’t need to be a Michelin-star chef. Just a human with a sweet tooth and a tiny bit of patience. Let’s do this!
Why This Recipe is Awesome
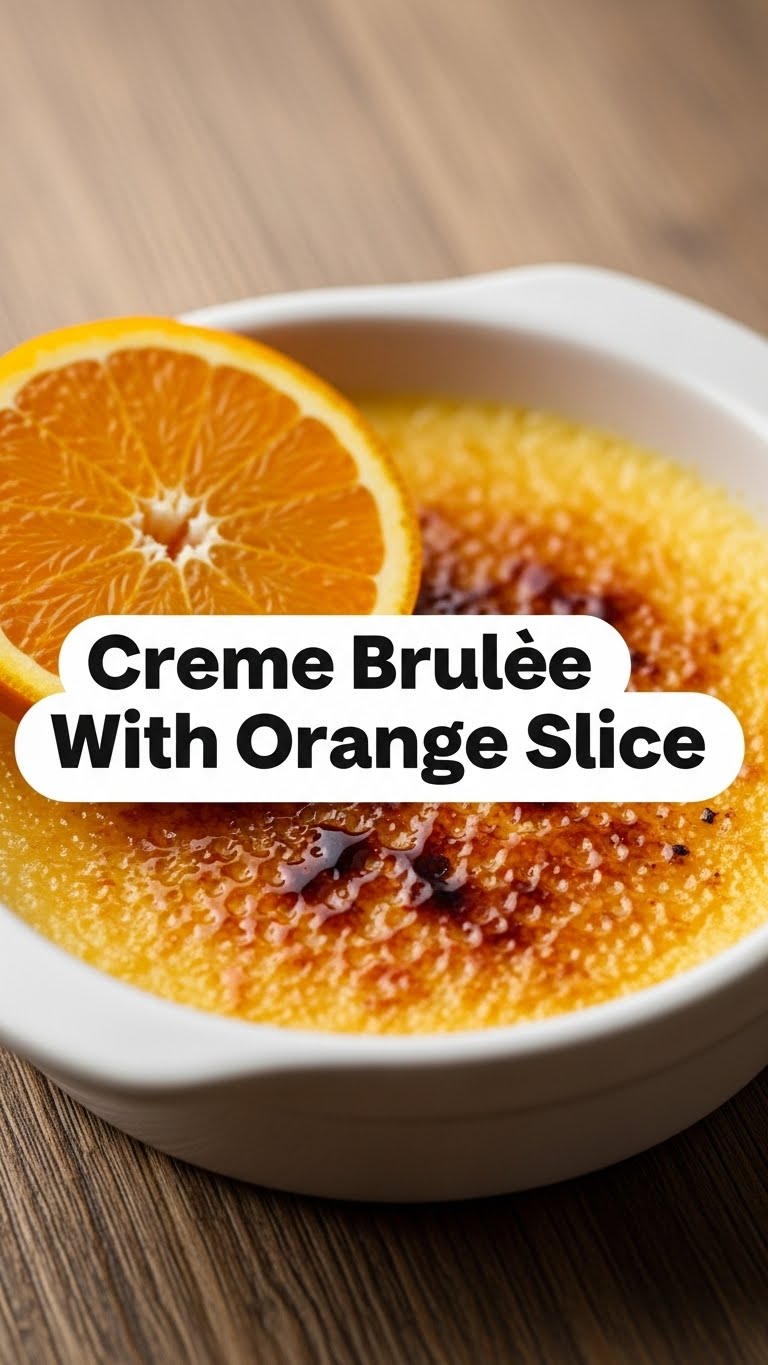
Okay, real talk. This Crème Brûlée isn’t just awesome; it’s practically a superpower in a ramekin. Why? Because it looks ridiculously impressive, tastes like a dream, and honestly, it’s pretty darn hard to mess up. Even if you consider burning toast a culinary challenge. The orange slice isn’t just for show either; it adds this bright, citrusy zing that cuts through the richness beautifully, making it feel less like a heavy dessert and more like a sophisticated hug for your tastebuds. Plus, torching the sugar? **Pure, unadulterated kitchen fun.** You get to play with fire *responsibly*. How often does that happen?
Ingredients You’ll Need
Alright, gather your goodies! Nothing too wild here, just the usual suspects for crème brûlée, plus our citrusy star. Think of it as assembling your dessert dream team.
- Heavy Cream (2 cups): The MVP, the backbone, the silky smooth foundation. Don’t skimp, don’t use milk. This is not the time for calorie-counting, my friend.
- Granulated Sugar (½ cup, divided): Some for the custard, some for the glorious crackly top. Because life needs a little crunch.
- Large Egg Yolks (5): The magic thickeners! Separate them carefully; we don’t want any whites crashing this party.
- Vanilla Extract (1 teaspoon): A classic, for that warm, comforting flavour. Use the good stuff if you got it!
- Salt (Pinch): Seriously, just a pinch. It makes everything taste better, even desserts. It’s like a secret flavor enhancer.
- Orange (1 medium): Our star fruit! Organic if you can, since we’ll be using a slice for garnish.
- Boiling Water: For the fancy French “bain-marie” or water bath. No, it’s not as scary as it sounds.
Step-by-Step Instructions
Ready to make some magic? Follow these steps, and you’ll be a crème brûlée pro in no time. Promise!
- Preheat & Prep: First things first, get your oven ready. Crank it up to 300°F (150°C). Then, grab four 6-ounce ramekins and place them in a baking dish with high sides. This is where your water bath will happen, so make sure the dish is big enough.
- Warm the Cream: Pour your heavy cream into a saucepan. Heat it over medium heat until it’s hot and steamy, but **don’t let it boil!** We’re aiming for warm, cozy cream, not a science experiment. Remove it from the heat once it’s shimmering.
- Whisk the Yolks: In a separate medium bowl, whisk together the egg yolks, ¼ cup of the granulated sugar, vanilla extract, and that tiny pinch of salt. Whisk until it’s light in color and slightly fluffy. You’re building a beautiful, creamy base here.
- Temper Like a Pro: Now, for the slightly fancy part (but still easy, trust me!). Slowly, very slowly, pour about half of the warm cream into the egg yolk mixture while whisking constantly. This is called “tempering” and it prevents your eggs from scrambling. Once combined, pour the tempered egg mixture back into the remaining cream in the saucepan. Whisk well to combine everything.
- Strain for Smoothness: To ensure your custard is super smooth and silky (no lumps allowed!), pour the mixture through a fine-mesh sieve into a clean bowl or a large measuring cup with a spout. This step is **crucial for that perfect texture.**
- Fill the Ramekins & Water Bath: Divide the strained custard evenly among your prepared ramekins. Carefully pour boiling water into the baking dish, around the ramekins, until it comes halfway up their sides. Be gentle; we don’t want any splashes in our custard!
- Bake to Perfection: Carefully transfer the baking dish to the preheated oven. Bake for 30-35 minutes, or until the edges are set but the centers still jiggle slightly when you gently shake the dish. **Don’t overbake!** A slight wobble is good.
- Chill Out: Carefully remove the baking dish from the oven and take the ramekins out of the water bath. Let them cool completely on a wire rack. Once cool, cover them with plastic wrap and chill in the refrigerator for at least 4 hours, or ideally, overnight. This is where the magic really sets.
- The Grand Finale (Brûlée Time!): Just before serving, pat an orange slice dry and place it on top of each chilled crème brûlée. Sprinkle the remaining ¼ cup of granulated sugar evenly over the top of each custard and orange slice. Using a kitchen torch, carefully caramelize the sugar until it’s a beautiful, golden-brown crust. Move the torch continuously to prevent burning. If you don’t have a torch, you can use your oven’s broiler, but keep a very close eye on it—it happens fast!
- Serve & Enjoy: Let the brûléed custards sit for a minute or two to let the sugar harden, then crack that crust and dig in! You earned this!
Common Mistakes to Avoid
We all make mistakes, but let’s try to avoid these rookie errors, shall we? You’re better than this!
- Skipping the Strainer: Think you’re tough and don’t need to strain? Think again. Those little bits of cooked egg white will ruin your silky smooth dreams. **Always strain!**
- Boiling the Cream: Remember that part about “not letting it boil”? Yeah, it’s important. Boiling can cause the cream to separate or create weird textures. Just warm it gently.
- Scrambled Eggs (Tempering Mishap): Dumping hot cream straight into cold yolks is a one-way ticket to scrambled custard. Go slow, whisk constantly. It’s an art, really.
- Overbaking: If your custard doesn’t jiggle in the middle, you’ve gone too far. It’ll turn out rubbery instead of creamy. **A little wobble is your friend.**
- Burning the Sugar: Okay, this one’s easy to do, especially with a torch. Keep that flame moving! Black sugar is bitter sugar, and nobody wants that.
Alternatives & Substitutions
Feeling a little rebellious? Want to put your own spin on it? Here are some ideas. Remember, cooking is about having fun!
- Citrus Swap: Not feeling orange? Try a slice of **lime, lemon, or even grapefruit** for a different tangy kick. Grapefruit brûlée? Don’t knock it ’til you’ve tried it!
- Flavor Infusions: Instead of plain vanilla, try steeping a **cinnamon stick, a few cardamom pods, or even some fresh lavender** in your cream as it warms. Just remember to strain them out before tempering!
- Dairy-Free Option: While I’m a firm believer in full-fat cream for crème brûlée, you *can* experiment with full-fat coconut milk (the canned kind, not the carton) for a dairy-free version. The texture will be slightly different, but still delicious.
- No Torch? No Problem! If you don’t have a kitchen torch, your oven’s broiler is your best friend. Just make sure your ramekins are heatproof and watch them like a hawk – the sugar caramelizes super fast!
FAQ (Frequently Asked Questions)
Got questions? I’ve got (casual, humorous) answers!
- Can I make crème brûlée ahead of time? Heck yeah, you can! In fact, it’s encouraged. Make the custards, chill them (un-brûléed, obviously) for up to 3 days. Torch right before serving for that ultimate crackly crust.
- Why do I need a water bath? What’s the deal? Ah, the bain-marie! It’s not just a fancy French term. The water bath creates a gentle, even heat environment, preventing your custards from cooking too fast or curdling. It’s the secret to that silky smooth texture.
- What if I don’t have ramekins? Well, you *could* use oven-safe mugs or small ceramic bowls, but they might not cook as evenly, and let’s be real, ramekins just look cooler. But in a pinch, improvise!
- My sugar isn’t browning with the torch! What am I doing wrong? Is your torch full of fuel? Is it one of those tiny ones for lighting candles? You need a decent kitchen torch for this. Also, make sure your sugar layer isn’t too thick or too thin. Practice makes perfect, and often, more propane.
- Can I use less sugar? I’m trying to be healthy-ish. Technically, yes, you can slightly reduce the sugar in the custard, but that iconic crispy top? That needs its sugar. Plus, this is crème brûlée, a dessert of indulgence! Enjoy it!
Final Thoughts
And there you have it! Your very own, slightly sophisticated, totally delicious Crème Brûlée with an orange kiss. You just leveled up your dessert game, my friend. Go ahead, pat yourself on the back, maybe even take a ridiculously photogenic picture for the ‘gram. Now go impress someone—or yourself—with your new culinary skills. You’ve earned it!


