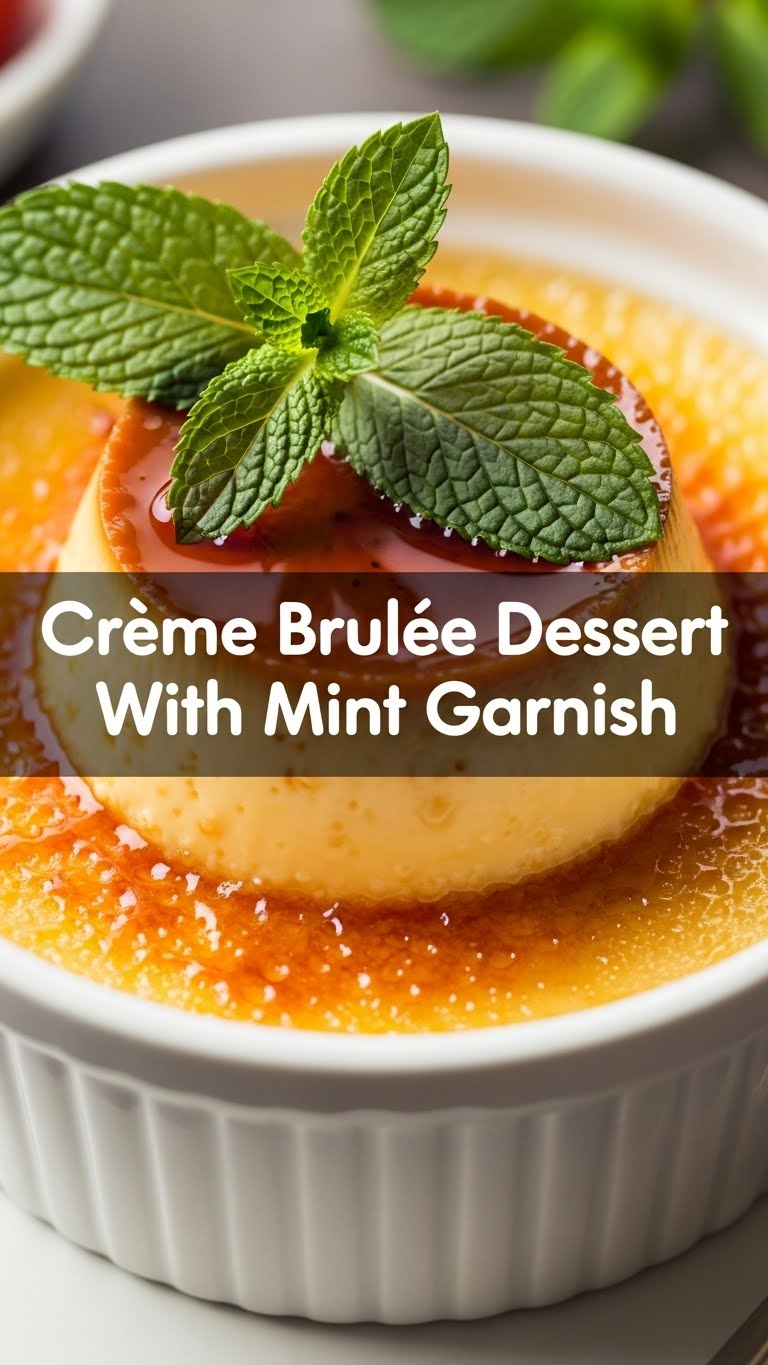
So you’re craving something fancy but your brain is already checked out for the day, huh? Same. But what if I told you we could whip up something that looks super impressive but is secretly, ridiculously easy? We’re talking Creme Brulee. Yes, *that* fancy dessert. With a little fresh mint for extra pizzazz. Let’s do this!
Why This Recipe is Awesome
Okay, first off, it tastes like you spent hours slaving away, when in reality, it’s pretty much a ‘set it and forget it’ situation. **Seriously, if you can stir things and turn on an oven, you’re golden.** Plus, torching the sugar? It’s basically a culinary magic trick, and who doesn’t love a good show? It’s the ultimate ‘I tried, but not *too* hard’ dessert that’ll make everyone think you’re a gourmet genius, even if your biggest culinary achievement last week was not burning toast.
Ingredients You’ll Need
- **Heavy Cream (2 cups):** Don’t skimp here, this is where the “heavy” and “cream” part comes in. No sad, watery stuff.
- **Granulated Sugar (1/2 cup, plus extra for torching):** Sweetness and crunch. Don’t be shy with the extra for the top, it’s the best part!
- **Egg Yolks (5 large):** The heart of the custard. Separate these bad boys like you’re solving a high-stakes puzzle.
- **Vanilla Extract (1 tsp):** The MVP of flavor. Good quality, please!
- **Pinch of Salt:** Because even sweet things need a little balance. It makes the vanilla sing.
- **Fresh Mint Leaves (for garnish):** Because we’re fancy, and green things make everything look healthier (it’s a lie, but a pretty one).
Step-by-Step Instructions
- **Preheat & Prep:** Get your oven to **325°F (160°C)**. Grab four 4-6 oz ramekins. Find a baking dish large enough for the ramekins to fit in without touching. Boil some water for a water bath later – trust me, it’s important.
- **Warm the Cream:** In a saucepan, gently heat the heavy cream, 1/2 cup sugar, and salt over medium heat until it’s steamy and small bubbles form around the edges. **Don’t let it boil!** Take it off the heat.
- **Whisk the Yolks:** In a separate bowl, whisk the egg yolks and vanilla extract until they’re light yellow and well combined.
- **Temper, Temper!** Slowly, *very slowly*, pour about half of the warm cream mixture into the egg yolks while continuously whisking. **This is key to avoid scrambled eggs!** Then, pour the egg mixture back into the remaining warm cream in the saucepan, whisking constantly.
- **Strain for Smoothness:** Pour the custard mixture through a fine-mesh sieve into a measuring cup or pitcher. This catches any little bits of cooked egg or undissolved sugar for that silky smooth finish.
- **Fill & Bathe:** Divide the custard evenly among your ramekins. Carefully place the filled ramekins into the large baking dish. Pour the hot water you boiled earlier into the baking dish until it reaches about halfway up the sides of the ramekins. **This water bath (bain-marie) ensures even cooking and prevents cracks.**
- **Bake It Up:** Carefully transfer the baking dish to the preheated oven. Bake for **30-35 minutes**, or until the edges are set but the center still jiggles slightly like Jell-O.
- **Cool Down:** Take the ramekins out of the water bath (carefully, that water is hot!) and let them cool completely on a wire rack. Once cool, cover them with plastic wrap and chill in the fridge for at least 4 hours, or preferably overnight. **Chilling is non-negotiable for proper setting!**
- **Torch Time!** Just before serving, sprinkle about **1-2 teaspoons of granulated sugar** evenly over the top of each chilled custard. Use a kitchen torch to melt and caramelize the sugar until it’s a beautiful, deep amber color. Move the torch constantly to prevent burning.
- **Garnish & Conquer:** Let the caramelized sugar cool and harden for a minute or two (you’ll hear a little crackle, that’s the good stuff!). Garnish with a fresh mint leaf and serve immediately. Boom! You’re a dessert wizard.
Common Mistakes to Avoid
- **Boiling the cream:** You want warm and steamy, not a rolling boil. Scrambled egg-custard, anyone? No thanks.
- **Not tempering the eggs:** Pouring hot cream straight into cold yolks equals egg drop soup, not creme brulee. **Slow and steady wins the race here!**
- **Overbaking:** This leads to a rubbery texture. You want a gentle jiggle in the middle, not a firm disc.
- **Skipping the water bath:** It’s not just for aesthetics, it truly helps the custard cook gently and evenly. Don’t be lazy!
- **Torch impatience:** Don’t hold the torch in one spot forever unless you want a burnt spot. Keep it moving for an even, golden crunch.
Alternatives & Substitutions
Feeling adventurous? Or just don’t have exactly what I said? No worries, we can bend the rules a little.
- **Vanilla bean vs. extract:** If you’re feeling extra fancy and have a few bucks to spare, use a split vanilla bean pod in the cream while it heats, then scrape out the seeds and add to the yolks. It’s next-level, but extract works perfectly fine for us normal humans.
- **Flavored cream:** Want a twist? Steep a lemon peel, orange zest, or even a cinnamon stick in the cream while it heats, then strain it out before tempering.
- **No torch? No problem (kinda):** You *can* try to caramelize sugar under a broiler, but **watch it like a hawk!** It goes from perfect to charcoal in seconds. Seriously, a torch is worth the small investment.
- **Different garnishes:** Berries, chocolate shavings, or even a dusting of cocoa powder work too. But honestly, the mint just looks so chic, **IMO**.
FAQ (Frequently Asked Questions)
- “My custard looks grainy, what happened?” You probably didn’t strain it, or maybe you cooked the eggs a little too much while tempering. Remember, **strain for silkiness!**
- “Why is my creme brulee runny?” It’s likely underbaked. Next time, give it a few more minutes until it has that gentle jiggle. Or you didn’t chill it long enough. Patience, grasshopper.
- “Can I make these ahead of time?” **Absolutely!** Make them up to 2-3 days in advance, chill them, and then torch right before serving. They’re basically a party-prep dream.
- “My sugar burned! What gives?” You either held the torch in one spot too long, or the flame was too high/close. Practice makes perfect, and **don’t be afraid to scrape and re-torch** (carefully!).
- “Do I *have* to use heavy cream?” Yes, my friend, yes. Light cream or half-and-half won’t give you that rich, creamy texture you’re after. **Heavy cream is non-negotiable for authentic creme brulee.**
Final Thoughts
See? I told you it wasn’t scary! You just made a dessert that people pay serious money for in restaurants. Go ahead, bask in your glory. Now go impress someone—or yourself, because let’s be real, you deserve it after all that ‘hard’ work—with your new culinary skills. You’ve earned that delightful crack and creamy spoonful. Enjoy, superstar!


