So you’re craving something fancy-pants delicious but also kind of want to impress someone (or just yourself, no judgment here) without spending your entire life in the kitchen, right? Been there, done that, got the stained apron. Today, my friend, we’re diving headfirst into the glorious world of Crème Brûlée with a little twist that makes it even *more* epic: a scoop of your favorite ice cream. Prepare for your tastebuds to do a happy dance!
Why This Recipe is Awesome
Okay, so let’s get real. Crème brûlée sounds super intimidating, like something only French chefs with ridiculously tall hats can pull off. But guess what? It’s basically a fancy custard with a crunchy sugar hat. And **it’s practically idiot-proof**, I swear. If I didn’t mess it up, you definitely won’t. Plus, adding a dollop of ice cream at the end? That’s not just a dessert; that’s a *vibe*. It’s a game-changer. The cold, creamy ice cream against the warm, custardy brûlée and that satisfying crack of caramelized sugar? **Chef’s kiss!** You’ll feel like a culinary genius, and frankly, you deserve to.
Ingredients You’ll Need
Don’t panic! The list is short, sweet, and mostly stuff you probably already have lurking in your fridge. Or, you know, a quick dash to the store.
- **Heavy Cream (2 cups):** This is the soul of your brûlée. Don’t even *think* about skimping with half-and-half unless you want a sad, watery custard. We want luscious, baby!
- **Large Egg Yolks (5 of ’em):** The binding magic. Separate these carefully!
- **Granulated Sugar (½ cup, plus extra for brûlée):** Sweetness and that glorious crunchy top.
- **Vanilla Extract (1 teaspoon):** The classic flavor. Go for the good stuff, IMO.
- **Pinch of Salt:** A tiny bit to really make those flavors sing. Trust me on this one.
- **Your Favorite Ice Cream (for serving, duh!):** Vanilla is classic, but hey, live a little! Coffee, salted caramel, even strawberry could be amazing.
Step-by-Step Instructions
- **Get Prepped & Toasty:** Preheat your oven to a cozy 325°F (160°C). Grab some shallow ramekins (4-6 oz works great) and arrange them in a large baking dish. You’ll need a hot water bath, so get that kettle boiling.
- **Warm the Cream Dream:** In a medium saucepan, gently heat the heavy cream, vanilla extract, and that tiny pinch of salt over medium-low heat. You want it warm, steamy, and barely simmering—don’t boil it! Once it’s happy, take it off the heat.
- **Whisk It Real Good:** In a separate medium bowl, whisk together the egg yolks and ½ cup of granulated sugar until they’re light yellow and slightly thickened. This usually takes a couple of minutes of enthusiastic whisking.
- **Temper, Temper!:** Here’s the “fancy” part that prevents scrambled eggs (ew). Slowly, and I mean *slowly*, pour about half of the warm cream mixture into the egg yolk mixture while continuously whisking. This brings the eggs up to temperature gently. Now, pour this tempered egg mixture back into the saucepan with the remaining cream. Whisk until it’s all beautifully combined.
- **Strain for Smoothness (Optional, but Recommended!):** For an extra silky-smooth custard, pour the mixture through a fine-mesh sieve into a clean measuring cup or pitcher. This catches any little bits of cooked egg or vanilla bean specks.
- **Fill ‘Em Up:** Carefully pour your custard mixture evenly into the prepared ramekins.
- **Bath Time!:** Carefully pour hot water into the larger baking dish around the ramekins, reaching about halfway up their sides. This water bath (bain-marie, if you’re feeling fancy) ensures even, gentle cooking.
- **Bake to Perfection:** Carefully transfer the baking dish to the preheated oven. Bake for 30-40 minutes, or until the edges are set but the centers still have a slight jiggle when you gently shake a ramekin. **Don’t overbake!**
- **Chill Out:** Carefully remove the ramekins from the water bath (they’ll be hot!) and let them cool on a wire rack. Once they’ve cooled to room temperature, cover them with plastic wrap and chill in the refrigerator for at least 4 hours, or even better, overnight. **This step is crucial!**
- **The Grand Finale: Brulee Time!** Right before serving, pat the tops of your chilled custards dry with a paper towel. Sprinkle a thin, even layer of granulated sugar over each. Now, grab your kitchen torch (or fire up your broiler, more on that later!) and caramelize that sugar until it’s a beautiful, bubbly, amber crust. Work quickly and keep the torch moving to avoid burning.
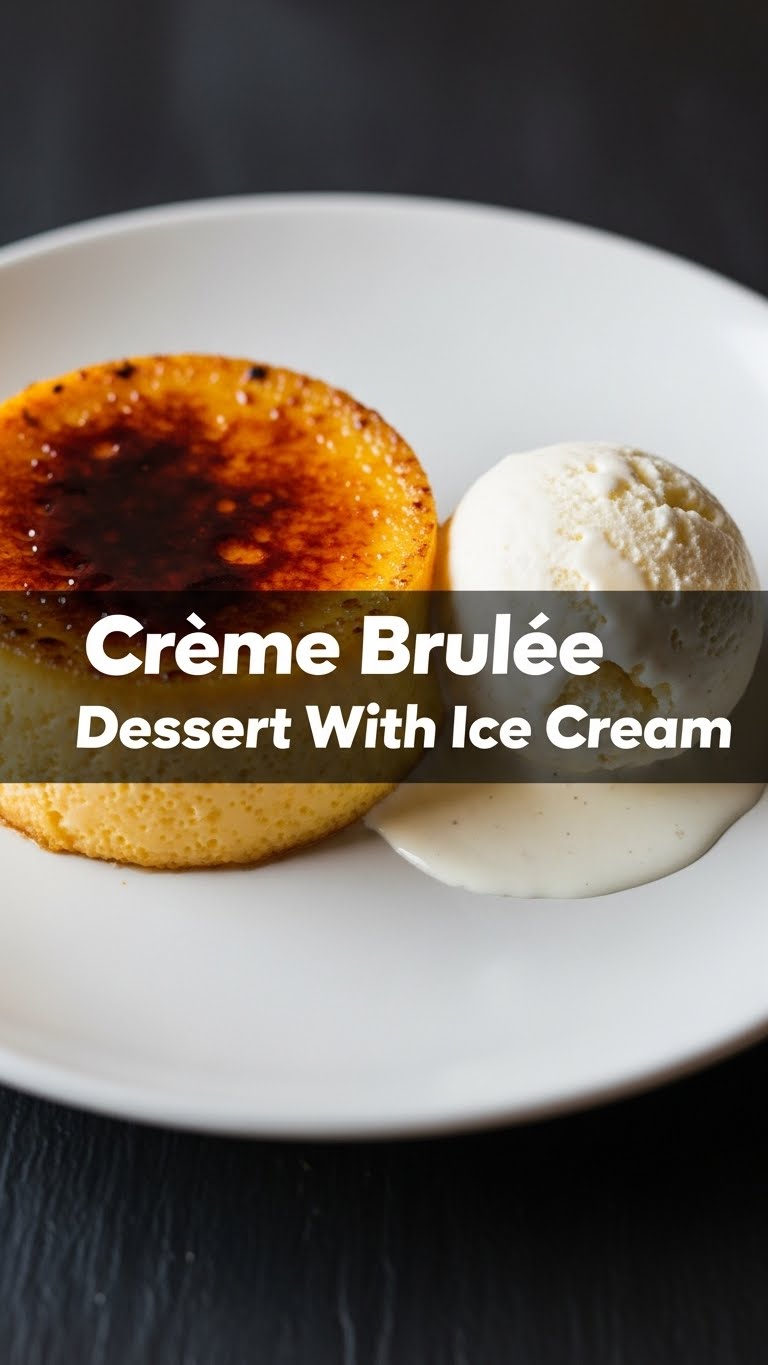
- **Serve with a Smile (and Ice Cream!):** Let the brûléed custards sit for a minute or two for the sugar to harden. Then, serve them immediately with a generous scoop of your chosen ice cream. Crack that sugar, scoop that custard, add that ice cream – pure bliss!
Common Mistakes to Avoid
- **Not Tempering the Eggs:** Rookie mistake number one! Pouring hot cream directly into cold egg yolks makes scrambled egg custard. Gross. **Go slow, whisk constantly.**
- **Overbaking:** This will give you rubbery, dense custard instead of that silky smooth texture we’re aiming for. Keep an eye on that jiggle!
- **Skipping the Water Bath:** The bain-marie isn’t just for show. It helps the custard cook evenly and prevents it from cracking or curdling. **Don’t skip it!**
- **Burning the Sugar:** A little char is okay, but full-on black smoke? Nope. Keep that torch moving, or watch the broiler like a hawk.
- **Not Chilling Long Enough:** Patience, young padawan! Chilling allows the custard to fully set and firm up, giving you that perfect texture.
Alternatives & Substitutions
Feeling a little adventurous? Good! This recipe is super adaptable.
- **Flavor Fusions:** Instead of plain vanilla, try infusing your cream with a vanilla bean pod (scrape the seeds in!), a few coffee beans, a strip of orange or lemon zest, or even a splash of your favorite liqueur like Grand Marnier or a fancy bourbon. Just add them to the cream while heating and strain them out before baking.
- **Sugar Swap:** While granulated sugar gives that classic crisp brûlée, you can experiment with turbinado sugar (raw sugar) for a slightly darker, more robust caramel flavor. Just know it might take a tad longer to melt and caramelize.
- **Ice Cream Extravaganza:** As mentioned, vanilla is a safe bet, but go wild! Coffee ice cream complements the vanilla beautifully, chocolate is pure indulgence, or a fruit sorbet could offer a delightful tangy contrast. Your call, chef!
FAQ (Frequently Asked Questions)
Got questions? I probably do too, but here are some I get asked often.
“OMG, I don’t have a kitchen torch! Am I doomed?” Nope, absolutely not! You can use your oven’s broiler. Place the sugared custards on a baking sheet under a preheated broiler (watch them like a hawk—it happens fast!). It might not be as even, but it’ll still get the job done. Just make sure your ramekins are broiler-safe!
“Can I make these ahead of time?” Heck yes! In fact, **they’re better made ahead.** Chill them, sans sugar, for up to 3 days in the fridge. Brulee right before serving for maximum crunch factor.
“Why do I need to strain the custard?” It catches any tiny bits of cooked egg that might form or vanilla specks, ensuring your custard is super smooth and luxurious. **It’s a step worth taking for perfection!**
“What do I do with all those leftover egg whites?” Oh, the possibilities! Meringue cookies, an egg white omelet, or even an angel food cake. Don’t let them go to waste!
“Can I make this dairy-free?” You can try substituting the heavy cream with full-fat coconut milk or cream, but be warned, the flavor and texture will be noticeably different (and will taste faintly of coconut). It’s a different dessert, but still tasty!
“How long does the brûlée last once I’ve torched it?” The best part of crème brûlée is that satisfying *crack*. Once you’ve torched it, that sugar crust will start to soften within about 30 minutes. So, **torch just before serving!**
Final Thoughts
See? You just whipped up a dessert that makes people go “oooooh” and “aaaaah.” You’re basically a culinary wizard now, and you didn’t even break a sweat (well, maybe a little whisking sweat). This Crème Brûlée with ice cream isn’t just a dessert; it’s an experience. Go forth and impress your friends, your family, or just yourself (you totally deserve it). Enjoy every creamy, crunchy, melty bite. You’ve earned it, superstar!


