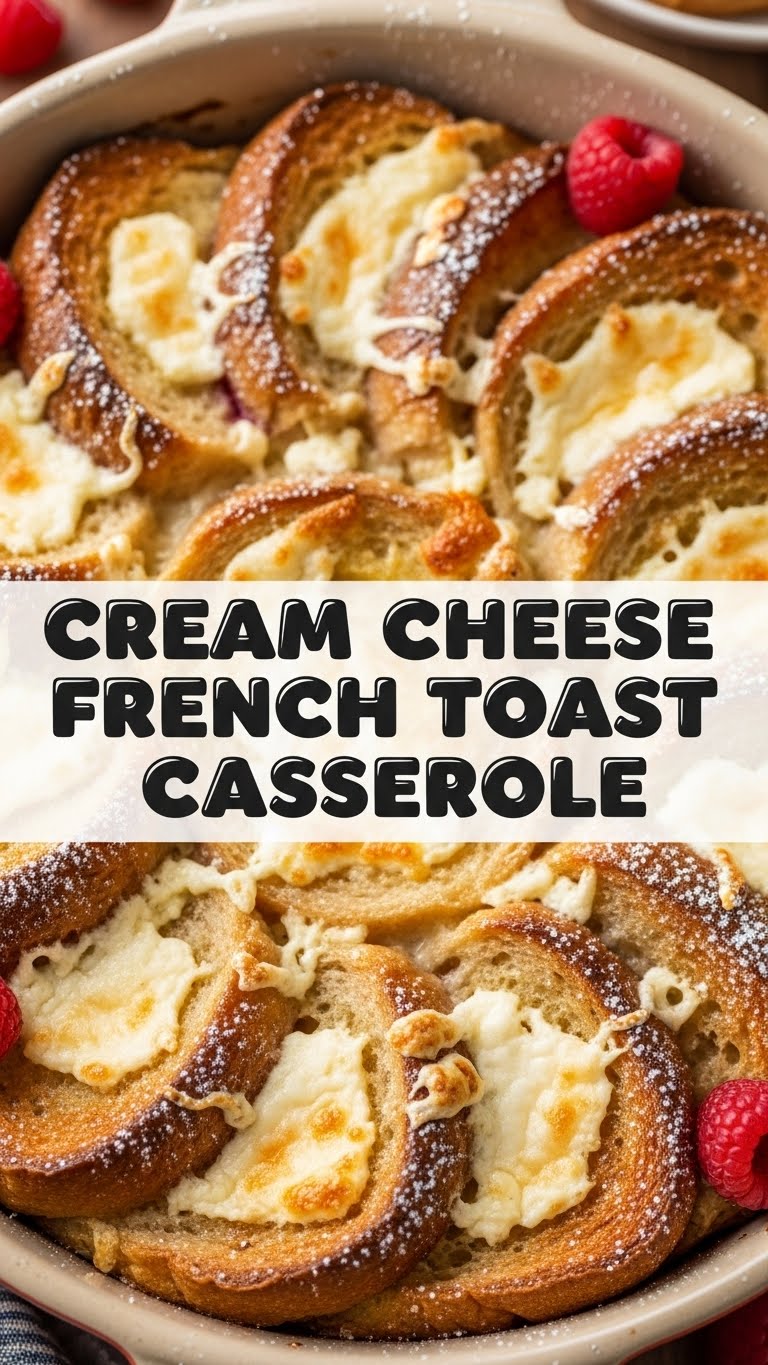
So you’re craving something ridiculously tasty but also kinda want to sleep in? And you’re definitely too lazy to spend forever in the kitchen slaving over individual slices of French toast? Same, friend, same. What if I told you there’s a magical dish that lets you have your French toast and eat it too, without waking up at dawn? Enter the legendary Cream Cheese French Toast Casserole. This isn’t just breakfast; it’s a hug in a baking dish.
Why This Recipe is Awesome
Let’s be real, mornings are hard. This casserole? It makes them less hard. It’s basically breakfast in bed, but you actually made it (mostly the night before). No more flipping endless slices, no more greasy pans – just pure, unadulterated brunch glory, ready to bake when you are.
Here’s the deal: you get to prep this bad boy the night before, pop it in the fridge, and then **sleep in like the champion you are**. Wake up, preheat the oven, bake, and *poof*! Brunch is served. It’s truly idiot-proof, even I didn’t mess it up, and my kitchen skills sometimes involve calling for takeout. Plus, it’s got cream cheese, which, let’s be honest, makes everything better. IMHO.
Ingredients You’ll Need
Gather ’round, my culinary comrades! Here’s your shopping list for deliciousness:
- 1 loaf (about 16 oz) Challah or Brioche bread: Day-old is best! It soaks up all the eggy goodness without turning to mush. If you can’t find these, a good quality white bread works, but trust me, the brioche/challah is worth the hunt.
- 8 large eggs: The glue that holds our delicious dreams together.
- 2 cups milk: Whole milk for maximum decadence, but any kind you have works.
- ½ cup granulated sugar: Sweetness, because… French toast.
- 2 teaspoons vanilla extract: Don’t skimp on this! It’s a flavor bomb.
- 1 teaspoon ground cinnamon: For that warm, cozy vibe.
- Pinch of salt: Balances everything out. It’s a tiny secret weapon.
- 8 oz cream cheese, softened: The star of the show. Seriously, soften it. We’re not barbarians.
- ¼ cup powdered sugar: For the cream cheese filling.
- 2 tablespoons butter, melted: For drizzling and for greasing the dish. Because butter makes life better.
- For serving (optional but highly recommended): Powdered sugar for dusting, maple syrup for pouring, fresh berries for a pop of color and freshness.
Step-by-Step Instructions
- Prep Your Bread: Tear or cut your bread into 1-inch cubes. Don’t be too precious about it; rustic is charming. Spread them out in a single layer on a baking sheet and let them air dry for an hour or two if you have time. If not, don’t sweat it too much, especially if you’re using day-old bread.
- Whisk the Egg Mixture: In a large bowl, whisk together the eggs, milk, granulated sugar, vanilla extract, cinnamon, and a tiny pinch of salt until well combined and frothy. This is the magic potion that transforms plain bread into French toast heaven.
- Soak the Bread: Add your bread cubes to the egg mixture, making sure every piece gets nicely coated. Gently press them down to ensure they absorb all that liquid. Let it sit for about 10-15 minutes, stirring occasionally.
- Prepare the Cream Cheese Filling: While the bread is soaking, grab a separate bowl. Beat the softened cream cheese with the ¼ cup powdered sugar until it’s smooth and fluffy. This is where the magic happens, people.
- Assemble the Casserole: Grease a 9×13 inch baking dish with some of that melted butter. Now, layer half of the soaked bread cubes evenly in the bottom of the dish. Dollop spoonfuls of the cream cheese mixture over this first layer, then top with the remaining bread cubes. Drizzle any leftover egg mixture over the top.
- Chill Out (Literally): Cover the dish tightly with plastic wrap and refrigerate for at least 4 hours, or even better, overnight! This is key for maximum flavor absorption and perfect texture. **Do not skip this step unless you like dry French toast.**
- Bake It Up: The next morning (or whenever you’re ready), preheat your oven to 375°F (190°C). Take the casserole out of the fridge about 30 minutes before baking to let it come to room temperature a bit.
- Golden Glory: Drizzle any remaining melted butter over the top (if you have some, otherwise a pat of cold butter works too). Bake for 40-50 minutes, or until the top is golden brown and the center is set. If it starts getting too brown, you can tent it loosely with foil.
- Serve and Enjoy: Let it cool for 5-10 minutes before serving. Dust with powdered sugar, drench in maple syrup, and add some fresh berries. Congrats, you’ve just made breakfast dreams come true!
Common Mistakes to Avoid
- Not softening your cream cheese: Rookie mistake! You’ll end up with lumps, and nobody wants lumpy cream cheese in their glorious casserole. Plan ahead, take it out of the fridge!
- Using super fresh, soft bread: While delicious, fresh bread will turn to an eggy mush. Day-old (or slightly stale) bread holds its shape better and soaks up the custard perfectly.
- Skipping the overnight chill: I know, I know, instant gratification. But seriously, **the overnight soak is crucial**. It allows the bread to fully absorb the custard, giving you that custardy-soft interior without being soggy.
- Forgetting to grease the dish: Do you want your masterpiece stuck to the pan? No? Then grease it!
- Over-baking it: You want golden brown and set, not crispy and dry. Keep an eye on it, especially towards the end.
Alternatives & Substitutions
Feeling creative? Here are some ways to jazz up or adapt this already amazing dish:
- Bread Swaps: Not a fan of brioche? Try sourdough for a slight tang, or even leftover croissants (OMG, yes!). Regular sandwich bread works in a pinch, just ensure it’s a bit stale.
- Milk Options: Almond milk, oat milk, or soy milk can all be used if you’re dairy-free or just prefer them. The richness might vary slightly, but it’ll still be delish.
- Spice It Up: Add a pinch of nutmeg or a dash of cardamom to the egg mixture for an extra layer of warmth.
- Fruity Fun: Layer fresh berries (blueberries, raspberries, sliced strawberries) between the bread and cream cheese layers for a burst of fruitiness. Sliced bananas are also fantastic.
- Chocolate Lover’s Dream: Sprinkle some chocolate chips (milk, dark, white – your choice!) between layers for an extra treat.
- Nutty Crunch: A handful of chopped pecans or walnuts sprinkled on top before baking adds a nice textural contrast.
FAQ (Frequently Asked Questions)
Got questions? I’ve got answers! (Mostly.)
Can I use margarine instead of butter? Well, technically yes, but why hurt your soul like that? Butter just tastes better, IMO. But if that’s all you’ve got, go for it.
Do I *really* need to chill it overnight? You don’t *have* to, but you *really should*. It truly makes a world of difference in texture and flavor. Think of it as an investment in your future breakfast happiness. **Trust me on this one.**
Can I make it gluten-free? Absolutely! Just swap out the regular bread for your favorite gluten-free brioche or challah. The rest of the recipe remains the same.
What if I don’t have vanilla extract? A tragedy, my friend. It won’t have quite the same depth of flavor, but the casserole will still be edible. Maybe add a little more cinnamon to compensate?
Can I add fruit *inside* the casserole? Yes, please do! Berries, sliced bananas, or even thinly sliced apples pair wonderfully with the cream cheese and French toast. Just don’t overdo it with watery fruits.
How long do leftovers last? Covered in the fridge, it’s usually good for 3-4 days. Reheat gently in the microwave or oven.
Can I freeze this casserole? You can, but the texture might be a little different after thawing and reheating. It’s best enjoyed fresh, but if you have to, bake it, let it cool completely, then wrap tightly and freeze for up to a month.
Final Thoughts
There you have it! A cream cheese French toast casserole that’s practically guaranteed to make you feel like a culinary wizard, even if you just rolled out of bed. It’s decadent, it’s easy, and it screams “I love you” to anyone who takes a bite. So go forth, bake this masterpiece, and prepare for compliments. Now go impress someone—or yourself—with your new culinary skills. You’ve earned it!


