So you’re staring into the abyss of your fridge, sighing deeply because you want the cozy comfort of apple pie *and* the chewy goodness of a cookie, but you’re not exactly feeling up to two separate baking marathons? My friend, I’ve been there. And I’m here to tell you: you don’t have to choose! Enter the glorious, ridiculously easy, and utterly delicious Apple Pie Cookie. Prepare to have your mind (and taste buds) blown.
Why This Recipe is Awesome
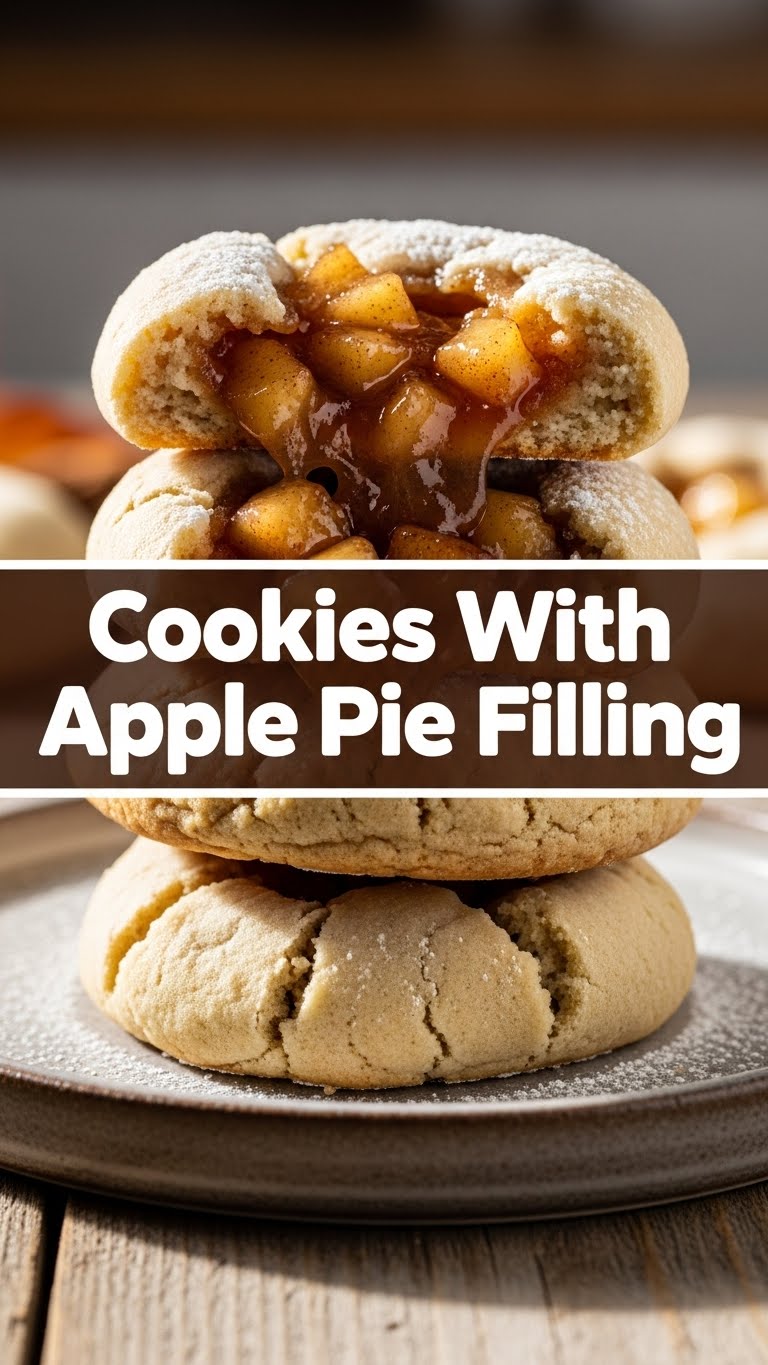
Let’s be real, life’s too short for complicated recipes, especially when your sweet tooth is screaming. This recipe? It’s the ultimate culinary hack. It’s got all the warm, spiced apple goodness you crave from a pie, nestled inside a soft, chewy cookie. It’s basically a dessert superhero in disguise.
- It’s idiot-proof: Seriously, if I didn’t mess it up, you won’t either. It’s that forgiving.
- Minimal effort, maximum reward: You’ll look like a baking genius without having to roll out a single pie crust. Win-win!
- Combines two legends: Why settle for one when you can have both? It’s like the Reese’s Peanut Butter Cup of desserts.
- Quick turnaround: From “I’m craving something” to “OMG, I’m eating something amazing” in record time.
Ingredients You’ll Need
Gather ’round, my fellow lazy gourmands! Here’s your simple shopping list. Nothing too wild, I promise.
- 1 cup (2 sticks) Unsalted Butter: Softened, please! Don’t be a monster and try to cream cold butter. Unless you want an arm workout, then by all means.
- ½ cup Granulated Sugar: The classic sweet stuff.
- ¼ cup Brown Sugar (packed): For that extra chewiness and a hint of molasses magic.
- 1 Large Egg: One lonely egg, ready to bind all this deliciousness together.
- 1 tsp Vanilla Extract: Because everything’s better with vanilla, right?
- 2 ¼ cups All-Purpose Flour: The foundation of our cookie empire. No fancy flours needed here.
- 1 tsp Baking Soda: For lift! Nobody wants a flat, sad cookie.
- ½ tsp Salt: Just a pinch to balance out all that sweetness. Trust me on this.
- 1 (21 oz) can Apple Pie Filling: The star of the show! Feel free to grab the fancy kind with more apples, or a basic one. We’re not judging. Chop the apple pieces a bit smaller if they seem too chunky.
- ½ tsp Ground Cinnamon (optional): For an extra hug of warmth. Because why not?
Step-by-Step Instructions
Alright, apron on (or not, whatever), let’s get baking! These steps are so simple, you could probably do them in your sleep.
- Get Creamy: In a large bowl (or stand mixer, if you’re feeling fancy), cream together your softened butter, granulated sugar, and brown sugar until light and fluffy. This usually takes about 2-3 minutes. Don’t rush perfection!
- Egg-cellent Addition: Beat in the large egg and vanilla extract. Mix until everything is well combined and looks wonderfully smooth.
- Dry Spell: In a separate, medium bowl, whisk together your flour, baking soda, and salt. Whisking ensures everything is evenly distributed. Don’t skip this step!
- Combine & Conquer: Gradually add the dry ingredients to the wet ingredients, mixing on low speed until just combined. Stop mixing as soon as you see no more dry streaks! Overmixing leads to tough cookies, and we want tender, chewy ones.
- Apple Attack: Gently fold in your chopped apple pie filling (and cinnamon, if using). Be gentle here; we want the apples integrated, not mushed.
- Scoop ‘Em Up: Drop rounded spoonfuls (about 1.5-2 tablespoons) of dough onto a baking sheet lined with parchment paper. Leave some space between them – these cookies like their personal bubble.
- Bake Time! Pop them into a preheated oven (set to 375°F / 190°C) for 10-12 minutes, or until the edges are lightly golden and the centers are just set. They might look a little soft in the middle, but that’s what makes them chewy once cooled.
- Cool Down: Let them cool on the baking sheet for a few minutes before transferring them to a wire rack to cool completely. Or, you know, eat one warm. I won’t tell.
Common Mistakes to Avoid
We’ve all been there. Here are a few traps to sidestep on your journey to cookie greatness:
- Overmixing the Dough: This is the cardinal sin of cookie baking. Seriously, once the flour is in, mix until just combined. Beyond that, you’re building gluten, which means tough, un-fun cookies. Nobody wants a hockey puck, do they?
- Not Preheating the Oven: Rookie mistake! Your oven needs to be at the correct temperature for the leavening agents (baking soda) to work their magic. Always preheat!
- Too Much Apple Filling: While tempting to cram in extra, too much moisture can make your cookies spread excessively and lose their shape. Stick to the suggested amount.
- Warm Butter: While we want softened butter, if it’s too warm (i.e., melted), your cookies will spread like crazy. The butter should be soft enough to indent with your finger, but still hold its shape.
- Eating All the Dough: Not exactly a “mistake” in my book, but if you want actual baked cookies, you might need to exercise some self-control. (Good luck with that, though.)
Alternatives & Substitutions
Feeling adventurous? Or just missing an ingredient? No stress, we can totally improvise!
- Different Fillings: Not an apple fan (gasp!)? Try canned cherry pie filling, peach, or even blueberry! Just make sure the fruit pieces aren’t too large; give them a quick chop if needed.
- Spice It Up: Instead of just cinnamon, throw in a pinch of nutmeg, allspice, or even a tiny bit of ground cloves for extra warmth.
- Gluten-Free Flour: Most all-purpose gluten-free flour blends work wonderfully in this recipe. Just make sure it’s a 1:1 substitute blend.
- Add-Ins: Want more texture? Fold in some chopped walnuts, pecans, or even a handful of white chocolate chips along with the apple filling.
- Butter Substitute: While butter gives the best flavor and texture, you could technically use a good quality baking margarine. But, like, why? Butter is life.
FAQ (Frequently Asked Questions)
Got questions? I’ve got (casual) answers!
- Can I use homemade apple pie filling? Absolutely! Just ensure it’s not overly liquidy; you want mostly fruit chunks, not sauce. Drain any excess liquid if it looks soupy.
- My cookies spread too much! What did I do wrong? A few culprits: your butter might have been too warm, your oven wasn’t preheated, or you might’ve added too much liquid from the pie filling. Next time, try chilling the dough for 20-30 minutes before baking!
- Can I make the dough ahead of time? Yes! You can store the dough in an airtight container in the fridge for up to 3 days. Just let it come to room temperature slightly before scooping and baking.
- Can I freeze these cookies? You betcha! Once baked and completely cooled, store them in an airtight freezer-safe bag or container for up to 3 months. You can also freeze dough balls and bake them from frozen (add a few extra minutes to baking time).
- What if I don’t have vanilla extract? While vanilla adds a lovely depth, it’s not a deal-breaker. Your cookies will still be delicious. But, IMO, it’s worth having on hand!
- How long do these cookies last? In an airtight container at room temperature, they’re typically good for 3-5 days. Though, honestly, they rarely last that long in my house!
Final Thoughts
See? You just whipped up a batch of glorious Apple Pie Cookies. You’re practically a culinary wizard now! Go forth and conquer your cravings, impress your friends, or simply hoard them all for yourself (no judgment here). You’ve earned every single delicious bite. Now go forth and bake! You got this.


