So, you’re craving something ridiculously fun, super tasty, and secretly pretty easy to pull off, huh? Something that screams “I’m amazing and I make edible art!” without actually requiring you to *be* an amazing artist? Same, friend, same. Get ready to ditch those boring ceramic bowls and dive into a world where your dessert container is as delicious as what’s inside. We’re talking about **Colorful Ice Cream Bowls… made of chocolate!** And because we’re fancy (but not *too* fancy), we’re adding some equally awesome chocolate-dipped “spoons.” Your inner child (and outer adult) is about to do a happy dance.
Why This Recipe is Awesome
Okay, let’s be real. This isn’t just a recipe; it’s a party trick disguised as dessert. Why is it awesome? Because it’s **ridiculously easy**, even if your culinary skills usually peak at instant ramen. It looks like you spent hours slaving away, but in reality, it’s mostly chill time (pun intended!). Plus, it’s vibrant, customizable, and basically guarantees smiles. Want to impress a date? Check. Want to win “best parent” award for the day? Check. Want to just eat chocolate out of chocolate? **BIG, FAT CHECK!** It’s also a great way to use up that random bag of colorful candy melts you bought for a project you never finished. No judgment here.
Ingredients You’ll Need
Gather ’round, my sweet-toothed companions! Here’s your shopping list for edible glory:
- **Chocolate (the main event!):** About 12-16 oz total. Think candy melts in a variety of bright, fun colors (blue, pink, yellow, green – go wild!). Or just use good quality white chocolate, milk chocolate, or dark chocolate if you’re a purist. **FYI, candy melts are easier for vibrant colors and melt super smoothly.**
- **Small Balloons:** The party kind, not the hot air kind. Get the small water balloon size or slightly larger ones. You’ll need about 6-8, plus a few spares in case of… well, accidents.
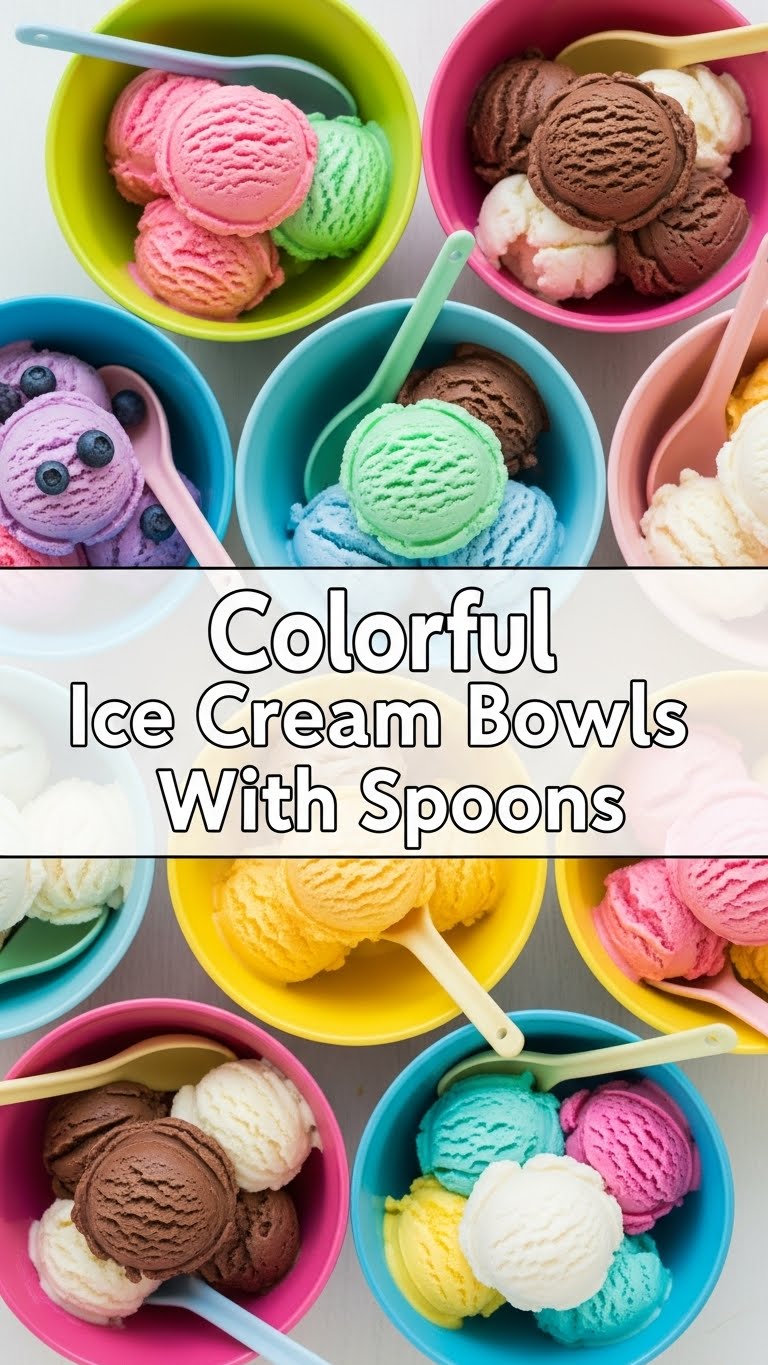
- **Your Favorite Ice Cream:** This is non-negotiable. Whatever flavor makes your heart sing.
- **Fun Toppings:** Sprinkles (duh!), mini chocolate chips, chopped nuts, gummy bears, mini marshmallows, chocolate syrup, caramel sauce. The more, the merrier!
- **Parchment Paper or Wax Paper:** Crucial for easy cleanup and preventing stickage.
- **Baking Sheet(s):** To hold your masterpieces while they chill.
- **For the “Spoons” (Optional but highly recommended):** Wafer cookies, pretzel rods, or even sturdy fruit like apple slices. You’ll dip these in some of your leftover chocolate!
Step-by-Step Instructions
Ready to get your hands a little messy (in the best way possible)? Let’s do this!
- **Prep Your Workspace:** Line your baking sheet(s) with parchment paper. This is where your bowls will chill out.
- **Blow Up the Balloons:** Inflate your small balloons. You want them about the size of a tennis ball or slightly smaller – think “ice cream scoop” size. **Don’t overinflate!** Tie them off securely.
- **Melt That Chocolate:** In separate microwave-safe bowls, melt your different colored chocolates. Do this in 30-second intervals, stirring well after each, until smooth and creamy. You can also use a double boiler if you’re feeling fancy. **Make sure your chocolate isn’t too hot, or it will pop the balloons!** It should be warm to the touch, but not scalding.
- **Dip ‘Em Good:** Take an inflated balloon, hold it by the tied end, and dip the bottom half into one of your melted chocolates. Swirl it around gently to create a nice, even coating. You’re aiming for a bowl shape, so leave a good amount of the top of the balloon undipped.
- **Set ‘Em Down:** Carefully lift the chocolate-dipped balloon, letting any excess drip off. Then, gently place it chocolate-side-down onto your parchment-lined baking sheet. The chocolate will spread out slightly, forming a stable base for your bowl. Repeat with the remaining balloons and different chocolate colors.
- **Chill Out, Bowls:** Pop your baking sheet(s) into the refrigerator for at least 30-45 minutes, or until the chocolate is completely hard and set. **Patience is a virtue here, IMO!**
- **Make Your “Spoons” (Optional):** While the bowls are chilling, dip your wafer cookies, pretzel rods, or fruit into any remaining melted chocolate. Lay them on a separate piece of parchment paper and chill until set.
- **The Grand Reveal (aka Popping Time!):** Once your chocolate bowls are solid, take them out of the fridge. Gently snip a tiny hole in the neck of each balloon with scissors. Let the air slowly release. The balloon should pull away from the chocolate easily as it deflates. If it sticks, gently peel it away from the chocolate. Ta-da! Edible bowls!
- **Scoop, Top, & Enjoy:** Fill your beautiful new chocolate bowls with scoops of your favorite ice cream. Go crazy with the toppings, add your chocolate-dipped “spoons,” and prepare for applause.
Common Mistakes to Avoid
Lest you embark on this delicious journey unprepared, heed these warnings:
- **Too Hot Chocolate:** Rookie mistake! If your chocolate is scalding hot, it will instantly pop your balloons. Melt slowly, stir often, and ensure it’s just warm.
- **Underinflated or Overinflated Balloons:** A balloon that’s too small makes a sad, tiny bowl. One that’s too big is harder to dip and might result in a flimsy bowl. Aim for that tennis ball sweet spot.
- **Impatience is Not a Virtue:** Don’t rush the chilling process. If the chocolate isn’t completely hard, your bowl will either collapse when you try to pop the balloon or melt into a puddle faster than you can say “brain freeze.”
- **Rough Popping:** Don’t yank the balloon out! A slow, gentle deflation and peel is key to keeping your chocolate bowls intact.
- **Forgetting the Parchment Paper:** Unless you enjoy chiseling chocolate off your baking sheet, don’t skip this step.
Alternatives & Substitutions
Feeling creative? Here are some ways to switch things up:
- **Chocolate Flavor Swap:** Don’t have candy melts? Use regular baking chocolate! You won’t get the crazy colors unless you add food coloring specifically designed for chocolate (water-based colors will seize it up, boo!).
- **Flavored Chocolate:** Add a few drops of **food-grade extract** (peppermint, almond, orange) to your melted chocolate for an extra kick. Peppermint chocolate bowls with mint chip ice cream? Yes, please!
- **Garnish Game Strong:** Instead of just sprinkles, try rolling the wet chocolate-dipped balloon bases in crushed nuts, coconut flakes, or more sprinkles before chilling for an extra textural surprise.
- **Different “Spoons”:** Besides wafers and pretzels, try chocolate-dipping rice crispy treats, shortbread cookies, or even robust fruit like banana slices (eat those quickly!).
- **Mini Bowls:** Use even smaller balloons to make cute little chocolate cups for individual servings of mousse, pudding, or even just a few berries.
FAQ (Frequently Asked Questions)
Got questions? I’ve got answers (and maybe a little sass).
What kind of balloons should I use?
Small party balloons, often sold as “water balloons” or just small latex balloons. Make sure they’re clean! I mean, you’re eating off them, right?
How do I melt chocolate without burning it?
Low and slow is the way to go, my friend. Microwave in 30-second bursts, stirring each time. Or use a double boiler – a bowl over a pot of simmering water – for ultimate control. **Avoid getting any water in the chocolate, or it will seize!**
Can I make these ahead of time?
Absolutely! You can make the chocolate bowls a day or two in advance. Store them in an airtight container at room temperature (if your house isn’t a sauna) or in the fridge. Just remember they can be a bit fragile!
My chocolate bowls are too thin and break easily. What went wrong?
You likely didn’t dip them deeply enough or your chocolate layer was too thin. Don’t be shy with that chocolate! A thicker layer means a sturdier bowl. You can also double-dip after the first layer is set for extra strength.
Are these actual edible spoons or just cool sticks?
They’re more “cool sticks that help you scoop” than actual spoon-shaped spoons. But hey, it’s chocolate and ice cream. Who’s complaining?
Can kids help with this recipe?
OMG, yes! This is a fantastic kid-friendly activity (with adult supervision for the hot chocolate part, obviously). They’ll love dipping the balloons and definitely love eating the results.
My chocolate stuck to the balloon! Help!
This sometimes happens if your chocolate isn’t fully set or if you’re too aggressive with popping. Try twisting the balloon gently as it deflates, or gently peeling it away. Also, make sure your balloons are good quality; sometimes cheap balloons have a texture that makes them stick more.
Final Thoughts
And there you have it! You’ve just leveled up your dessert game significantly. These colorful ice cream bowls are not just a treat for the taste buds but a feast for the eyes. Go ahead, snap a pic, brag a little – you’ve earned it! Now go impress someone – or just yourself – with your new culinary superpowers. And maybe save me a bowl? Just kidding (mostly). Enjoy your delicious, edible art!


