Okay, listen up, buttercup. Ever stare at a plate of regular old chocolate chip cookies and think, ‘Meh, could be… more?’ Me too, friend. We’re about to inject some serious fun (and color!) into those classic beauties without, you know, actually trying too hard. Because who has time for ‘hard’ when ‘delicious and dazzling’ is on the menu?
Why This Recipe is Awesome
First off, it’s basically the culinary equivalent of a mood ring for your mouth. You get all the comfort of a warm chocolate chip cookie but with a delightful pop of color that screams, ‘I’m fun AND I bake!’ Plus, it’s seriously hard to mess up. I once nearly set off a smoke detector making toast, and even I nailed these. So, if I can do it, you, my friend, are practically a pastry chef already.
Ingredients You’ll Need
- Unsalted Butter: 1 cup (2 sticks), softened. Because everything’s better with butter, right? And unsalted so we control the salt. We’re in charge now!
- Granulated Sugar: 1 cup. Sweet stuff. Don’t skimp, unless you’re a monster.
- Packed Light Brown Sugar: 1 cup. The secret sauce for chewiness. Trust me on this one.
- Large Eggs: 2. Room temp if you’re feeling fancy, but straight from the fridge works too, no judgment.
- Vanilla Extract: 2 teaspoons. The OG flavor enhancer. Don’t even think about imitation stuff. Your cookies deserve better.
- All-Purpose Flour: 2 ¼ cups. The foundation of our dreams. No fancy gluten-free stuff here, unless that’s your jam.
- Baking Soda: 1 teaspoon. Helps ’em get puffy and soft. Science!
- Salt: ½ teaspoon. Balances all that sweetness. Crucial, like a good wingman.
- Chocolate Chips: 1 ½ cups. Your favorite kind! Semi-sweet, milk, dark – it’s a judgment-free zone. Or mix ’em up, you rebel.
- Food Coloring: Assorted gel colors preferred! This is where the magic happens! Get a good quality gel set; it makes a huge difference.
Step-by-Step Instructions
- Preheat & Prep: Preheat your oven to 375°F (190°C). Line a couple of baking sheets with parchment paper. Don’t skip the parchment! It’s your best friend for non-stick cookies.
- Cream It Good: In a large bowl, cream together the softened butter, granulated sugar, and brown sugar until light and fluffy. Use an electric mixer if you have one; your arm will thank you.
- Egg-cellent Addition: Beat in the eggs, one at a time, until fully incorporated. Then stir in that glorious vanilla extract.
- Dry Mix Fun: In a separate medium bowl, whisk together the flour, baking soda, and salt. Whisking ensures everything’s evenly distributed, so no weird pockets of salty flour.
- Combine Forces: Gradually add the dry ingredients to the wet ingredients, mixing on low speed until just combined. Don’t overmix! That’s how you get tough cookies, and nobody wants a tough cookie.
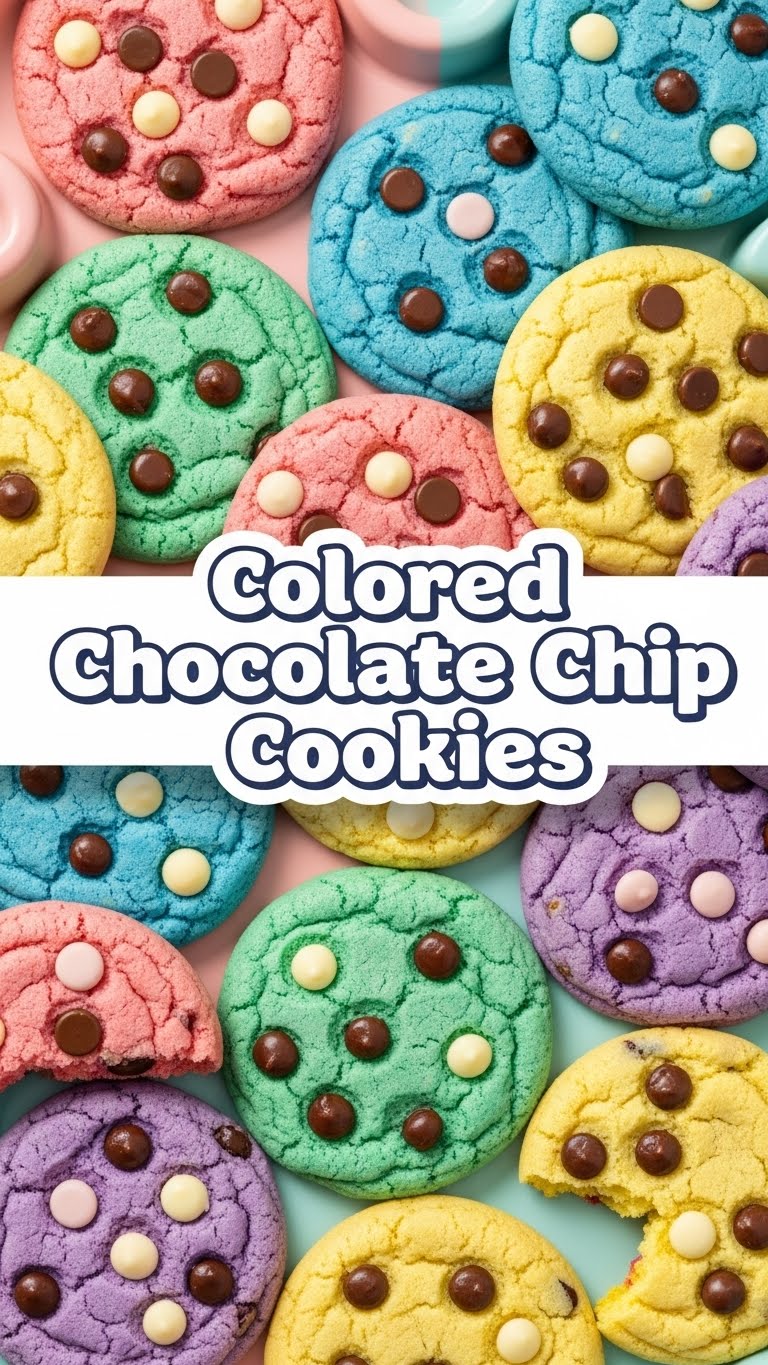
- Divide & Conquer (with Color!): Now for the fun part! Divide your cookie dough into as many bowls as you have colors. Add a few drops of gel food coloring to each bowl and mix until the color is evenly distributed. Go bold or go subtle – it’s your canvas!
- Chip It In: Fold the chocolate chips into each colored batch of dough. Make sure they’re spread out nicely.
- Scoop & Bake: Drop rounded tablespoons of dough onto your prepared baking sheets, leaving about 2 inches between each. You can mix colors on one sheet or keep them separate – your call!
- Golden Glory: Bake for 9-11 minutes, or until the edges are golden brown and the centers are still a little soft. Undercooked is better than overcooked for chewy cookies.
- Cool Down: Let them cool on the baking sheets for a few minutes before transferring them to a wire rack to cool completely. Or just eat one warm, I won’t tell.
Common Mistakes to Avoid
- Ignoring the softened butter memo: Trying to cream cold butter is a workout you didn’t sign up for, and your cookies will suffer.
- Overmixing the dough: Remember what I said about tough cookies? Yeah, don’t do that. Mix until just combined.
- Skimping on food coloring: If you want vibrant, go for gel and don’t be shy. A tiny drop of liquid coloring isn’t going to cut it.
- Not lining your baking sheet: Ever scrape burnt cookie bits off a tray? Not fun. Use parchment!
- Baking too long: A golden edge and slightly pale center is what we’re aiming for. Keep an eye on ’em!
Alternatives & Substitutions
- Chocolate Chips: Feeling adventurous? Try white chocolate chips, M&Ms, or even chopped nuts! Personally, I’m a fan of mixing semi-sweet with a few white chocolate chunks for extra visual appeal.
- Butter: You could use a high-quality shortening, but IMO, butter just tastes better. For a dairy-free option, use a good plant-based butter alternative.
- Flour: If you’re into that whole gluten-free thing, a 1:1 gluten-free baking blend might work, but I haven’t personally tested it, so bake at your own risk, rebel!
- Colors: Get creative! Rainbow cookies? Monochromatic blues? The world is your oyster. Or, you know, your cookie dough.
FAQ (Frequently Asked Questions)
- Q: Can I use liquid food coloring? A: Technically, yes, but why add extra liquid to your dough and risk muted colors? Gel food coloring is your best bet for vibrant hues without changing the dough’s consistency.
- Q: How do I store these beauties? A: In an airtight container at room temperature for up to 3-4 days. If they last that long, you have impressive self-control.
- Q: Can I freeze the dough? A: Absolutely! Scoop balls of dough onto a parchment-lined tray, freeze until solid, then transfer to a freezer-safe bag. Bake from frozen, adding a minute or two to the baking time. Future you will thank you.
- Q: My cookies spread too much! What happened? A: Could be a few things! Your butter might have been too soft, your oven temperature might be off, or you didn’t chill your dough. Try chilling the dough for 30 minutes before baking next time.
- Q: Do I really need both granulated and brown sugar? A: Yep! Granulated sugar helps with crispiness, and brown sugar brings the chewiness and moisture. They’re a power couple!
- Q: Can I make these without food coloring? A: Uh, yeah, but then they’re just… regular chocolate chip cookies. Still delicious, but where’s the party in that? 😉
Final Thoughts
So there you have it, folks! Your very own guide to making cookies that are almost too pretty to eat (almost!). Now go impress someone—or yourself—with your new culinary skills. Seriously, you’ve earned those delicious, colorful bites. Happy baking, and don’t forget to save one for me!


