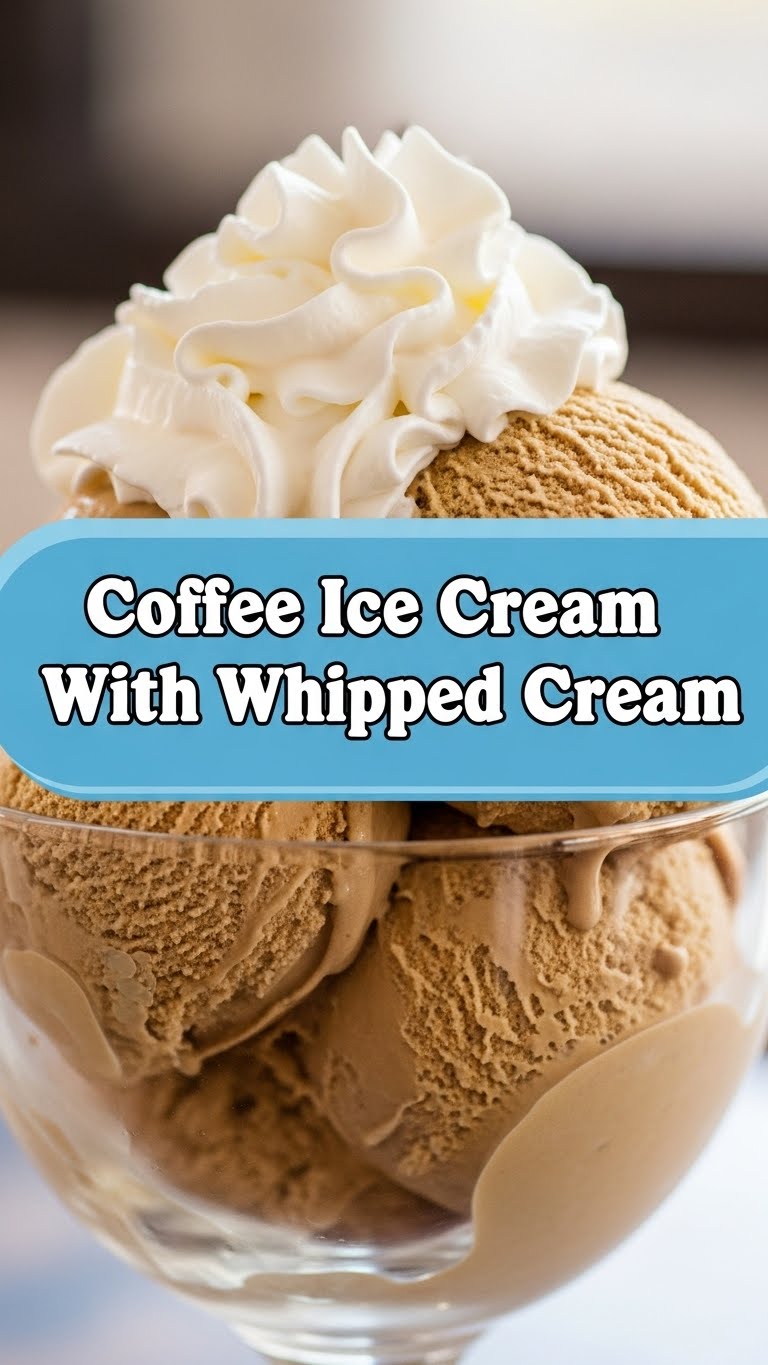
You know that feeling? When your coffee cravings hit, but also… *ice cream*? And you’re torn between the two greatest things known to humanity? What if I told you there’s a way to have your coffee and eat it too, without turning your kitchen into a disaster zone or needing a fancy gadget you’ll use once? Yeah, I thought you’d be interested. Get ready for some glorious, easy-peasy **no-churn Coffee Ice Cream topped with dreamy Whipped Cream** that’ll make you feel like a culinary wizard, even if your usual go-to is microwave popcorn.
Why This Recipe is Awesome
Okay, so this isn’t just *any* coffee ice cream. This is the **no-churn** kind. Meaning, if you don’t own an ice cream maker (like most normal humans, because who has space for *that* monstrosity?), you’re still in the game. It’s practically idiot-proof – even *I* haven’t messed it up, and my track record with anything more complex than toast is… spotty, to say the least. It’s shockingly easy, seriously delicious, and will make you look like a gourmet chef without actually having to be one. Plus, we’re piling on homemade whipped cream, because why have just one awesome thing when you can have two?
Ingredients You’ll Need
Gather your troops, because we’re about to make magic. No obscure ingredients here, just the good stuff!
- **For the Coffee Ice Cream:**
- 2 cups (480ml) Heavy Cream (the full-fat kind, darling, don’t skimp!)
- 1 (14-ounce/397g) can Sweetened Condensed Milk (this is the secret sauce, the MVP, the reason it’s so creamy without churning!)
- 2-3 tablespoons Instant Espresso Powder or Instant Coffee (use good quality, because it’s the star. Adjust to your coffee-crazed level!)
- 1 teaspoon Vanilla Extract (because vanilla makes everything better, it’s a fact.)
- Optional: 1 tablespoon Hot Water (to dissolve your coffee, unless you like crunchy coffee bits – no judgment, but also, no.)
- **For the Whipped Cream Topping:**
- 1 cup (240ml) Heavy Cream (yes, more cream! We like to live dangerously.)
- 1-2 tablespoons Powdered Sugar (or to taste; you’re the boss of your sweetness.)
- ½ teaspoon Vanilla Extract (see above re: vanilla’s magical powers.)
Step-by-Step Instructions
Alright, apron on (or not, we’re not formal here), let’s get this party started!
- **Prep Your Coffee Kick:** If using hot water, grab a small bowl and mix your instant espresso powder or coffee with the hot water until it’s fully dissolved. You want a thick, syrupy coffee concentrate. If your coffee dissolves easily without water, you can skip this and add it directly to the condensed milk.
- **Combine the Sweetness:** In a large bowl, pour in the sweetened condensed milk, your dissolved coffee mixture, and the 1 teaspoon of vanilla extract. Stir it all up until it’s beautifully combined and smells like a coffee shop dream.
- **Whip It Real Good (Part 1):** In a separate, very cold bowl (seriously, chill it in the freezer for 10-15 mins beforehand for best results!), pour in the 2 cups of heavy cream. Using an electric mixer (handheld or stand mixer), beat the cream on medium-high speed until **stiff peaks** form. What are stiff peaks? When you lift the beaters, the cream should stand up on its own, proudly pointing to the sky. Don’t overmix, or you’ll have butter (unless you’re aiming for that, then proceed!).
- **Fold with Love:** Gently, oh so gently, fold about a third of the whipped cream into your coffee-condensed milk mixture. This lightens the base. Then, add the rest of the whipped cream and fold until just combined. **Don’t overmix!** We want it light and airy.
- **Freeze for Glory:** Pour your gorgeous mixture into a freezer-safe container (a loaf pan works perfectly!). Cover it with plastic wrap, pressing it directly onto the surface of the ice cream to prevent ice crystals. Freeze for at least 6 hours, or ideally, overnight. Patience is a virtue, my friend.
- **Whip It Real Good (Part 2 – The Topping):** Once your ice cream is almost ready, or when you’re about to serve, make the whipped cream topping. In another chilled bowl, beat the remaining 1 cup of heavy cream with the powdered sugar and ½ teaspoon vanilla extract until soft peaks form. Again, no overmixing!
- **Serve and Devour:** Scoop your homemade coffee ice cream into bowls or cones, top generously with your freshly whipped cream, and maybe a sprinkle of cocoa powder if you’re feeling fancy. Enjoy!
Common Mistakes to Avoid
Look, we all make mistakes. It’s part of the journey! But here are a few to dodge so your ice cream dreams don’t turn into a soupy nightmare:
- **Not Chilling Your Bowl/Beaters:** This isn’t just a suggestion for whipped cream; it’s a demand! Cold everything helps your cream whip faster and fluffier. Skipping this is a **rookie mistake**.
- **Not Dissolving the Instant Coffee:** Unless you’re a fan of gritty coffee bits in your smooth ice cream (again, no judgment, but also… why?), make sure that coffee powder is fully dissolved first.
- **Overmixing the Whipped Cream:** This is where light and airy turns into dense and buttery. As soon as you hit those stiff peaks, stop. Your arm might want to keep going, but resist the urge!
- **Using Low-Fat Cream:** Oh, honey, no. This is a treat! Low-fat cream simply won’t whip up correctly, leaving you with a sad, runny mess. **Go full-fat or go home.**
Alternatives & Substitutions
Feeling adventurous? Or maybe you just ran out of something? Here are some ideas:
- **Coffee Strength:** Love a strong brew? Add an extra tablespoon of espresso powder. Prefer it milder? Dial it back to 1.5 tablespoons. You do you!
- **Decaf Life:** If you want this treat late at night but still need to sleep, just swap in decaf instant coffee. Problem solved, my friend.
- **Flavor Boosts:** For extra depth, you can add a pinch of cinnamon or a tiny dash of almond extract to the ice cream mixture. Or, for a mocha vibe, fold in a tablespoon of unsweetened cocoa powder with the condensed milk.
- **Add-ins, Anyone?:** Once the ice cream is half-frozen (about 3 hours in), you can fold in chocolate chips, chopped cookies (Oreos, anyone?), or even a swirl of caramel. Go wild!
FAQ (Frequently Asked Questions)
- **Can I use regular brewed coffee instead of instant?** Well, technically yes, but it needs to be *very* strong and reduced to a syrup consistency so it doesn’t add too much liquid and make your ice cream icy. Instant is genuinely the easiest and best for this no-churn method, IMO.
- **How long does this coffee ice cream last in the freezer?** If it actually lasts that long without being devoured, it’s good for up to 2 weeks, sealed tightly. Beyond that, it might start to get a bit icy.
- **My cream isn’t whipping! What did I do wrong?** Is your cream cold enough? Is your bowl and beaters cold? Is it actually heavy cream (at least 36% milk fat)? If any of these are a “no,” that’s probably your culprit. Also, sometimes cream just has a bad day – start over with new, very cold cream if needed!
- **Can I make this dairy-free?** You can try using full-fat coconut cream (the thick part from a can of chilled coconut milk) instead of heavy cream, and a dairy-free sweetened condensed milk. The texture might be slightly different, but it’ll still be delicious!
- **Is this recipe super sweet?** Sweetened condensed milk is, well, sweet! But the strong coffee balances it out beautifully. You can reduce the powdered sugar in the whipped cream if you prefer it less sweet overall.
Final Thoughts
See? I told you this was easy! You just whipped up (pun absolutely intended) some seriously impressive coffee ice cream with homemade whipped cream, all without breaking a sweat or buying an expensive gadget. Now, go impress someone—or better yet, just yourself—with your new culinary skills. You’ve earned this indulgent, caffeine-fueled masterpiece. Don’t forget to send me a photo!


