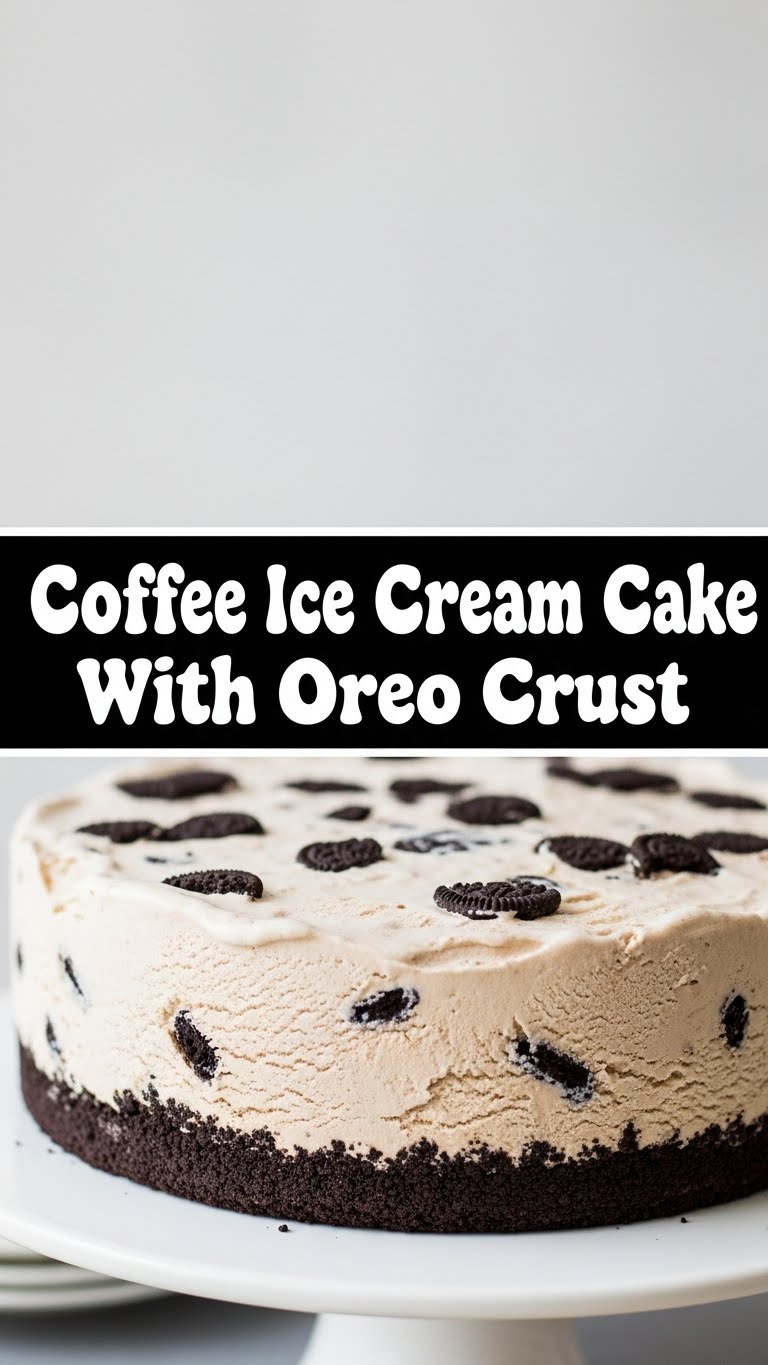
Ever had one of those days where your brain screams ‘DESSERT!’ but your body whispers ‘couch… now…’? Yeah, me too. And that, my friend, is precisely why we’re diving headfirst into this glorious, no-bake Coffee Ice Cream Cake with an Oreo Crust. It’s basically an edible hug for your soul, without the actual effort of, you know, *baking*. So grab your apron (or just a clean shirt, let’s be real), because we’re about to whip up something truly legendary.
Why This Recipe is Awesome
Because who has time for complicated recipes when there’s Netflix and existential dread to deal with? This cake is your new best friend for a few simple, glorious reasons:
- It’s **no-bake**, which means zero oven anxiety. Your house stays cool, and your stress levels stay chill.
- It combines coffee (hello, adulting!) with Oreos (hello, inner child!). It’s the ultimate flavor mashup, IMO.
- It’s idiot-proof. Seriously, even I, a person who once set off the fire alarm microwaving popcorn, didn’t mess this up.
- It looks impressive AF without you actually having to break a sweat. You’ll be basking in compliments, trust me.
Ingredients You’ll Need
Get ready for a short but sweet list. No obscure ingredients here, just pure, unadulterated deliciousness.
- 1 (14.3 oz) package Oreo cookies: The MVP of crusts. Go for classic, or mix it up with Double Stuf if you’re feeling extra.
- 6 tablespoons unsalted butter, melted: The glue that holds your dreams (and crumbs) together.
- 1.5 quarts (about 6 cups) coffee ice cream: The star of the show, obviously. Don’t skimp here; get a good quality one. You deserve it.
- 1 (8 oz) container frozen whipped topping (like Cool Whip), thawed: The fluffy cloud of joy. Or make your own if you’re feeling fancy (but why add steps?).
- Chocolate syrup or fudge sauce: For drizzling like a pro.
- Optional garnishes: More crushed Oreos, chocolate-covered coffee beans, a dusting of cocoa powder. Because presentation matters, even if it’s just for you.
Step-by-Step Instructions
Ready to get your hands (a little) dirty? Follow these simple steps and prepare to be amazed.
- Prep your pan: Grab a 9-inch springform pan. If you don’t have one, a regular 9-inch cake pan lined with parchment paper (leaving an overhang for easy lifting) works too. This is key for a smooth release.
- Crush those Oreos: Pop the entire package of Oreos (filling and all!) into a food processor and blitz until you have fine crumbs. No food processor? No problem! Put them in a sturdy Ziploc bag and unleash your inner Hulk with a rolling pin until they’re finely crushed.
- Make the crust: In a medium bowl, combine the Oreo crumbs and the melted butter. Mix it all together until the crumbs are evenly moistened. It should resemble wet sand.
- Press it in: Press the crumb mixture firmly and evenly into the bottom of your prepared pan. Use the back of a spoon or the bottom of a glass to get it nice and compact. Now, slide it into the freezer for at least 15-20 minutes to set while you move on.
- Soften the ice cream: While the crust is chilling, take your coffee ice cream out of the freezer. Let it sit on the counter for about 10-15 minutes to soften just enough so it’s spreadable, but not melted. You want it scoopable, not soupy.
- Layer it up: Spoon the slightly softened coffee ice cream over the chilled Oreo crust. Use an offset spatula or the back of a spoon to spread it into an even layer. Work quickly so the ice cream doesn’t melt too much.
- Freeze time, again: Pop the pan back into the freezer for at least 1-2 hours, or until the ice cream layer is firm. Patience, grasshopper! This step is crucial.
- Add the whipped topping: Once the ice cream is firm, spread the thawed whipped topping evenly over the coffee ice cream layer. Make pretty swirls if you’re feeling artistic.
- Final freeze: Return the cake to the freezer for another 2-3 hours, or ideally, overnight, until everything is completely firm. This ensures clean slices!
- Serve it up: When you’re ready to serve, remove the cake from the freezer. If using a springform pan, simply unlatch and lift the sides. If using a regular pan with parchment, use the overhang to lift the cake out. Let it sit at room temperature for about 5-10 minutes to make slicing easier. Drizzle with chocolate syrup and add any extra garnishes. Slice, serve, and accept all the compliments!
Common Mistakes to Avoid
Listen, we all make mistakes. But with this handy guide, you won’t make *these* mistakes. You’re welcome.
- Not freezing between layers: This isn’t a race, it’s a marathon of deliciousness. If your layers aren’t firm, you’ll end up with a coffee-oreo swamp instead of a beautifully defined cake. Patience is key!
- Over-softening the ice cream: We want “spreadable,” not “liquid.” If your ice cream is too soft, it’ll be a messy disaster and won’t set properly. Aim for about 10-15 minutes on the counter, then get to spreading.
- Skipping the parchment paper (if not using springform): Unless you enjoy chiseling your dessert out of the pan and questioning all your life choices, use that parchment paper. Trust me on this one.
- Eating it all yourself before serving: This is a common, yet understandable, mistake. Try to save some for others, even if it’s just a sliver. (Mostly kidding, do what you gotta do.)
Alternatives & Substitutions
Feeling rebellious? Want to put your own spin on it? Here are a few ideas, but honestly, the original is *chef’s kiss*.
- Crust variations: Not an Oreo fan (gasp!)? You can totally swap them out for graham cracker crumbs, Nilla wafers, or even digestive biscuits. Just use the same butter-to-crumb ratio.
- Ice cream flavors: While coffee is the star here, you could try mocha, espresso swirl, or even a deep chocolate ice cream for a different vibe. But seriously, coffee is superior.
- Whipped topping upgrade: If you’re feeling extra, you can make your own fresh whipped cream (heavy cream, powdered sugar, vanilla extract). It’s more effort, but undeniably delicious.
- Topping bonanza: Ditch the chocolate syrup and go for caramel sauce, hot fudge, chopped nuts, sprinkles, or even crumbled candy bars. Live a little!
FAQ (Frequently Asked Questions)
Got questions? I’ve got answers. No judgment here, only dessert wisdom.
- Do I really need a springform pan? Highly, highly recommended, friend! It makes removing the cake a breeze. But if you don’t have one, a regular cake pan with parchment paper lining (with overhang!) will work.
- Can I use regular coffee in my ice cream instead of buying coffee-flavored? Well, technically you *could* swirl in some cooled, strong espresso, but it might mess with the ice cream’s texture and won’t have the same integrated flavor. For this recipe, stick to store-bought coffee ice cream for ease and consistency.
- How long does this ice cream cake keep in the freezer? It’ll stay good for up to a week, covered tightly, but let’s be real, it won’t last that long. It usually vanishes within 2-3 days in my house.
- Can I make this ahead of time for a party? Absolutely! That’s the beauty of it. Make it the day before, or even two days before, and just pull it out of the freezer to thaw for a few minutes before serving.
- Is it *really* that easy? Seriously, I’m skeptical. Oh, friend, it is. If I can do it, you can do it. It’s truly a beginner-friendly recipe that delivers big on flavor and “wow” factor.
- What if I don’t like coffee? (Gasp!) First of all, why? Just kidding! If coffee isn’t your jam, substitute with chocolate, vanilla, mint chip, or even strawberry ice cream. Your cake, your rules.
Final Thoughts
So there you have it, folks. A ridiculously easy, incredibly delicious, and effortlessly impressive Coffee Ice Cream Cake with an Oreo Crust. This isn’t just a dessert; it’s a declaration that you can have fancy things without all the fuss. Now go forth and conquer that craving! You’re basically a no-bake pastry chef now. Enjoy every single glorious bite!


