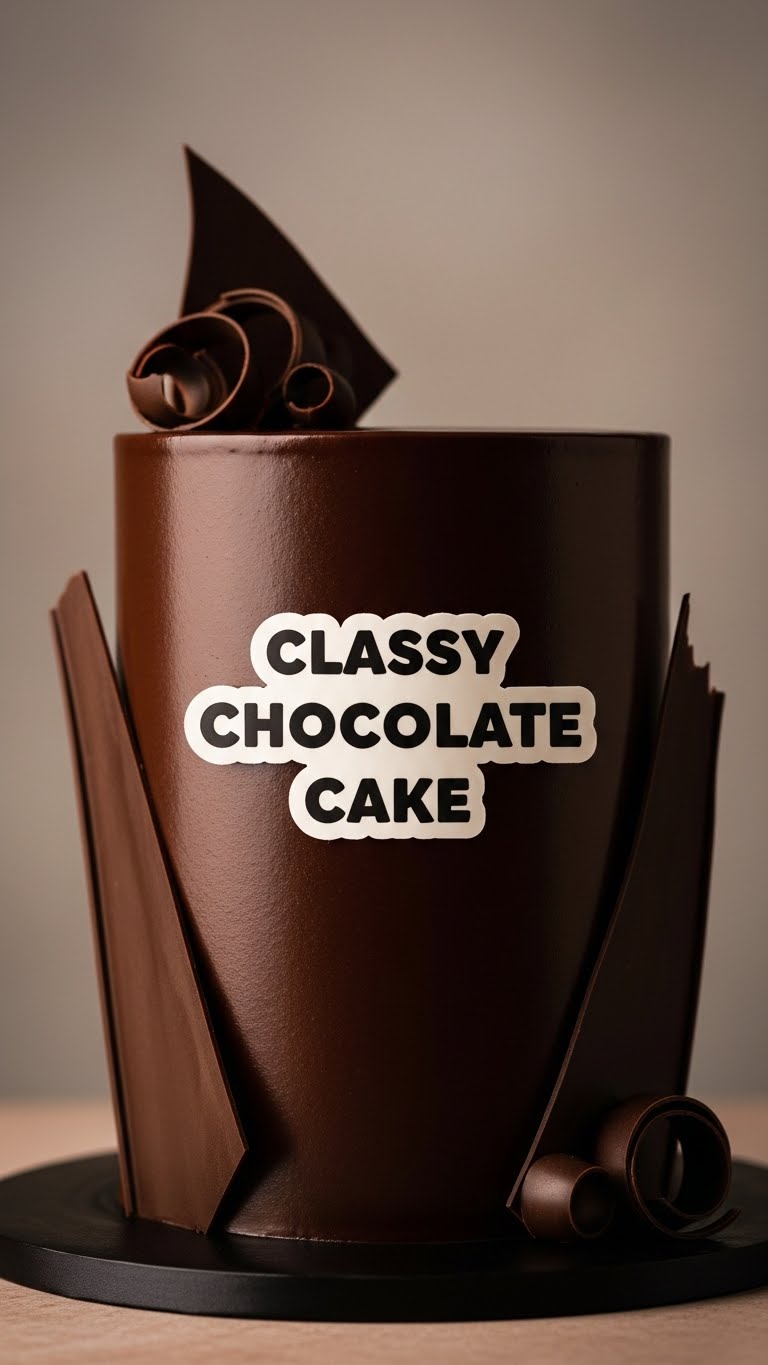
Okay, friend, let’s be real. Sometimes you just need *chocolate*. Not just any chocolate, but the kind that screams ‘I’m sophisticated, but also I just want to eat this entire thing in my pajamas.’ And you want it without turning your kitchen into a disaster zone or needing a culinary degree. Am I right? Good news: I’ve got your back with this Classy Chocolate Cake.
Why This Recipe is Awesome
Listen, I get it. Baking can feel like a science experiment gone wrong sometimes. But this Classy Chocolate Cake? It’s basically magic. It’s so ridiculously easy, even your pet hamster could probably follow along (if it had opposable thumbs, of course). Seriously, it comes out moist, rich, and fancy-looking every single time. Plus, it uses ingredients you probably already have, so no frantic last-minute grocery runs. FYI, it’s my go-to for looking like a baking genius without actually having to be one. Fool-proof, I swear!
Ingredients You’ll Need
- All-Purpose Flour: The OG of baking. About 1 ½ cups.
- Granulated Sugar: For sweetness! 1 ½ cups, give or take if you’re feeling feisty.
- Unsweetened Cocoa Powder: The darker, the better, for that deep chocolatey goodness. ¾ cup.
- Baking Soda: Our little rising superstar. 1 ½ teaspoons.
- Baking Powder: Its trusty sidekick. 1 teaspoon.
- Salt: Just a pinch, to make all those other flavors sing. 1 teaspoon.
- Large Eggs: Two of ’em. Room temp if you’re feeling fancy (but don’t stress if not).
- Milk: Any kind, 1 cup. Whole milk makes it extra lush, but really, whatever you have.
- Vegetable Oil: Or canola, or any neutral oil. ½ cup. For that amazing moistness, trust me.
- Vanilla Extract: The secret weapon! 2 teaspoons. Don’t skip it!
- Boiling Water: 1 cup. Sounds weird, but it makes the chocolate bloom and intensifies the flavor. Seriously, don’t skip this step!
Step-by-Step Instructions
- Preheat & Prep: Get that oven heated to 350°F (175°C). Grease and flour two 8-inch round cake pans. Or, line with parchment paper if you’re feeling extra pro.
- Dry Mix Fun: In a large bowl, whisk together the flour, sugar, cocoa powder, baking soda, baking powder, and salt. Make sure there are no lumpy bits!
- Wet Mix Wonders: In another bowl, combine the eggs, milk, oil, and vanilla extract. Whisk ’em up until they’re friends.
- Combine Forces: Pour the wet ingredients into the dry ingredients. Mix on low speed (or by hand) until just combined. Don’t overmix, or your cake will be tough – we want fluffy!
- The Boiling Water Secret: Slowly pour in the boiling water while continuing to mix on low. The batter will be thin, and that’s totally normal. This is absolutely key for moistness!
- Divide & Conquer: Divide the batter evenly between your two prepared cake pans.
- Bake It Up: Bake for 30-35 minutes, or until a wooden skewer inserted into the center comes out clean.
- Cool Down: Let them cool in the pans for about 10-15 minutes before flipping them out onto a wire rack to cool completely. Patience, young grasshopper!
Common Mistakes to Avoid
- Overmixing: Seriously, stop mixing when it’s just combined. Overdoing it activates gluten, making your cake dense and chewy. Nobody wants a rubbery cake, right?
- Skipping the Boiling Water: “But it’s so thin!” Yeah, that’s the point. It melts the cocoa, making the flavor deeper and the cake super moist. Trust the process, it works!
- Not Greasing & Flourishing: Or parchment papering. If you skip this, your cake will stage a rebellion and stick to the pan. Not fun to scrape out.
- Opening the Oven Door Too Soon: Resist the urge! Let your cake bake undisturbed for at least 25 minutes. Otherwise, it might just collapse on itself like a deflated soufflé.
- Cutting While Hot: Your cake needs to cool completely before frosting and slicing. It’s still cooking and setting up inside. Patience, I tell you!
Alternatives & Substitutions
- Coffee instead of water? Oh, you fancy! If you want an even deeper chocolate flavor (and who doesn’t?), swap out the boiling water for hot brewed coffee. The coffee won’t make it taste like coffee, it just amplifies the chocolate. IMO, this is a game-changer!
- Buttermilk instead of milk? If you have buttermilk, use it! It adds a lovely tang and makes the cake even more tender. Just swap it 1:1.
- Gluten-Free Flour? You can totally use a 1:1 gluten-free baking blend. Just make sure it contains xanthan gum.
- No round pans? A 9×13 inch pan works great for a single sheet cake; just adjust baking time slightly (usually 35-40 mins). Or cupcakes!
FAQ (Frequently Asked Questions)
- “My cake cracked on top! What did I do wrong?” Probably nothing! Sometimes ovens are just quirky, or the batter might have been slightly overmixed. As long as it tastes good, who cares? Frosting covers a multitude of sins!
- “Can I make this ahead of time?” Absolutely! Unfrosted cake layers can be wrapped tightly in plastic wrap and stored at room temp for up to 2 days, or frozen for a month. Just thaw before frosting.
- “What kind of frosting should I use?” A classic chocolate buttercream is always a winner. Or, for true class, a rich ganache. Don’t feel guilty about using store-bought either, no judgment here!
- “Why is boiling water necessary?” It’s science, my friend! The hot water “blooms” the cocoa powder, releasing more flavor and creating a super moist crumb. It’s the secret sauce!
- “Can I halve or double the recipe?” Halving is usually fine. Doubling can be tricky in a single bowl, so I’d recommend making two separate batches if you need a huge cake, just to be safe.
- “My cake is dry! Help!” Did you overbake it? Every oven is different, so keep an eye on it after the 25-minute mark. Next time, pull it out as soon as the skewer comes out clean (maybe even with a few moist crumbs attached).
Final Thoughts
See? Told you it was easy! Now go forth, my friend, and bake this magnificent Classy Chocolate Cake. You’ll impress everyone, including yourself, with how utterly delicious and surprisingly simple it is. Don’t forget to send me a picture (and maybe a slice?). Happy baking, you rockstar!
