Okay, let’s be real. You’ve got that craving. That sticky, sweet, cinnamon-laced, walnut-crunchy craving that only a truly decadent roll can fix. But also, you’re not trying to become a professional baker today, right? Good. Because neither am I. We’re here for the joy, the aroma, and the “oh my gosh, *I* made this?!” moment without the stress. Grab your apron (or don’t, I won’t tell) because we’re diving into the ridiculously satisfying world of Cinnamon Walnut Rolls!
Why This Recipe is Awesome
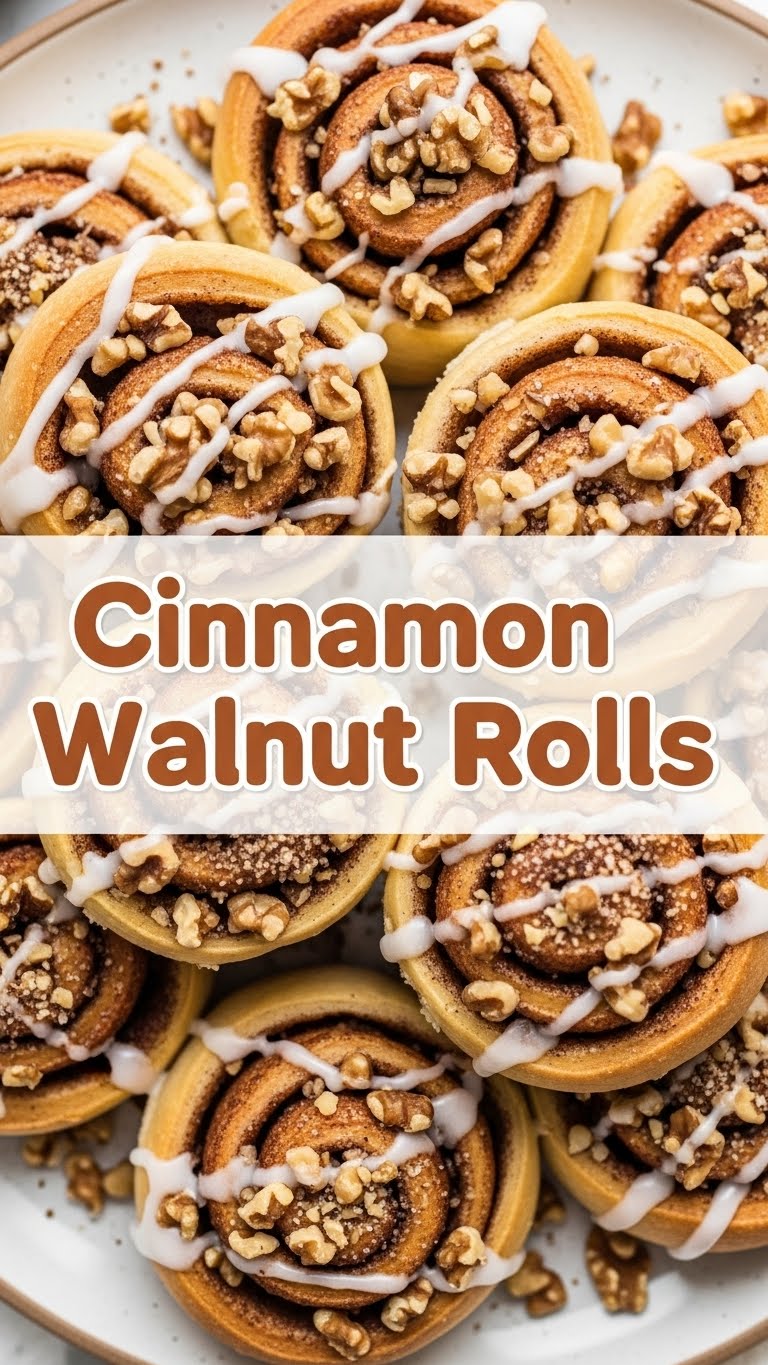
Seriously, this recipe is like magic. It’s surprisingly chill for how outrageously impressive the results are. We’re talking soft, pillowy dough, a gooey cinnamon-sugar filling, and that perfect crunch from toasted walnuts. Plus, it’s basically idiot-proof; even I didn’t mess it up, which, let me tell you, is a high bar. You don’t need fancy equipment, just a bowl, your hands (or a stand mixer if you’re feeling bougie), and a little patience. The best part? Your house will smell like a dream, instantly making you everyone’s favorite human. You’re welcome.
Ingredients You’ll Need
- For the Dough:
- 1 cup warm milk (around 105-115°F / 40-46°C – think warm bath, not scalding shower!)
- 2 ¼ teaspoons active dry yeast (one packet, those little guys are the real MVPs)
- ¼ cup granulated sugar (for the yeast to munch on and to make things sweet)
- 1 large egg, room temperature (gives richness and tenderness)
- ¼ cup unsalted butter, melted (because butter makes everything better, duh)
- 1 teaspoon salt (don’t skip it, balances the sweetness!)
- 3 – 3 ½ cups all-purpose flour (start with 3, add more if it’s super sticky)
- For the Filling:
- ½ cup unsalted butter, softened (room temp is key for easy spreading)
- ¾ cup packed light brown sugar (that caramel-y goodness!)
- 2 tablespoons ground cinnamon (the star of the show! Go for good quality)
- 1 cup chopped walnuts (toasted is superior, IMO, but raw works too)
- For the Glaze (optional, but HIGHLY recommended):
- 1 cup powdered sugar (also known as confectioners’ sugar)
- 2-3 tablespoons milk (any kind works, just to make it drizzly)
- ½ teaspoon vanilla extract (a little extra warmth)
Step-by-Step Instructions
- Wake Up the Yeast: In a large bowl (or stand mixer bowl), combine the warm milk, yeast, and ¼ cup granulated sugar. Give it a gentle stir. Let it sit for 5-10 minutes until it looks foamy. If it doesn’t foam, your yeast might be dead – **start over with fresh yeast and warm, not hot, milk!**
- Mix Your Dough: Add the egg, melted butter, and salt to the yeast mixture. Stir it up. Then, gradually add 3 cups of flour, mixing until a shaggy dough forms.
- Knead It Out: Turn the dough out onto a lightly floured surface. Knead for 5-7 minutes until it’s smooth and elastic. It should spring back when poked. (If using a stand mixer, use the dough hook for 5 minutes on medium-low speed.)
- First Rise: Lightly grease your bowl. Place the dough in it, turning once to coat. Cover with plastic wrap or a clean kitchen towel. Let it rise in a warm spot for 1-1.5 hours, or until doubled in size. This is where the magic happens!
- Prep the Filling & Roll: While the dough is rising, mix the softened butter, brown sugar, and cinnamon for the filling in a small bowl. Once the dough has risen, punch it down gently. Roll it out on a lightly floured surface into a large rectangle, about 12×18 inches. Spread the filling evenly over the dough, leaving a small border on one long edge. Sprinkle the chopped walnuts over the filling.
- Roll ‘Em Up: Starting from one long edge, tightly roll the dough into a log. Pinch the seam closed to seal it. Now, for the fun part: slice the log into 12 equal rolls, about 1.5 inches thick. A sharp knife or even unflavored dental floss works wonders here!
- Second Rise: Arrange the rolls in a lightly greased 9×13 inch baking pan. Cover them again and let them rise in a warm spot for another 30-45 minutes, or until they look puffy and have nearly doubled. While they’re rising, preheat your oven to 375°F (190°C).
- Bake to Perfection: Pop the pan into your preheated oven. Bake for 20-25 minutes, or until the tops are golden brown and the rolls are cooked through. They should sound hollow if you tap one gently.
- Glaze ‘Em (Optional, but C’mon): While the rolls are cooling slightly (but still warm!), whisk together the powdered sugar, milk, and vanilla extract for the glaze. Add milk a tiny bit at a time until you reach your desired drizzly consistency. Drizzle generously over the warm rolls.
Common Mistakes to Avoid
- Killing the Yeast: Too hot water equals dead yeast, and then your rolls won’t rise. Too cold water means sleepy yeast, and they’ll take ages. Aim for bathwater temp, okay?
- Over-Flouring: Adding too much flour results in dry, tough rolls. Start with the lower amount and only add more if the dough is ridiculously sticky. A slightly sticky dough is better than a dry one.
- Not Kneading Enough (or Too Much): Undereading means less gluten development, leading to dense rolls. Overkneading is harder to do by hand but can make them tough. Look for that smooth, elastic texture.
- Being Impatient: Rushing the rise times is a recipe for sad, dense rolls. Let the dough do its thing; good things come to those who wait!
- Opening the Oven Door: Every time you peek, you let out heat, which can mess with the baking process and cause your rolls to fall. Resist the urge!
Alternatives & Substitutions
Feeling adventurous or missing an ingredient? No worries, friend!
- Nut Swaps: Not a walnut fan? Pecans are an amazing alternative and equally delicious. Or, if you’re nut-free, simply omit them or swap for some chocolate chips (because, why not?).
- Fancy Glaze: Instead of the simple powdered sugar glaze, whip up a quick cream cheese frosting! Just soften 2 oz cream cheese, 2 tbsp butter, and mix with 1 cup powdered sugar and a splash of vanilla. Divine!
- Citrus Zest: For a bright twist, add 1-2 teaspoons of orange or lemon zest to your dough or even to your filling. It adds a lovely aromatic zing.
- Dairy-Free? You can definitely use plant-based milk (like almond or oat) and a dairy-free butter substitute for the dough and filling.
FAQ (Frequently Asked Questions)
- Can I use instant yeast instead of active dry?
Totally! If you’re using instant yeast, you can skip the “waking up” step and just add it directly to your flour and other dry ingredients. Just make sure your milk is still warm.
- Can I make these ahead of time?
You bet! After you’ve sliced and placed the rolls in the pan for their second rise, cover them tightly and pop them in the fridge overnight. The next morning, let them come to room temperature (about 30-60 minutes) before baking. Easy peasy!
- My rolls didn’t rise, help!
Uh oh. Most likely culprits are dead yeast (water too hot or too old yeast) or a cold environment. Make sure your milk is the right temp and find a cozy, warm spot for your dough to hang out.
- I don’t have a stand mixer. Can I still make this?
Absolutely! The instructions include hand-kneading, which is a great arm workout. Just embrace the dough and get your hands sticky.
- How do I store leftovers?
If you even have any! Keep them in an airtight container at room temperature for 2-3 days, or in the fridge for up to a week. A quick zap in the microwave will bring them back to life.
- Can I add other spices to the filling?
For sure! A pinch of nutmeg or cardamom would be delightful and add extra layers of cozy flavor.
Final Thoughts
You did it! You faced the yeast, conquered the kneading, and created something truly delicious. Aren’t you proud? You should be! These Cinnamon Walnut Rolls are more than just a treat; they’re a warm, comforting hug in edible form. Now go impress someone—or yourself—with your new culinary skills. You’ve earned it!


