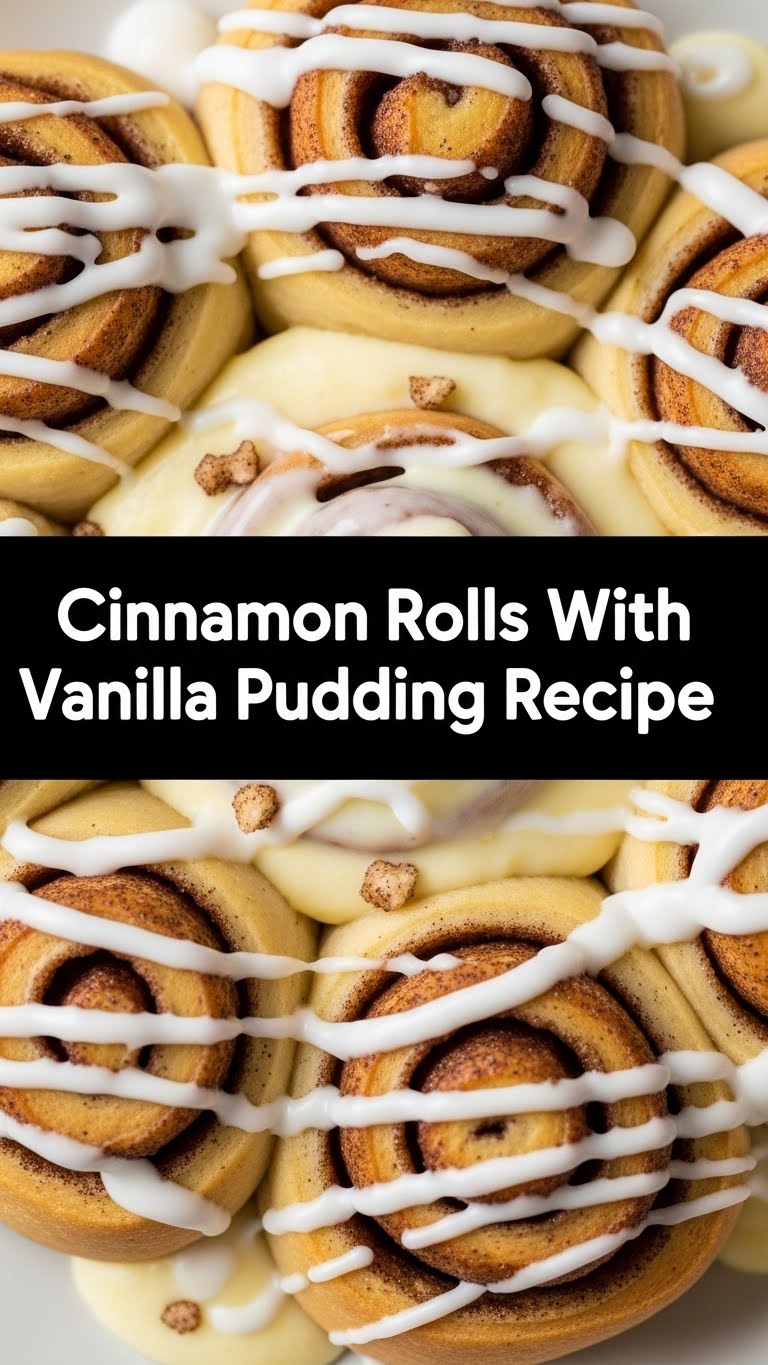
So, you’re eyeing that bakery display, drooling over cinnamon rolls, but the thought of getting off the couch is a whole ‘nother battle, right? Or maybe you just want to impress your housemates without actually breaking a sweat? 😉 Good news, friend. I’ve got your back with a recipe so easy, it practically makes itself, and tastes like a hug from a cloud: Cinnamon Rolls with a secret weapon – vanilla pudding!
Why This Recipe is Awesome
Okay, let’s be real. Most cinnamon roll recipes are like a commitment to a new relationship – full of effort, rising times, and potential heartbreak. Not this one! This recipe is basically idiot-proof (even *I* didn’t mess it up, and that’s saying something). We’re talking fluffy, gooey, sweet perfection that tastes like it came from a fancy bakery, but only you’ll know how little effort went into it.
Plus, the vanilla pudding? It’s our little cheat code for extra moistness and flavor that’ll make people wonder what your secret is. Spoiler: it’s pudding. Shhh!
Ingredients You’ll Need
- For the Dough:
- Warm milk: 1 cup (think bathwater warm, not lava hot, unless you want to kill the yeast, you monster).
- Active dry yeast: 2 ¼ teaspoons (the little magical poof-makers).
- Granulated sugar: ¼ cup (for the yeast party).
- Melted unsalted butter: ¼ cup (because butter makes everything better, duh).
- Large egg: 1 (room temp, for a happier dough).
- All-purpose flour: 3 to 3 ½ cups (start with 3, add more if needed, don’t just dump it all in like you’re baking a concrete slab).
- Salt: ½ teaspoon (a pinch of salt balances the sweet, trust me).
- For the Filling:
- Unsalted butter: ½ cup (1 stick), softened (so it spreads like a dream, not rips your dough).
- Light brown sugar: ¾ cup (packed, for that caramel-y goodness).
- Ground cinnamon: 2 tablespoons (don’t skimp! We’re making *cinnamon* rolls, after all).
- For the Vanilla Pudding Glaze:
- Powdered sugar: 2 cups (sifted, unless you like lumpy glaze – no judgment, but it’s better smooth).
- Instant vanilla pudding mix: 1 small box (3.4 oz), *dry* (the secret weapon, remember?).
- Milk: ¼ to ½ cup (start with ¼, add more until it’s drizzly, not watery).
- Vanilla extract: ½ teaspoon (because more vanilla is never a bad idea).
Step-by-Step Instructions
- Awaken the Yeast: In a large bowl, whisk together the warm milk, yeast, and ¼ cup sugar. Let it sit for about 5-10 minutes. It should get foamy – that means your yeast is alive and ready to party! If it doesn’t foam, your milk was too hot/cold, or your yeast is dead. Start over. Seriously.
- Mix the Wet Stuff: Add the melted butter and egg to the yeast mixture. Give it a good whisk to combine everything nicely.
- Add the Dry Stuff: Gradually add 3 cups of flour and the salt. Mix with a spoon or your stand mixer with a dough hook until a shaggy dough forms. If it’s too sticky to handle, add the remaining flour a little at a time until it’s soft and pliable, but not overly sticky.
- Knead and Rise: Turn the dough out onto a lightly floured surface. Knead for 5-7 minutes until smooth and elastic. Place the dough in a lightly oiled bowl, turn to coat, cover with plastic wrap, and let it rise in a warm place for about 1-1.5 hours, or until doubled in size. Patience, young padawan!
- Roll it Out: Once risen, gently punch down the dough. On a lightly floured surface, roll it into a large rectangle, roughly 12×18 inches. Don’t go too thin or too thick.
- Spread the Love (aka Filling): In a small bowl, mix the softened butter, brown sugar, and cinnamon until combined. Spread this delicious mixture evenly over the entire dough rectangle, leaving about a ½-inch border on one of the long edges (this helps seal it).
- Roll ’em Up: Starting from one of the *other* long edges, carefully roll the dough tightly into a log. Once rolled, pinch the seam closed to prevent any filling from escaping during baking.
- Slice and Dice: Using a sharp knife or, better yet, unflavored dental floss (seriously, it cuts clean!), slice the log into 12 equal rolls. About 1 ½ inches thick each.
- Bake Time: Arrange the rolls in a greased 9×13 inch baking dish, leaving a little space between them (they’ll expand!). Cover loosely with plastic wrap and let them rise again for another 30-45 minutes. Preheat your oven to 375°F (190°C) during the last 15 minutes of this second rise.
- Golden Goodness: Bake for 20-25 minutes, or until golden brown and cooked through. The exact time will depend on your oven, so keep an eye on them!
- Whip up the Glaze: While the rolls are cooling slightly (but still warm!), whisk together the powdered sugar, dry pudding mix, milk (start with ¼ cup and add more if needed), and vanilla extract until smooth. You want a thick, drizzly consistency.
- Drench and Devour: Drizzle (or generously slather, no judgment here) the warm rolls with the vanilla pudding glaze. Serve immediately and watch them disappear!
Common Mistakes to Avoid
- Over-flouring the dough: You’ll end up with dense, dry rolls that could double as doorstops. Start with less flour and add gradually.
- Killing the yeast: Too hot milk means no rise. Too cold milk means *slow* rise. Aim for lukewarm.
- Not kneading enough: A sticky, shapeless blob won’t give you that lovely elasticity. Knead until smooth and springy.
- Skipping the second rise: Yes, it feels like forever, but it’s crucial for those light, airy rolls. Don’t rush the rise.
- Not packing the brown sugar: This isn’t a suggestion, it’s a command! Packed brown sugar means more gooey goodness.
- Underbaking: Raw dough is gross. Overbaking is dry. Keep an eye on that golden brown perfection.
Alternatives & Substitutions
- Milk: Don’t have whole milk? 2% works fine. Dairy-free? Almond or soy milk can be used, though the texture might vary slightly. Full-fat dairy usually yields richer results, IMO.
- Butter: Salted butter? Just reduce the added salt in the dough by about ¼ teaspoon. Margarine? Well, technically yes, but why hurt your soul like that? Butter is king here.
- Yeast: Instant yeast can be used directly with the flour, skipping the proofing step. Just mix it with the dry ingredients.
- Pudding Flavor: Feeling adventurous? Try banana pudding mix for a totally different vibe, or even butterscotch! Vanilla is classic for a reason though.
- Filling: Not a huge cinnamon fan? Try cardamom or even cocoa powder for a chocolatey roll!
FAQ (Frequently Asked Questions)
- Can I make these ahead of time? Absolutely! After placing the sliced rolls in the baking dish (step 9), cover tightly with plastic wrap and refrigerate overnight. In the morning, let them come to room temperature for about an hour (they’ll get a final rise), then bake as directed. Easy Sunday morning!
- My rolls didn’t rise, what went wrong? Oh no! Most likely culprits: your yeast was dead (check the expiration date!), your milk was too hot and killed the yeast, or your kitchen was too cold for a good rise. Warmth is key for happy yeast.
- How do I store leftovers? Store any leftover rolls in an airtight container at room temperature for up to 2-3 days. Reheat gently in the microwave for that fresh-baked feel.
- Can I freeze them? Yep! You can freeze the baked and cooled rolls (without glaze) for up to a month. Thaw at room temp, warm up, then glaze. You can also freeze the unbaked rolls after the second rise (step 9) – just cover tightly and freeze. When ready to bake, transfer to the fridge overnight, then let them come to room temp for an hour before baking.
- Is instant pudding really that important? YES! It’s the secret sauce (literally). It adds an incredible moistness and a subtle vanilla depth to the glaze that a regular powdered sugar glaze just can’t match. Trust me on this one.
- What if I don’t have a stand mixer? No problem! You can totally make this dough by hand. Just be prepared for a bit of an arm workout during the kneading process. It’s a good way to work off some of the calories you’re about to consume!
- Can I halve the recipe? Of course! If you’re just baking for one or two and don’t want a dozen rolls tempting you, just cut all ingredients in half. Adjust baking time slightly if needed.
Final Thoughts
See? That wasn’t so scary, was it? You just whipped up a batch of glorious, gooey, vanilla-pudding-enhanced cinnamon rolls. Your kitchen smells amazing, your tastebuds are doing a happy dance, and you’ve officially earned bragging rights. Now go impress someone – or yourself – with your new culinary skills. You’ve earned it! And remember, life’s too short for boring breakfasts. Happy baking, my friend!


