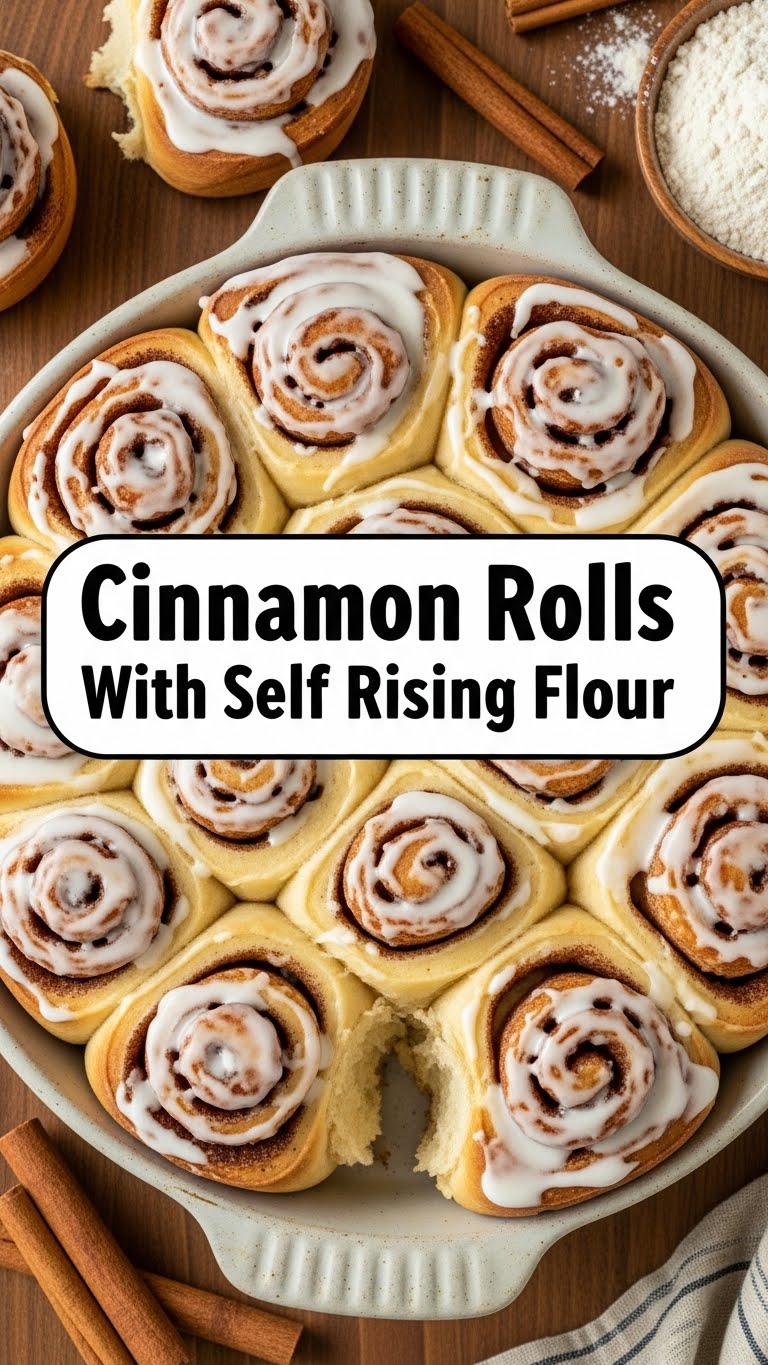
So you’re craving something warm, gooey, and utterly delicious but the thought of spending an entire afternoon wrangling yeast, proofing dough, and generally being a domestic goddess just sounds… exhausting, right? 🙋♀️ Same. My friend, welcome to the land of instant gratification where cinnamon rolls don’t require an ancient ritual, but rather, a trusty bag of self-rising flour and a dash of “I want this NOW!” energy. Get ready to have your mind (and taste buds) blown.
Why This Recipe is Awesome
Okay, let’s be real. Most cinnamon roll recipes are basically a commitment. Like, a full-on relationship. But *this* recipe? It’s the one-night stand of baking – quick, satisfying, and leaves you with zero regrets (unless you eat the whole pan, which, no judgment here). We’re talking **no yeast, no waiting for proofing, and minimal fuss**. It’s so idiot-proof, even my dog could probably make these if he had opposable thumbs and an oven mitt. Seriously, if you can stir, you can make these. Prepare to feel like a culinary wizard without actually having to cast any spells.
Ingredients You’ll Need
Gather your magical components, fellow kitchen sorcerer!
- Self-Rising Flour: The MVP of this whole operation. It’s got the leavening already built in, so you don’t have to think about baking powder or soda. Less thinking, more eating!
- Full-Fat Milk: Whole milk gives the best texture, so don’t skimp here unless you absolutely have to. We’re going for luscious, not “diet-y.”
- Unsalted Butter: You’ll need some for the dough, some for the filling, and a little extra for the frosting. Because butter makes everything better, duh.
- Granulated Sugar: For sweetness in the dough and the filling.
- Brown Sugar: The secret weapon for that deep, caramelly, cozy filling flavor.
- Cinnamon: The star of the show! Don’t be shy.
- Powdered Sugar (Confectioners’ Sugar): For that dreamy, drizzly frosting.
- Vanilla Extract: Just a splash to make everything sing.
- A pinch of Salt: Always, always, always. It brings out all the other flavors. Don’t skip it, even if your self-rising flour has some already.
Step-by-Step Instructions
Alright, apron on, let’s get messy (but not too messy, we’re still aiming for efficiency!).
- Preheat & Prep: First things first, get that oven humming at 375°F (190°C). Lightly grease a 9×13 inch baking dish. We don’t want any sticky situations later.
- Make the Dough Magic: In a large bowl, whisk together 2 cups of self-rising flour and 2 tablespoons of granulated sugar. Now, cut in 4 tablespoons (half a stick) of cold unsalted butter until it resembles coarse crumbs. Gradually add about ¾ cup of milk, mixing until a soft, shaggy dough forms. Don’t overmix, we’re not trying to develop gluten here; just get it combined. If it’s too sticky, add a tiny bit more flour. Too dry? A splash more milk.
- Roll It Out: Lightly flour a clean surface. Turn your dough out and gently knead it a few times (like, 5-6 times max) just until it comes together. Roll it into a rectangle, roughly 12×18 inches. Think of it as a flat canvas for deliciousness.
- Butter Up: Melt 4 tablespoons of unsalted butter and brush it evenly over your dough rectangle, all the way to the edges. This is where the magic really starts.
- The Gooey Filling: In a small bowl, mix together ½ cup packed brown sugar and 1 tablespoon of ground cinnamon (add a little extra if you’re a true cinnamon fiend like me!). Sprinkle this glorious mixture evenly over the buttered dough.
- Roll & Slice: Starting from one of the long sides, carefully roll the dough into a tight log. Once rolled, use a sharp knife (or even dental floss for super clean cuts, seriously!) to slice the log into 12 even pieces. About 1 ½ inches thick each.
- Bake ‘Em Up: Arrange your beautiful cinnamon rolls in the prepared baking dish. Don’t worry if they’re snuggled together; they love company! Bake for 18-22 minutes, or until they’re golden brown and puffed up, and your kitchen smells like heaven.
- Whip Up the Frosting: While the rolls are baking, whisk together 1 cup of powdered sugar, 2 tablespoons of melted butter, ½ teaspoon of vanilla extract, and 1-2 tablespoons of milk. Start with one tablespoon and add more if needed until you reach a smooth, drizzly consistency.
- Frost & Devour: As soon as the rolls come out of the oven, drizzle that amazing frosting all over them. The warmth will make it melt slightly and soak into all those nooks and crannies. Let them cool just slightly, then dig in!
Common Mistakes to Avoid
Listen, we all make mistakes. But these are some easy ones to dodge to ensure maximum cinnamon roll bliss:
- Overmixing the Dough: This isn’t bread, people! You want a tender, flaky roll, not a rubbery one. Mix just until combined. Less is more here.
- Skipping the Butter for the Filling: That melted butter on the dough before the sugar and cinnamon? It’s a non-negotiable. It helps the filling stick and creates that delicious, gooey bottom.
- Not Rolling Tightly Enough: A loose roll means your filling might escape, and your rolls won’t be as pretty or as structurally sound. Roll it like you mean it!
- Preheating the Oven? Pfff: Rookie move. Always preheat! Otherwise, your rolls will take longer to bake and might dry out.
- Walking Away During Baking: Ovens vary, so keep an eye on them after about 15 minutes. We want golden brown, not charcoal briquettes.
Alternatives & Substitutions
Feeling adventurous? Or just out of something vital? I got you.
- No Self-Rising Flour? No sweat! For every cup of all-purpose flour, add 1 ½ teaspoons of baking powder and ¼ teaspoon of salt. Adjust your measurements accordingly.
- Milk Alternatives: You can totally use almond milk, soy milk, or oat milk. Just make sure it’s unsweetened, unless you want extra-sweet rolls (which, again, no judgment). IMO, whole milk gives the best texture, but dietary needs come first!
- Butter vs. Margarine: Can you use margarine? Technically, yes. But why hurt your soul like that? Butter is king for flavor and texture in this recipe.
- Filling Variations:
- Nutty Rolls: Add finely chopped pecans or walnuts to your cinnamon-sugar mixture.
- Chocolate Swirl: Sprinkle some mini chocolate chips along with the cinnamon sugar. OMG, yes.
- Orange Zest: Add a teaspoon of orange zest to the filling or even the frosting for a brighter flavor.
- Frosting Fun:
- Cream Cheese Frosting: The classic! Beat together 4 oz softened cream cheese, 4 tablespoons softened butter, 2 cups powdered sugar, and 1 teaspoon vanilla. Add a splash of milk if needed for consistency.
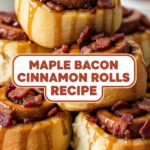
- Maple Frosting: Substitute a tablespoon of maple syrup for some of the milk in the simple glaze.
FAQ (Frequently Asked Questions)
You’ve got questions, I’ve got (casual) answers!
Q: Can I make the dough ahead of time?
A: Since this recipe doesn’t use yeast, making the dough too far ahead isn’t really necessary or recommended. The magic of self-rising flour is in its immediacy! These are best baked and eaten fresh.
Q: My dough is super sticky, what gives?
A: Humidity, friend, humidity! Or maybe you added a smidge too much milk. Just add a tablespoon or two more of self-rising flour until it’s manageable. Don’t go crazy, though.
Q: Can I use regular flour and just add baking powder?
A: Absolutely! See “Alternatives & Substitutions” above for the exact ratio. You’re basically making your own self-rising flour. You go, Glen Coco!
Q: How do I store leftovers? (If there are any, LOL)
A: Pop ’em in an airtight container at room temperature for a day or two. For longer, refrigerate them. Reheat quickly in the microwave for that fresh-baked gooeyness.
Q: My frosting is too thick/thin. Help!
A: Too thick? Add milk a tiny bit at a time until it’s perfect. Too thin? Whisk in a bit more powdered sugar. It’s a forgiving process!
Q: Is it really okay that there’s no yeast? Won’t they be flat?
A: Nope! That’s the beauty of self-rising flour. The baking powder in it reacts with the liquid and heat to give you a lovely, fluffy rise. No waiting around for yeast to wake up!
Final Thoughts
See? That wasn’t so scary, was it? You just whipped up a batch of glorious, warm, sticky cinnamon rolls in a fraction of the time of a traditional recipe. Now go impress someone—or yourself—with your new culinary skills. You’ve earned every single delicious bite. Don’t forget to send me a picture (or better yet, a whole roll)! Happy baking, you rockstar!

