Okay, let’s be real. You woke up craving something warm, gooey, and smelling like a dream, but the idea of wrestling dough for an hour sounds like a bad arm workout? Same. Enter your trusty KitchenAid mixer, stage right! This isn’t just a recipe; it’s an intervention for your sweet tooth, powered by a machine that does all the heavy lifting. Get ready to bake some serious happiness without breaking a sweat (or your back).
Why This Recipe is Awesome
Because frankly, who has time for a full-on culinary bootcamp every weekend? This recipe is basically your KitchenAid’s time to shine, turning what could be a laborious task into a breezy, almost-effortless baking session. It’s:
- Hands-off (mostly): Your mixer does the kneading. You just supervise.
- Foolproof (mostly): Seriously, follow these steps, and you’ll be golden. I didn’t mess it up, so you probably won’t either.
- Heavenly: Warm, soft, cinnamon-spiced rolls drenched in cream cheese frosting? Yeah, it’s that good.
- Impressive: You get to tell people you “made” them, implying you slaved away. (We won’t tell them your mixer did the work, it’ll be our secret.)
Ingredients You’ll Need
For the Dough:
- 1 cup warm milk (105-115°F): Not too hot, not too cold. Think a warm bath for your finger.
- 2 ¼ teaspoons active dry yeast: One packet, my friend. The little guys that make magic happen.
- ¼ cup granulated sugar: Just enough sweetness to kick things off.
- 1 large egg (room temperature): Helps with richness and structure. If it’s cold, pop it in warm water for a few minutes.
- ¼ cup unsalted butter, melted: Liquid gold.
- 1 teaspoon salt: Don’t skip it! It balances the sweetness.
- 3 ½ – 4 cups all-purpose flour: Start with 3 ½ and add more if needed. We’re aiming for a soft, slightly tacky dough.
For the Filling:
- ½ cup unsalted butter, softened: Needs to be spreadable, not melted.
- ¾ cup packed light brown sugar: The cozy caramel notes.
- 2 tablespoons ground cinnamon: The star of the show!
For the Cream Cheese Frosting:
- 4 oz cream cheese, softened: Straight from the fridge is a no-go.
- ¼ cup unsalted butter, softened: Again, soft.
- 1 ½ cups powdered sugar: The fluffy, sweet stuff.
- ½ teaspoon vanilla extract: A must for flavor.
- 1-2 tablespoons milk or cream: To get that perfect drizzly consistency.
Step-by-Step Instructions
Wake Up the Yeast: In the bowl of your KitchenAid, combine the warm milk, yeast, and a pinch of that granulated sugar. Give it a gentle stir and let it sit for about 5-10 minutes. You should see it get foamy—that means your yeast is alive and ready to party! If it doesn’t foam, your yeast might be expired or the milk was too hot/cold. Start over, don’t waste your precious flour!
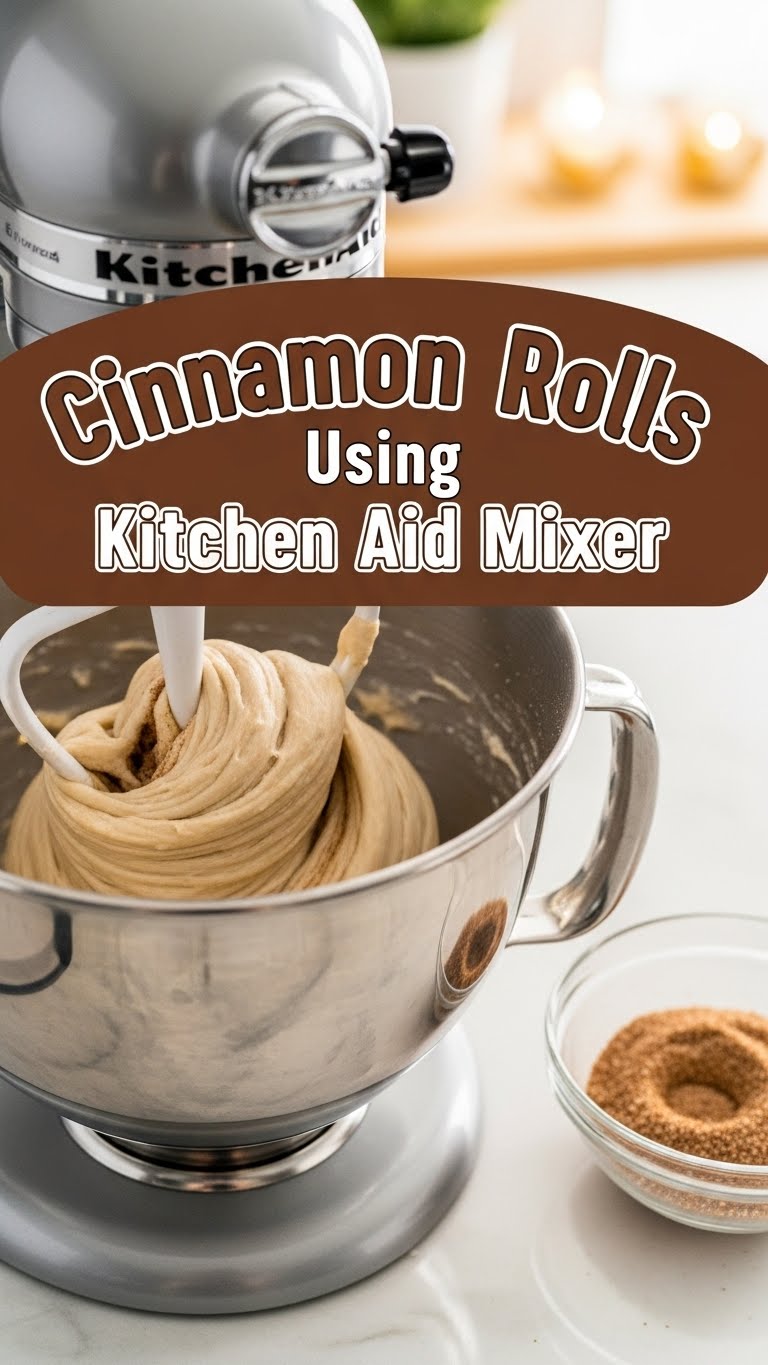
Mix the Dough: To the foamy yeast mixture, add the remaining granulated sugar, egg, melted butter, salt, and 2 cups of the flour. Attach your dough hook (your best friend for this recipe) to the KitchenAid mixer. Mix on low speed until combined.
Add More Flour: Gradually add the remaining flour, about ½ cup at a time, until the dough comes together and starts to pull away from the sides of the bowl. It should be soft and slightly sticky, but not a gloopy mess. You might not need all 4 cups, or you might need a tiny bit more. Trust your dough!
Knead with the Machine: Increase the mixer speed to medium-low and let your KitchenAid knead the dough for 5-7 minutes. The dough should become smooth and elastic. You’ll know it’s ready when it passes the “windowpane test” (you can stretch a small piece thin enough to see light through it without tearing).
First Rise: Lightly oil a large bowl. Transfer the dough to the bowl, turning it once to coat. Cover the bowl with plastic wrap or a clean kitchen towel and let it rise in a warm place for 1-1.5 hours, or until doubled in size. This is a great time to do literally anything else—like watch an episode of your favorite show.
Prepare for Rolling: Once risen, gently punch down the dough to release the air. Lightly flour a clean surface. Roll the dough into a large rectangle, about 12×18 inches. Aim for an even thickness, roughly ¼ inch.
Spread the Filling: In a small bowl, mix the softened butter, brown sugar, and cinnamon until well combined. Evenly spread this glorious mixture over your rolled-out dough, leaving a small border (about ½ inch) along one of the long edges.
Roll and Slice: Starting from the long edge opposite the clean border, tightly roll the dough into a log. Pinch the seam closed to seal it. Now, for cutting: the easiest way is with unflavored dental floss! Slide a piece underneath the log, cross the ends over the top, and pull to slice. Aim for 12 even slices, about 1.5 inches thick.
Second Rise: Arrange the rolls in a lightly greased 9×13 inch baking dish. Cover with plastic wrap or a towel and let them rise again in a warm place for 30-45 minutes, or until they look puffy and snug against each other.
Bake ‘Em Up: While the rolls are on their second rise, preheat your oven to 375°F (190°C). Once preheated, bake the rolls for 20-25 minutes, or until they are golden brown on top and cooked through. Keep an eye on them!
Whip Up the Frosting: While the rolls are baking (or cooling slightly), combine the softened cream cheese, softened butter, powdered sugar, and vanilla extract in your KitchenAid bowl with the paddle attachment. Beat on medium speed until smooth and creamy. Add milk or cream, 1 tablespoon at a time, until it reaches your desired drizzly consistency.
Frost and Devour: Once the rolls come out of the oven, let them cool for about 5-10 minutes. Then, spread that luscious cream cheese frosting generously over the warm rolls. The warmth helps it melt slightly and seep into all the nooks and crannies. Serve immediately and bask in the glory!
Common Mistakes to Avoid
- Killer Milk: Pouring super hot milk over your yeast will kill it instantly. You want “warm bath” temperature, not “scalding lava” temperature. Too cold milk won’t activate it properly either.
- Flour Frenzy: Adding too much flour results in dry, dense, sad rolls. Start with the lower end of the range and add gradually until the dough is just slightly tacky. It’s better to have it a little sticky than too stiff.
- Impatience with Rising: Don’t rush the rise times! Yeast needs its space and time to do its thing. Under-risen dough will result in smaller, denser rolls.
- The Knife Trick: Using a knife to cut the rolls can squish them and mess up their perfect round shape. Dental floss or a very sharp, un-serrated knife is your best bet for clean cuts.
- Forgetting to Preheat: Rookie mistake! Always preheat your oven fully. Sticking dough into a cold oven throws off the baking time and texture.
Alternatives & Substitutions
- Dairy-Free Dough: You can absolutely swap out regular milk for a non-dairy alternative like almond or soy milk (just ensure it’s unsweetened). Use a plant-based butter substitute for both the dough and filling. For the frosting, look for dairy-free cream cheese and butter.
- Filling Fun: Feel free to add a handful of chopped pecans or walnuts to your filling for extra crunch. A pinch of nutmeg or cardamom can also elevate the spice profile.
- No Cream Cheese? No Problem! If cream cheese frosting isn’t your jam (gasp!), you can make a simple glaze. Whisk together 1 ½ cups powdered sugar, 2-3 tablespoons milk, and ½ teaspoon vanilla extract until smooth. Drizzle it over the warm rolls.
- Healthier? (Sort of): You could try substituting a portion of the all-purpose flour with whole wheat pastry flour for a slightly nuttier flavor and a tiny bit more fiber. Don’t go 100% whole wheat, or you’ll get bricks, not rolls.
FAQ (Frequently Asked Questions)
You’ve got questions, I’ve got (casual) answers!
- “My dough is too sticky! What gives?”
Easy peasy! Add another tablespoon or two of flour, slowly, until it’s manageable but still soft and slightly tacky. Don’t go overboard, or you’ll dry it out!
- “Can I make these ahead of time?”
Heck yes! After placing the cut rolls in your baking dish (step 9), cover them tightly with plastic wrap and pop them in the fridge overnight. In the morning, let them come to room temperature and rise for about 1-1.5 hours before baking. Freshly baked cinnamon rolls for breakfast are the best!
- “My KitchenAid doesn’t have a dough hook. Now what?”
While the dough hook is the MVP here, you can totally knead by hand! It’ll take about 10-15 minutes of vigorous kneading on a lightly floured surface until the dough is smooth and elastic. Consider it your arm workout for the day!
- “Can I use margarine instead of butter?”
Well, technically yes, but why hurt your soul like that? Butter just tastes better, has better texture, and is worth the indulgence, IMO. But in a pinch, margarine will work, though the flavor and richness won’t be quite the same.
- “How do I store leftovers?”
If there are any (a big IF!), store them in an airtight container at room temperature for a day or two, or in the fridge for up to 5 days. Reheat briefly in the microwave or oven for that fresh-baked feel.
- “Can I freeze them?”
You bet! You can freeze the baked and frosted rolls (wrap individually) for up to a month. Thaw in the fridge and warm up. You can also freeze the unbaked rolls after the second rise (step 9) – just flash freeze them on a tray until solid, then transfer to a freezer bag. When ready to bake, thaw in the fridge overnight and let rise at room temp before baking.
Final Thoughts
So there you have it! A recipe that lets your KitchenAid mixer do the grunt work while you bask in the glory of making ridiculously delicious cinnamon rolls. Go forth and impress someone—or, more realistically, yourself—with your new culinary skills. You’ve earned every single bite. Now, if you’ll excuse me, I hear a fresh batch calling my name…


