So, you’ve spent way too much time scrolling through Instagram, drooling over those perfect, swirly, gooey cinnamon rolls with frosting dripping just so, thinking, “I could totally make that… if I actually knew how”? Girl, same. We’re talking #CinnamonRollsGoals here, and guess what? You absolutely can achieve that drool-worthy aesthetic without selling your soul to a professional baker. Let’s make some magic!
Why This Recipe is Awesome
Okay, let’s be real. There are a bazillion cinnamon roll recipes out there. So why *this* one? Because it’s designed for maximum aesthetic impact with minimum fuss. This isn’t just about taste (though, trust me, it’s mind-blowing); it’s about getting those picture-perfect spirals and that golden-brown crust that screams “I woke up like this… and then baked this masterpiece.” Plus, it’s pretty much idiot-proof. Even I, who once mistook baking soda for baking powder (don’t ask), have mastered it. It’s the kind of recipe that makes you look like a domestic goddess without, you know, actually having to *be* one. You’re welcome.
Ingredients You’ll Need
- For the Dough (The Canvas for Your Art!):
- 1 cup warm milk (think bathwater temp, not boiling lava)
- 2 ¼ teaspoons active dry yeast (one packet, basically. Don’t overthink it.)
- ¼ cup granulated sugar (for sweetening, obviously, but also feeds the yeast so it can get to work)
- 1 large egg, room temperature (helps with the richness and color)
- ¼ cup unsalted butter, melted (because butter makes everything better, duh)
- 1 teaspoon salt (don’t skip this, it balances the sweetness)
- 3 ½ cups all-purpose flour (give or take a little, depending on the humidity – we’re not aiming for rock-hard dough)
- For the Filling (The Swirly Goodness):
- ½ cup unsalted butter, softened (the softer, the better for spreading)
- 1 cup packed light brown sugar (that deep, molasses-y flavor is key)
- 2 tablespoons ground cinnamon (the star of the show! Don’t be shy.)
- For the Cream Cheese Frosting (The Drip-Factor):
- 4 ounces cream cheese, softened (Philadelphia, please. Don’t be cheap.)
- ¼ cup unsalted butter, softened (again, butter rules)
- 1 ½ cups powdered sugar (sifted if you want extra smooth – but who has time?)
- ½ teaspoon vanilla extract (a little fancy touch)
- 1-2 tablespoons milk or cream (for that perfect drizzly consistency)
Step-by-Step Instructions
- Wake Up the Yeast: In a large bowl, combine the warm milk, yeast, and a pinch of that ¼ cup sugar. Give it 5-10 minutes to get foamy. This is its morning coffee; if it doesn’t foam, your yeast is probably dead, RIP. Start over!
- Mix the Wet Stuff: Whisk in the rest of the ¼ cup sugar, egg, melted butter, and salt into the foamy yeast mixture.
- Add the Dry Stuff: Gradually add the flour, mixing until a shaggy dough forms. Turn it out onto a lightly floured surface and knead for 5-7 minutes until smooth and elastic. If it’s sticky, add a *tiny* bit more flour.
- First Rise (The Beauty Sleep): Place the dough in a lightly greased bowl, cover with plastic wrap (or a damp towel, if you’re feeling rustic), and let it rise in a warm spot for 1-1.5 hours, or until doubled in size. This is crucial for fluffy rolls!
- Prep for Rolling: While the dough naps, mix your filling! Combine softened butter, brown sugar, and cinnamon in a small bowl. Set aside.
- Roll It Out! Once risen, punch down the dough (satisfying!) and roll it into a large rectangle, about 18×12 inches. The more even, the prettier your spirals will be.
- Spread the Love: Evenly spread the cinnamon-sugar filling right to the edges of your dough rectangle. Don’t skimp! This is where the magic happens for those dark, alluring swirls.
- Roll It Up Tight: Starting from one of the long sides, carefully roll the dough into a tight log. Keep it snug to avoid gaps in your rolls. This is key for the aesthetic!
- Slice & Dice: Using a sharp, un-serrated knife or, even better, unflavored dental floss (seriously, try it!), slice the log into 12-15 equal pieces. Aim for about 1.5-2 inches thick for each roll.
- Second Rise (The Glow-Up): Arrange the rolls in a lightly greased 9×13 inch baking pan, leaving a little space between them. Cover and let rise for another 30-45 minutes until puffy. Preheat your oven to 375°F (190°C) during this time.
- Bake ‘Em Beautiful: Bake for 20-25 minutes, or until golden brown on top and cooked through. Watch them carefully to prevent over-browning. You want that perfect toasted top!
- Frosting Time! While the rolls are cooling slightly (they shouldn’t be piping hot, or the frosting will melt into oblivion), beat together cream cheese, softened butter, powdered sugar, vanilla, and milk/cream until smooth and fluffy. Adjust milk for desired consistency – thinner for maximum drip aesthetic!
- Drizzle & Devour: Spread or drizzle generously over the warm (but not hot!) cinnamon rolls. Take a picture, obvs, then dig in!
Common Mistakes to Avoid
- Using Cold Ingredients: Ever tried mixing rock-hard butter? Yeah, don’t. Room temp everything (except the milk for yeast, obvs) is your friend here.
- Killing the Yeast: If your milk is too hot, you’ll toast your yeast. Too cold, it won’t activate. Think Goldilocks: just right. No foam = no rise.
- Not Kneading Enough: Underextended dough makes tough rolls. Give it that full 5-7 minutes; it’s a mini arm workout.
- Skipping the Rises: Patience, young padawan! These rises are where the magic happens for that fluffy, ethereal texture. Don’t rush perfection.
- Rolling Too Loose: A loose roll means sad, gappy spirals. Roll it tight like a sleeping bag!
- Overbaking: Burnt bottoms or dry rolls are a no-go. Keep an eye on them, especially towards the end. A little underdone is better than overdone for gooeyness.
Alternatives & Substitutions
Feeling adventurous? Or just out of something crucial? No worries, we’ve got options:
- No Active Dry Yeast? If you have instant yeast, you can usually just mix it straight into the dry ingredients with no proofing needed. Easy peasy.
- Dairy-Free? You *can* swap regular milk for a non-dairy alternative (almond or oat milk works great). Use a good quality plant-based butter (like Miyoko’s Kitchen) for both the dough and filling. The texture might vary slightly, but they’ll still be delish.
- Gluten-Free Flour? This recipe is optimized for all-purpose flour, but a good 1:1 gluten-free blend *with xanthan gum* might work. Expect a slightly different texture, though. IMO, some things are just better with gluten!
- Not a Cream Cheese Fan? (Seriously, though, why?) You could do a simple powdered sugar glaze (powdered sugar + a splash of milk/cream/lemon juice) or even a caramel drizzle. But for that classic, picture-perfect aesthetic, cream cheese frosting is king.
FAQ (Frequently Asked Questions)
- Can I make these ahead of time? Absolutely! You can assemble the rolls in the pan, cover tightly, and refrigerate overnight (up to 12-18 hours). Pull them out an hour before baking to come to room temp, let them do a final mini-rise, then bake as usual. Best for busy mornings!
- My rolls aren’t as swirly as the pictures, what gives? Did you roll your dough out evenly and spread the filling right to the edges? More importantly, did you roll the log super tight? That snug roll is the secret to those beautiful spirals.
- Can I use margarine instead of butter? Well, technically yes, but why hurt your soul like that? Butter is key for flavor and richness. Margarine just… isn’t the same. Your cinnamon rolls deserve better.
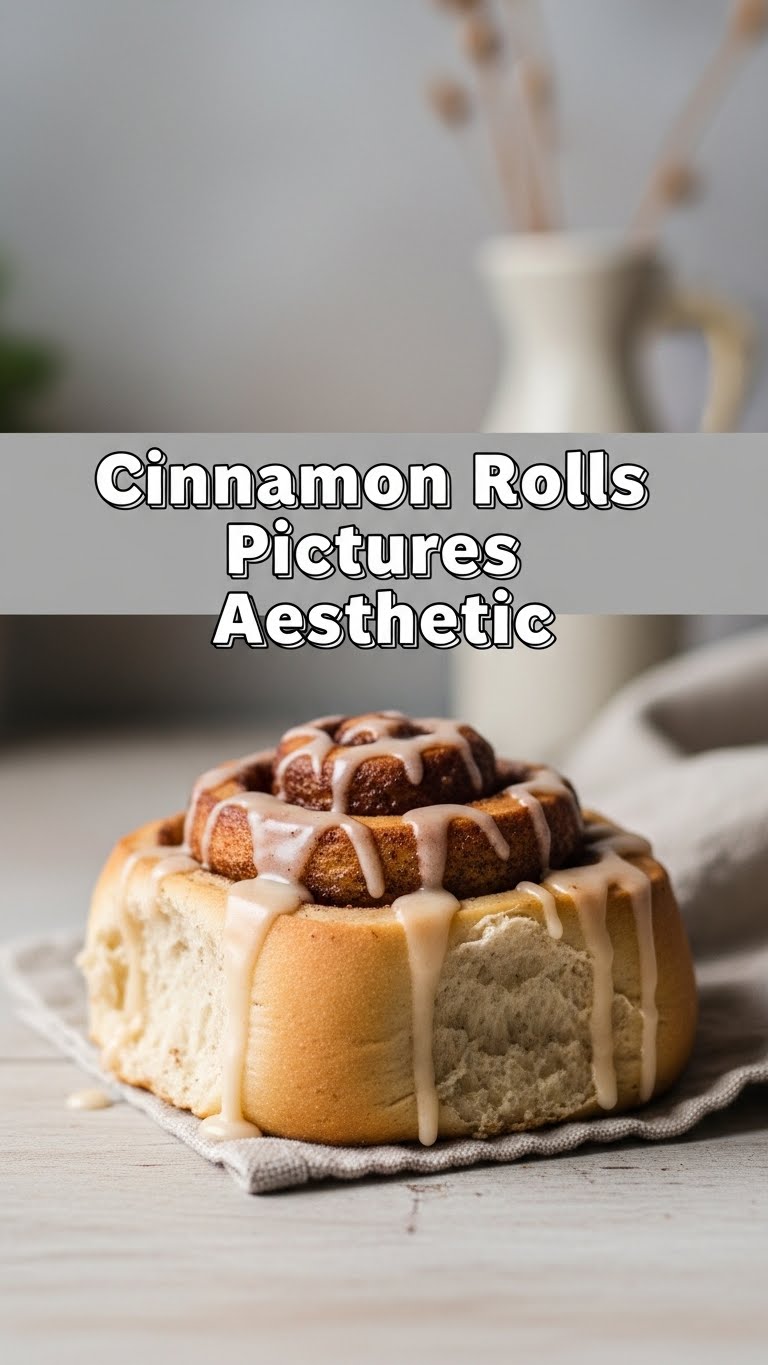
- How do I get that perfect ‘drip’ with the frosting? It’s all about consistency! Add milk or cream to your frosting one tablespoon at a time until it’s thick enough to hold its shape but thin enough to gently slide down the sides. Don’t go overboard, or it’ll be soup.
- What if my kitchen isn’t warm enough for rising? No problem! Turn your oven on for 1 minute, then turn it off. Place the covered dough inside (oven light on helps too!). Just FYI, make sure it’s off before putting the dough in!
- How long do leftovers last? If there *are* leftovers (a big IF), store them covered at room temperature for a day or two, or in the fridge for up to 5 days. Reheat gently in the microwave for a few seconds to bring back that gooey goodness.
Final Thoughts
Alright, superstar! You’ve officially got the intel to conquer the world of aesthetically pleasing cinnamon rolls. No more scrolling with envy; now *you’re* going to be the one posting those gorgeous, envy-inducing pics. Remember, baking should be fun, so don’t stress too much. Even if they’re not absolutely perfect, homemade always tastes better (and looks pretty darn good after a few filters, right?). Now go impress someone—or yourself—with your new culinary skills. You’ve earned it!


