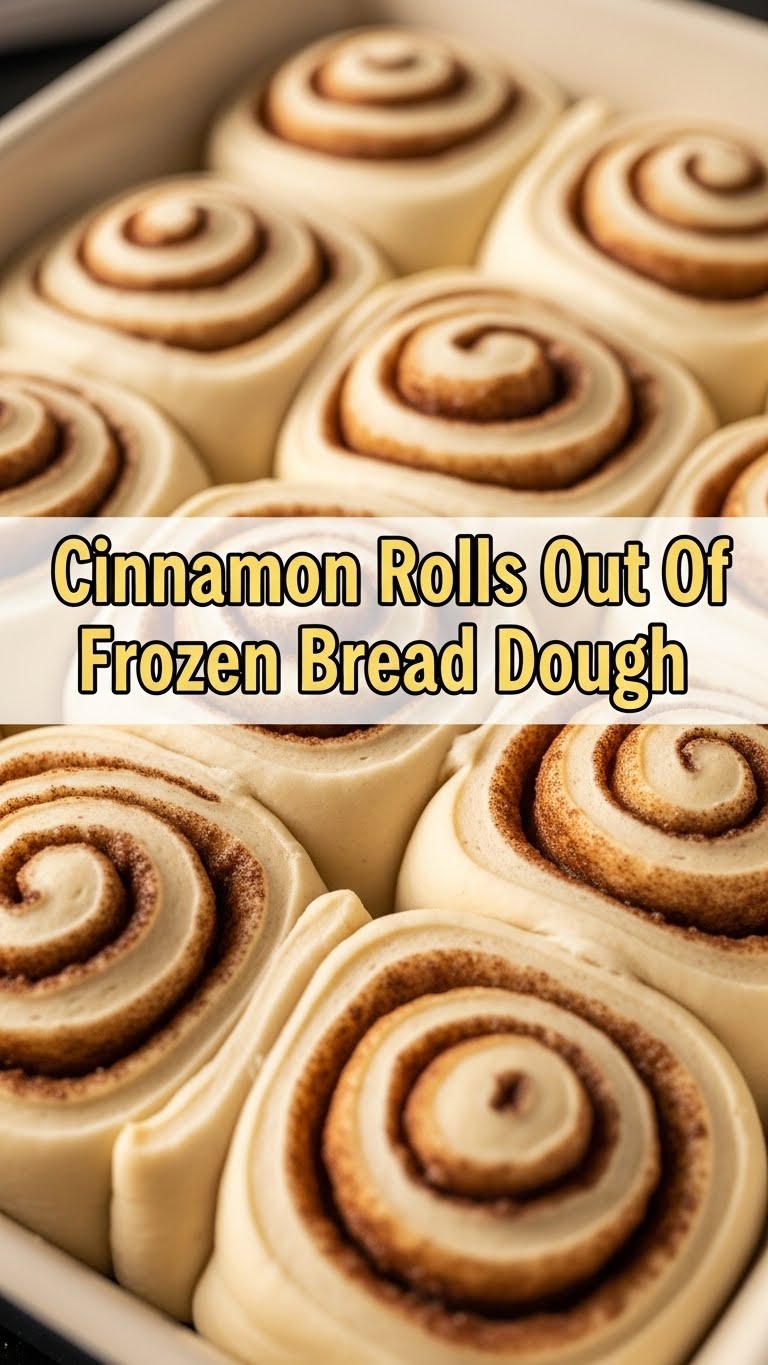
So, you’ve got that Sunday morning craving – warm, gooey, cinnamon-spiced perfection – but the thought of spending hours kneading dough makes you want to curl back under the covers? Been there, done that, got the crumb stains on my pillow. But what if I told you there’s a cheat code? A way to whip up those divine cinnamon rolls without breaking a sweat or even looking at a bag of flour? Welcome, my friend, to the glorious world of **Cinnamon Rolls from Frozen Bread Dough**!
Why This Recipe is Awesome
Because who needs to impress Martha Stewart when you can trick everyone into thinking you’re a baking genius with minimal effort? Seriously, this recipe is basically a magic trick for your taste buds. It takes the “work” out of “homemade” and leaves all the “mmmm” behind. It’s perfect for those lazy weekend mornings, impromptu brunch situations, or when you just need a hug in food form. Plus, it’s pretty much **idiot-proof** – even I didn’t mess it up, and my kitchen adventures often involve fire alarms. You get all the warmth, the spice, the sticky-sweet goodness, without the yeast-phobia or the hour-long proofing process. It’s a win-win-win!
Ingredients You’ll Need
- 1 loaf (16 oz) frozen bread dough: The unsung hero of our tale! Let it thaw and rise, it’s doing most of the heavy lifting.
- 1/2 cup (1 stick) unsalted butter: Softened. Because butter makes everything better, obviously.
- 1/2 cup packed light brown sugar: Your rolls’ future caramel blanket. Don’t skimp.
- 2 tablespoons ground cinnamon: The spice of life, literally. Adjust to your desired level of cinnamony goodness.
- For the Glaze:
- 1 cup powdered sugar: For that oh-so-pretty (and delicious) drizzle.
- 2-3 tablespoons milk (or cream): To make it silky smooth.
- 1/2 teaspoon vanilla extract: Because adulting means adding vanilla.
Step-by-Step Instructions
- First things first: **Thaw and Rise!** Take that frozen dough out of its icy slumber. Place it in a greased bowl, cover it loosely with plastic wrap, and let it hang out in a warm place until it doubles in size. This usually takes a few hours, depending on how warm your “warm place” actually is. You can even do this overnight in the fridge.
- Once it’s plump and happy, punch down the dough gently. Flour your counter like a pro and roll out the dough into a large rectangle, roughly 12×18 inches. Think of it as preparing a cozy blanket for your filling.
- Now for the good stuff! Spread that softened butter all over the dough, right to the edges. Don’t be shy; this is where the magic happens.
- In a small bowl, mix together the brown sugar and cinnamon. Sprinkle this delicious concoction evenly over the buttered dough. Make sure every inch gets some love.
- Starting from one of the long sides, carefully roll the dough up tightly. You want a snug roll, like a cozy sleeping bag. Once rolled, pinch the seam closed.
- Time to slice! Using a sharp, un-serrated knife or, even better, unflavored dental floss (yes, seriously, it makes cleaner cuts!), slice the log into 12 equal pieces, about 1.5 inches thick.
- Arrange your future cinnamon rolls in a greased 9×13-inch baking dish. Cover them again and let them rise for another 30-45 minutes. They should look puffy and friendly. While they’re doing their thing, preheat your oven to 375°F (190°C).
- Bake for 20-25 minutes, or until they’re golden brown and smell absolutely heavenly. Your house is about to smell like a bakery, FYI.
- While the rolls are still warm (but not scorching hot), whisk together the powdered sugar, milk, and vanilla extract until smooth for the glaze. Add more milk if it’s too thick, or more sugar if it’s too thin. You’re the boss!
- Drizzle (or slather, no judgment here) the glaze over the warm rolls. Serve immediately and watch them disappear like magic!
Common Mistakes to Avoid
- Forgetting to Grease the Pan: Seriously, unless you *want* to chip your teeth trying to pry these beauties out, grease that baking dish like your life depends on it. Don’t be a hero.
- Impatience with Rising: Rushing the rising process is a rookie mistake. Give the dough time to get puffy and happy. Otherwise, your rolls will be dense and sad, and nobody wants sad rolls.
- Overfilling: Too much filling can make them ooze out everywhere when baking. It’ll still taste good, but it won’t look as pretty. Aim for a generous but not overflowing layer.
- Not Preheating the Oven: Baking in a cold oven is a recipe for disaster. Always **preheat your oven** fully before the rolls go in.
- Overbaking: Dry cinnamon rolls are a culinary tragedy. Keep an eye on them; they should be golden brown, not dark brown.
Alternatives & Substitutions
- Different Fillings: Feeling adventurous? Add some chopped pecans or walnuts to the filling. Or for a twist, sprinkle some orange zest in there! **Chocolate chips** are also a highly encouraged addition. Just sayin’.
- Cream Cheese Glaze: If you’re feeling extra, ditch the simple glaze and whip up a cream cheese frosting (softened cream cheese, butter, powdered sugar, and a splash of vanilla). It’s next level, IMO.
- Dairy-Free? You can absolutely use dairy-free butter and milk alternatives. The rolls might have a slightly different texture, but they’ll still be delicious.
- Spiced Up: Add a pinch of nutmeg or cardamom to your cinnamon sugar mixture for an extra layer of warmth. You’re basically a spice wizard now.
FAQ (Frequently Asked Questions)
- Do I *really* have to let the dough rise twice? Yes, darling, you do! The first rise develops flavor and texture, and the second rise (after shaping) gives them that airy, fluffy goodness. Trust the process.
- Can I prepare these ahead of time? Absolutely! After placing the sliced rolls in the baking dish, cover them tightly and refrigerate overnight. In the morning, let them come to room temperature and rise for about an hour before baking. Fresh rolls for breakfast, no problem!
- My dough isn’t rising! What gives? It’s probably too cold! Find a warmer spot (like a slightly warm oven that’s been turned off, or near a sunny window). Yeast loves warmth.
- Can I use less butter or sugar? Well, technically yes, but why hurt your soul like that? This is a treat! But seriously, you can reduce the sugar slightly if you prefer less sweetness, just don’t go too crazy.
- What if I don’t have dental floss for cutting? A very sharp, un-serrated knife works just fine. Just press straight down; don’t saw back and forth, or you’ll squish your beautiful rolls.
- Can I freeze the baked cinnamon rolls? You bet! Once baked and cooled (glaze them after reheating), wrap them individually in plastic wrap, then aluminum foil. Reheat in the microwave or oven until warm and gooey again.
Final Thoughts
And there you have it! A recipe so ridiculously easy and delicious, you’ll wonder why you ever bought those bland, cardboard-like things from the grocery store. You’ve officially conquered the art of the “cheater” cinnamon roll, and your taste buds (and anyone lucky enough to be around) will thank you. Now go impress someone – or yourself – with your new culinary skills. You’ve earned it!


