So you’re craving something warm, gooey, and utterly divine but can’t be bothered to put on actual pants to go to the mall for a Cinnabon? Honey, I hear you! Same. Let’s be real, sometimes the craving hits hard, and the only solution is to whip up a batch of those iconic cinnamon rolls right in your own kitchen. And guess what? It’s way easier than you think. No need to sell your soul or spend your entire Saturday. We’re talking Cinnabon-level magic with minimal fuss. Ready to become a cinnamon roll deity?
Why This Recipe is Awesome
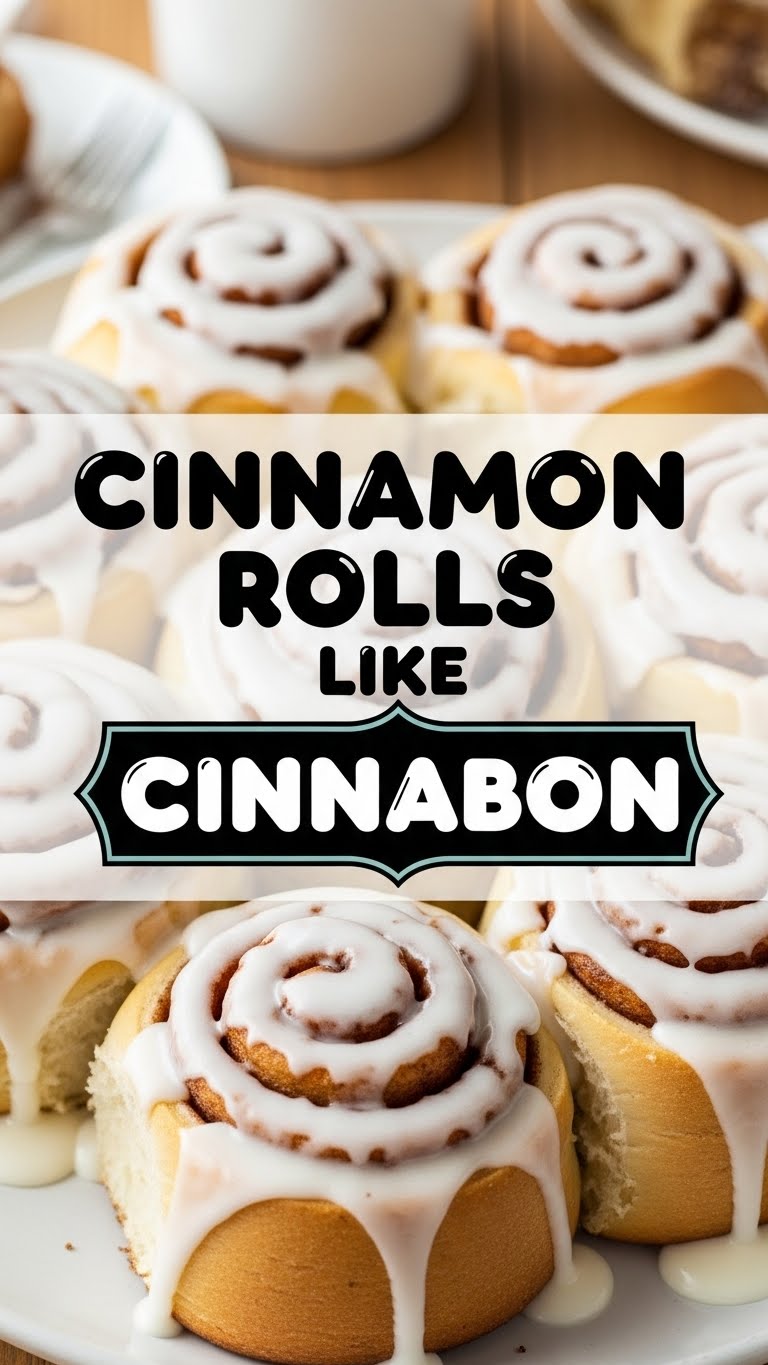
Okay, first things first: why *this* recipe? Because it’s not just good; it’s *dangerously* good. We’re talking fluffy, yeasty dough that practically melts in your mouth, a buttery, cinnamon-sugar filling that oozes perfection, and a cream cheese frosting so luscious, you’ll want to bathe in it. Seriously, it’s idiot-proof. Even I, someone who once mistook baking soda for baking powder (don’t ask), managed to pull this off without setting off the smoke alarm. Plus, the smell alone will make your neighbors think you’re a culinary genius. You’re basically getting gourmet bakery vibes from your PJs. Win-win, right?
Ingredients You’ll Need
Don’t panic! It looks like a lot, but most of these are pantry staples. You got this.
For the Dough:
- **1 cup warm milk** (think bathwater temp, not lava)
- **2 ¼ teaspoons active dry yeast** (one packet usually)
- **½ cup granulated sugar** (the sweet stuff)
- **½ cup unsalted butter**, melted (don’t burn it, butter is precious!)
- **1 teaspoon salt** (balances the sweetness)
- **2 large eggs**, room temperature (they play nicer that way)
- **4-5 cups all-purpose flour** (give or take, depending on humidity – it’s a fickle beast)
For the Filling:
- **½ cup unsalted butter**, softened (not melted, like spreading butter)
- **1 cup packed light brown sugar** (the secret to that deep, caramelly goodness)
- **2 tablespoons ground cinnamon** (fresh is best, but let’s not get crazy)
For the Cream Cheese Frosting:
- **8 ounces cream cheese**, softened (Philadelphia brand, IMO, is superior)
- **½ cup unsalted butter**, softened (again, the good stuff)
- **2 cups powdered sugar** (sifted if you’re feeling fancy, but not strictly necessary)
- **1 teaspoon vanilla extract** (real vanilla, please!)
- **1-2 tablespoons milk or cream** (to get that perfect drizzle consistency)
Step-by-Step Instructions
Activate the Yeast: In a large bowl, combine the warm milk, yeast, and a pinch of sugar from your ½ cup. Give it a gentle stir and let it sit for about 5-10 minutes. It should get nice and foamy, like a tiny beer head. If it doesn’t, your yeast is probably dead. RIP. Start over.
Make the Dough: Add the remaining granulated sugar, melted butter, salt, and eggs to the foamy yeast mixture. Whisk ’em together. Gradually add the flour, one cup at a time, mixing until a shaggy dough forms. Then, turn it out onto a lightly floured surface.
Knead It Out: Knead the dough for about 5-8 minutes until it’s smooth and elastic. It should spring back when you gently poke it. If you have a stand mixer with a dough hook, let it do the hard work for about 5 minutes. You’ve earned a break.
First Rise: Lightly grease a clean bowl, place the dough in it, and turn it once to coat. Cover the bowl with plastic wrap or a clean kitchen towel. Let it rise in a warm, draft-free place for 1-1.5 hours, or until it has doubled in size. This is where patience pays off!
Prep the Filling: While the dough is rising, mix the softened butter, brown sugar, and cinnamon in a small bowl until it forms a lovely paste. Try not to eat it all with a spoon. It’s tempting, I know.
Roll It Out: Once the dough has risen, punch it down gently (take out any frustrations here!) and turn it onto a lightly floured surface. Roll it into a large rectangle, about 18×12 inches. Don’t worry if it’s not perfect; it’s rustic, darling.
Spread the Goodness: Evenly spread your cinnamon-sugar filling over the entire dough rectangle, leaving about a ½ inch border on one of the long edges clean. This helps seal the roll.
Roll It Up: Starting from the *opposite* long edge (the one with the filling all the way to the edge), carefully roll the dough into a tight log. Pinch the seam gently to seal it.
Slice and Dice: Using a sharp, un-serrated knife or, even better, unflavored dental floss (seriously, try it!), slice the log into 12 equal rolls, each about 1.5 inches thick. This gives you those perfectly round rolls.
Second Rise: Arrange the rolls in a lightly greased 9×13 inch baking pan, leaving a little space between them (they’re gonna get cozy). Cover the pan and let them rise again for another 30-45 minutes, or until they’re puffy and snug.
Bake ‘Em: While they’re doing their second rise, preheat your oven to **375°F (190°C)**. Bake for 20-25 minutes, or until they’re golden brown and irresistible. Don’t overbake, or they’ll be dry. Nobody wants dry rolls.
Whip the Frosting: While the rolls are baking (or cooling slightly), beat the softened cream cheese and butter together until smooth. Gradually add the powdered sugar, then the vanilla extract. If it’s too thick, add milk or cream, one tablespoon at a time, until it’s dreamy and spreadable.
Frost and Devour: Let the rolls cool for about 5-10 minutes (just enough so the frosting doesn’t completely melt off, but still gets gooey). Spread that glorious cream cheese frosting generously over the warm rolls. Serve immediately and bask in the adoration.
Common Mistakes to Avoid
**Using cold ingredients:** Especially the eggs and milk for the dough. Cold ingredients are like grumpy toddlers; they just don’t want to cooperate. Room temperature is key for a happy rise!
**Killing the yeast:** Water that’s too hot will murder your yeast. Too cold, and it just naps. Aim for that perfect bathwater temp (105-115°F or 40-46°C). If your yeast isn’t foamy after 10 minutes, ditch it and try again. Don’t waste your good flour on dead yeast!
**Over-flouring the dough:** Resist the urge to add too much flour during kneading. A slightly sticky dough is a good thing; it means fluffy rolls. Too much flour makes them tough and dry. **Less is often more when it comes to flour.**
**Skipping the second rise:** Oh, you think you’re clever, saving 30 minutes? Rookie mistake! That second rise is crucial for the rolls to get extra light and airy. Patience, grasshopper!
**Overbaking:** Keep an eye on those rolls! They should be golden brown, not dark brown and crispy. Pull them out when they look perfectly toasted, even if the timer isn’t up. Your eyes are your best oven thermometer.
Alternatives & Substitutions
Feeling a little adventurous or missing an ingredient? No stress, we can totally hack this:
Milk: Any dairy or non-dairy milk should work fine for the dough. Almond milk, oat milk, soy milk – go nuts! The fat content might slightly alter the richness, but they’ll still be delicious. Don’t use water though, unless you like less flavorful, dense rolls.
Butter: For the dough and filling, I really recommend real butter for flavor. For the frosting, you *can* use margarine, but honestly, why hurt your soul like that? Butter is king here. It’s worth it, trust me.
Flour: While all-purpose is the go-to, bread flour can give you an even chewier, more substantial roll. Whole wheat flour? You can try, but prepare for a denser texture and adjust liquid as needed. It’s a different vibe.
Spice it up: Feel free to add a pinch of nutmeg or cardamom to the filling for an extra layer of warmth. Or, if you’re feeling tropical, maybe a tiny bit of orange zest!
Dairy-Free Frosting: Use vegan cream cheese and vegan butter. There are some really great options out there now that taste surprisingly good!
FAQ (Frequently Asked Questions)
My dough isn’t rising! What did I do wrong?
Ugh, the worst! Chances are your yeast was dead (too old, or water too hot/cold), or your rising spot isn’t warm enough. Try again with fresh yeast and a warmer spot (like a slightly warm oven, *turned off*).Can I make these ahead of time?
Oh, absolutely! You can assemble the rolls, place them in the baking pan, cover tightly with plastic wrap, and refrigerate overnight. In the morning, pull them out and let them come to room temperature and rise for about 1-1.5 hours before baking. You can also freeze the unbaked rolls for up to a month!Help, my frosting is too runny/too thick!
Easy fix! Too runny? Add more powdered sugar, a tablespoon at a time. Too thick? Add more milk or cream, a teaspoon at a time. You’re the boss of that frosting!What if I don’t have a stand mixer?
No mixer, no problem! Your hands are your best tools. Kneading by hand is a great workout, and it’s super satisfying. Just be prepared for an arm workout!Are these *really* like Cinnabon?
Look, Cinnabon has their proprietary magic, but these are pretty darn close, some might even say better because *you* made them! They have that same gooey, sweet, comforting vibe that makes you want to curl up with a good book and eat them all. FYI, they’re probably just as calorie-dense, so prepare for that sugar rush!
Final Thoughts
So there you have it, my friend! Your ticket to cinnamon roll nirvana, right from your kitchen. It might seem like a bit of work, but the payoff is *so* worth it. The smell alone is a reward, but that first bite? Pure bliss. Now go impress someone—or just yourself, because you deserve it—with your new culinary skills. You’ve earned it! Don’t forget to take a picture before they’re all gone, because they *will* be gone. Happy baking!


