So, you woke up with that specific, undeniable craving for something warm, gooey, and smelling like a hug? But also, like, *effort*? Yeah, I hear you. We’re talking cinnamon rolls today, but not just any cinnamon rolls. We’re making the kind that practically bake themselves into a glorious, golden hug in a cast iron skillet. Because who has time for individual rolls when you can have one giant, shareable (or not!) masterpiece?
Why This Recipe is Awesome
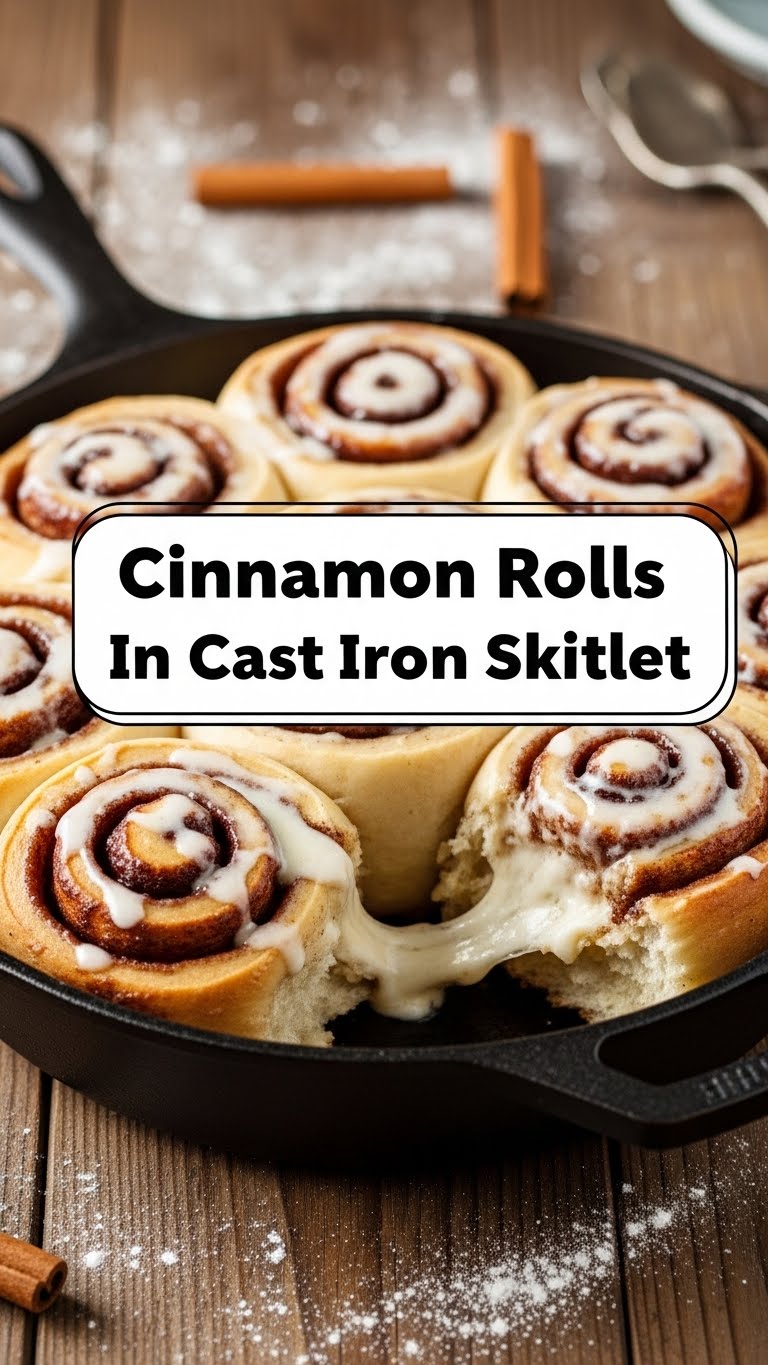
First off, it’s pretty much **idiot-proof**. And trust me, if *I* can make these without summoning a kitchen disaster, you’re golden. The cast iron skillet is the secret MVP here. It gives you those perfectly crispy edges and a super tender, gooey center that’s just… *chef’s kiss*. Plus, one pan means less cleanup, and honestly, that’s half the battle won, right? It’s comfort food, it’s impressive, and it’ll make your house smell like a bakery without the early morning wake-up call.
Ingredients You’ll Need
Alright, let’s gather our edible arsenal. No fancy stuff, just the good ol’ basics that turn into pure magic.
- For the Dough (the star of the show):
- Warm Milk: About 1 cup. Not hot, not cold. Think lukewarm bathwater for yeast, okay?
- Active Dry Yeast: 2 ¼ teaspoons. The little guys that make everything fluffy.
- Granulated Sugar: ¼ cup + 1 teaspoon. For the yeast party and a touch of sweetness.
- Large Egg: 1, at room temp. Binds everything together, adds richness.
- Unsalted Butter: ¼ cup (melted). Because butter makes everything better, duh.
- All-Purpose Flour: 3 cups, plus a bit more for dusting. The foundation of our delicious empire.
- Salt: ½ teaspoon. Don’t skip it, it balances the sweetness!
- For the Gooey Filling (the soul of the roll):
- Brown Sugar: ½ cup (packed). The rich, caramel-y goodness.
- Ground Cinnamon: 2 tablespoons. Go big or go home!
- Unsalted Butter: ¼ cup (softened). Spreads like a dream.
- For the Cream Cheese Frosting (the crown jewel):
- Cream Cheese: 4 oz (softened). The tangy hero.
- Unsalted Butter: 2 tablespoons (softened). More butter!
- Powdered Sugar: 1 cup. Sifted if you’re fancy, but I usually don’t bother.
- Vanilla Extract: ½ teaspoon. A splash of warmth.
- Milk (or cream): 1-2 tablespoons. To get that perfect drizzle consistency.
Step-by-Step Instructions
- Activate the Yeast: In a large bowl, whisk together the warm milk (seriously, warm, not hot!), 1 teaspoon of sugar, and the yeast. Let it hang out for 5-10 minutes until it gets foamy. That’s your yeast telling you it’s alive and ready to party!
- Mix the Dough: Add the ¼ cup sugar, egg, melted butter, flour, and salt to the yeast mixture. Stir with a wooden spoon or a dough hook on a stand mixer until a shaggy dough forms.
- Knead It Out: Turn the dough out onto a lightly floured surface and knead for about 5-8 minutes until it’s smooth and elastic. If using a stand mixer, knead on medium speed for 5 minutes. Don’t over-knead! It should feel soft, not tough.
- First Rise (The Nap): Lightly grease your mixing bowl, pop the dough back in, turn it once to coat, and cover with plastic wrap or a clean kitchen towel. Let it rise in a warm spot for 1-1.5 hours, or until it’s doubled in size. This is where the magic truly begins.
- Prep the Filling & Roll It Out: While your dough is napping, whisk together the brown sugar and cinnamon for the filling. Once the dough has risen, punch it down gently (it’s satisfying!). Roll it out on a lightly floured surface into a large rectangle, about 12×18 inches.
- Spread the Love: Spread the softened butter evenly over the entire dough rectangle, leaving a small border on one long edge. Sprinkle the brown sugar and cinnamon mixture over the butter, making sure it’s well distributed.
- Roll ‘Em Up: Starting from one of the long edges, tightly roll the dough into a log. Once rolled, pinch the seam closed.
- Slice & Arrange: Using a sharp knife or even dental floss (seriously, it makes clean cuts!), slice the log into 9-12 equal rolls, about 1.5 inches thick. Grease your 10 or 12-inch cast iron skillet generously with butter. Arrange the rolls snugly in the skillet.
- Second Rise (The Stretch): Cover the skillet with plastic wrap or a towel and let the rolls rise again in a warm spot for another 30-45 minutes, or until they look puffy and cozy.
- Bake Time! While the rolls are on their second rise, preheat your oven to 375°F (190°C). Once risen, pop the skillet into the preheated oven and bake for 20-25 minutes, or until golden brown and bubbly. Keep an eye on them!
- Whip Up the Frosting: While the rolls are cooling slightly (but still warm!), beat the softened cream cheese and butter together until smooth. Gradually add the powdered sugar, then the vanilla extract. Add milk/cream one tablespoon at a time until you reach your desired drizzly consistency.
- Frost & Devour: Spread or drizzle that glorious cream cheese frosting all over the warm cinnamon rolls. Serve immediately and watch them disappear!
Common Mistakes to Avoid
Nobody’s perfect, but we can try to avoid these rookie blunders:
- Overheating Your Milk: You’re trying to activate yeast, not give it a sauna of death. Too hot milk kills the yeast, and then your dough won’t rise. Womp womp.
- Not Kneading Enough (or Too Much): Under-kneading means tough, dense rolls. Over-kneading means… well, still tough rolls because you’ve developed too much gluten. Aim for smooth and elastic, like a baby’s bottom.
- Skimping on Butter in the Filling: Don’t be shy! The butter helps the filling melt into that gooey, irresistible layer. This isn’t the time for a diet, friend.
- Crowding the Skillet: You want them cozy, but not suffocated. Give them a little room to expand, otherwise, they might fuse into an unmanageable blob (still delicious, but less pretty).
- Forgetting to Preheat the Oven: This isn’t a suggestion, it’s a command! A cold oven won’t give you that initial blast of heat for a good rise and even baking. FYI: It’s crucial for consistent results.
- Overbaking: The ultimate tragedy. Dry cinnamon rolls are a crime against humanity. Pull them out when they’re golden brown and slightly jiggly in the middle. They’ll continue to cook slightly from residual heat.
Alternatives & Substitutions
Feeling adventurous or just missing an ingredient? No stress, we can totally hack this:
- Dairy-Free? You bet! Use a good plant-based milk (almond, soy, oat all work well) and a plant-based butter substitute. For the cream cheese frosting, there are some decent vegan cream cheeses out there now.
- No Yeast? Okay, this recipe *is* built around yeast. But if you’re in a pinch and have store-bought crescent roll dough or puff pastry, you can totally make “cheater” cinnamon rolls. Just spread the filling and roll ’em up!
- Spice It Up: Add a pinch of nutmeg, cardamom, or even a tiny bit of ginger to your filling for extra warmth.
- Nutty Rolls: Sprinkle some finely chopped pecans or walnuts over the filling before rolling for a textural crunch.
- Frosting Variations: Don’t love cream cheese? A simple powdered sugar glaze (powdered sugar + milk/water + vanilla) is also delicious. Or go wild with a maple glaze!
- Different Skillet Size? If you only have a smaller skillet, you might get fewer, thicker rolls, or you can bake some in a small baking dish alongside. Adjust baking time as needed.
FAQ (Frequently Asked Questions)
- Can I make the dough ahead of time? Heck yes! After the first rise, punch down the dough, put it back in the greased bowl, cover tightly, and refrigerate overnight (up to 24 hours). The next day, let it come to room temp for about 30-60 mins before rolling.
- My rolls aren’t rising, what gives? Probably your yeast. Was your milk too hot/cold? Is your yeast old? Always check yeast expiry dates! If it didn’t foam up in step 1, it’s probably dead, Jim.
- Can I use margarine instead of butter? Well, technically yes, but why hurt your soul like that? Butter just tastes better, IMO, and gives a richer flavor and texture. But if that’s all you have, go for it!
- What if I don’t have a cast iron skillet? No problem! A regular 9×13 inch baking dish will work perfectly. The cast iron just gives that extra special crispy bottom, but a glass or ceramic dish will still give you amazing rolls.
- How do I store leftovers? Hah, leftovers? Good one! If you *do* manage to have any, cover them tightly and store at room temperature for up to 2 days, or in the fridge for up to 4 days. Reheat gently in the microwave or oven.
- Can I freeze these? You bet! You can freeze the unbaked rolls after arranging them in the skillet (cover tightly). Thaw overnight in the fridge, then let them do their second rise before baking. Or, freeze baked (and unfrosted) rolls, then thaw and warm before frosting.
Final Thoughts
And there you have it! A pan of warm, gooey, utterly divine cinnamon rolls that look like you spent hours slaving away, when really, it was just a fun little kitchen adventure. Seriously, you just made magic happen. Now go impress someone—or, more realistically, yourself—with your new culinary superpowers. You’ve totally earned that giant, sticky, delicious reward. Go on, grab one (or three)!


