So, you’re craving that warm, gooey, cinnamon-sugar hug, but the thought of kneading dough for an hour makes you want to crawl back into bed? Been there, done that, bought the T-shirt. Good news, my friend: Your bread machine is about to become your new bestie for epic cinnamon rolls!
Why This Recipe is Awesome
Why is this recipe basically a culinary cheat code? Because it’s **stupid simple**. Seriously, if you can measure ingredients and press a button, you’re golden. Your bread machine does all the heavy lifting – the kneading, the proofing, the whole nine yards. You get all the homemade goodness without the carpal tunnel syndrome. Plus, your kitchen will smell like a bakery, and who doesn’t want that?
Ingredients You’ll Need
Gather ’round, my aspiring pastry chef! Here’s what you’ll need to make your cinnamon roll dreams a reality:
For the Dough (the bread machine’s job!):
- 1 cup warm milk (don’t boil the poor stuff, just warm it up!)
- 1/2 cup granulated sugar (yes, more than you think, it’s dessert!)
- 1/2 cup unsalted butter, melted (because butter makes everything better, obvi)
- 1 large egg (one happy little egg)
- 4 cups all-purpose flour (the backbone of your roll)
- 1 teaspoon salt (just a pinch, don’t go crazy)
- 2 1/4 teaspoons active dry yeast (one packet, the magical poof-maker)
For the Gooey Filling (your happy place):
- 1/2 cup unsalted butter, softened (not melted, big difference!)
- 1 cup packed light brown sugar (dark or light, your call, but brown is key)
- 2 tablespoons ground cinnamon (the star of the show, don’t skimp!)
For the Cream Cheese Glaze (the crown jewel):
- 4 oz cream cheese, softened (straight from the fridge is a no-go!)
- 1 1/2 cups powdered sugar (aka confectioners’ sugar, for that silky finish)
- 1-2 tablespoons milk (just a splash to get the right consistency)
- 1 teaspoon vanilla extract (a little hug in a bottle)
Step-by-Step Instructions
Alright, let’s get down to business. Follow these steps, and you’ll be swimming in cinnamon-y bliss in no time!
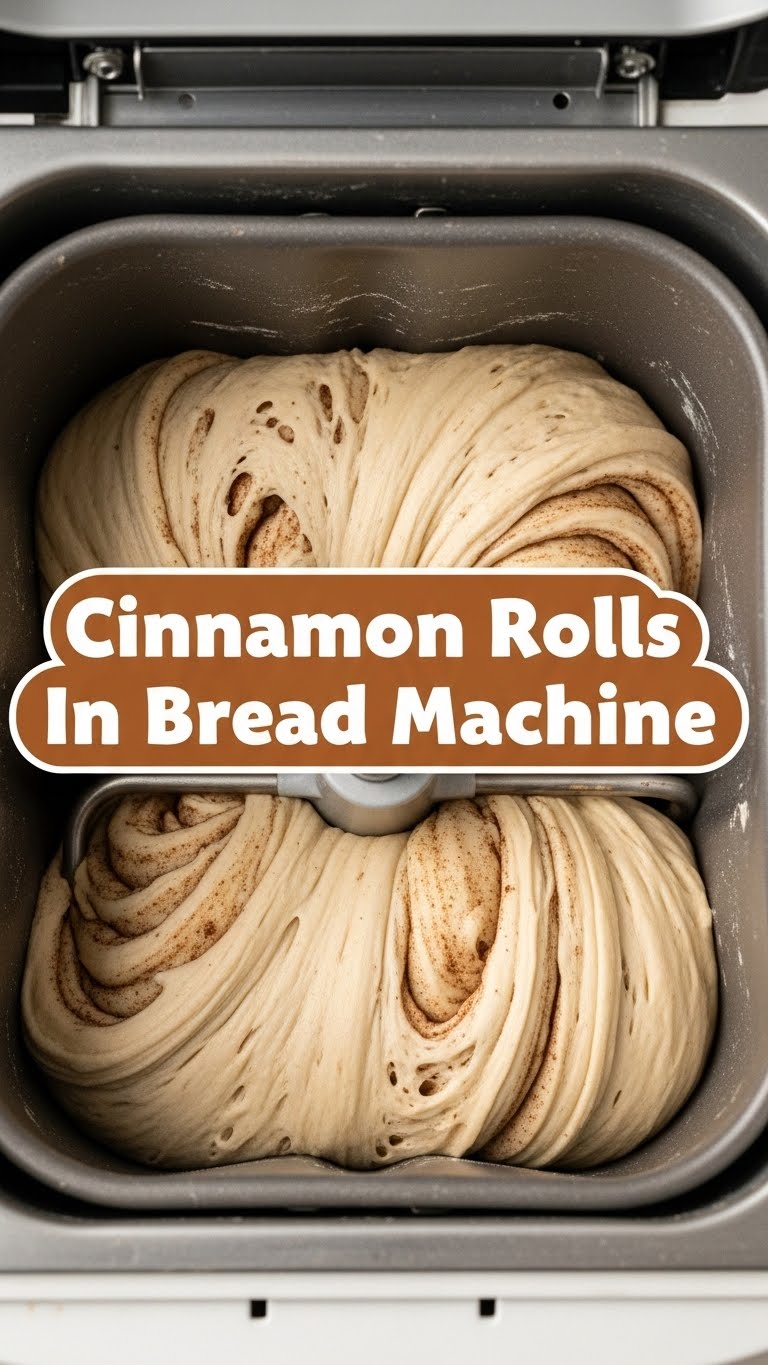
- **Dough Time!** Into your bread machine pan, add the milk, sugar, melted butter, and egg. Next, spoon in the flour, then sprinkle the salt and yeast on top. Make sure the yeast isn’t directly touching the wet ingredients just yet – give it its moment.
- **Press Play!** Pop the pan into your bread machine. Select the “Dough” or “Dough Cycle” setting. Now, hit start and go do something fun for the next 1.5 to 2 hours. Your machine is on duty!
- **Filling Frenzy!** While your dough is doing its thing, in a small bowl, mix the softened butter, brown sugar, and cinnamon until it forms a delicious, spreadable paste. **Pro Tip:** If your butter is too cold, microwave it for about 10 seconds.
- **Roll Call!** Once the dough cycle is complete, carefully remove the dough from the machine and place it on a lightly floured surface. Gently roll it into a large rectangle, roughly 12×18 inches. Don’t stress about perfection!
- **Spread the Love!** Evenly spread your cinnamon-sugar filling over the entire surface of the dough, leaving a small border on one of the longer sides. This helps seal the roll.
- **Get Rolling!** Starting from the opposite long side, tightly roll the dough into a log. Once rolled, pinch the seam closed along that small border you left.
- **Slice & Dice!** Using a sharp knife or, even better, unflavored dental floss (seriously, try it!), cut the log into 12 equal slices, about 1.5 inches each. Place them snugly into a lightly greased 9×13 inch baking pan.
- **Second Rise!** Cover the pan with plastic wrap or a clean kitchen towel and let the rolls rise in a warm place for another 30-45 minutes, or until they look nicely puffed up. Patience, my friend!
- **Bake It ‘Til You Make It!** Preheat your oven to 375°F (190°C). Bake the rolls for 20-25 minutes, or until they’re golden brown and smell absolutely irresistible.
- **Glaze Galore!** While the rolls are baking, whisk together the softened cream cheese, powdered sugar, a splash of milk, and vanilla extract until smooth and creamy. Add more milk a tiny bit at a time if you need a thinner glaze.
- **Devour!** As soon as the rolls come out of the oven, slather them with that dreamy cream cheese glaze. Serve warm and watch them disappear!
Common Mistakes to Avoid
Even the pros make mistakes, but you don’t have to make these!
- **Ignoring the Dough Cycle:** Thinking you can just eyeball the dough’s consistency—nope! Let the machine do its full cycle. It knows best, trust me.
- **Using Cold Ingredients (especially yeast!):** Cold milk can kill your yeast’s enthusiasm. **Warm milk is key** for that fluffy rise. Same goes for rock-hard butter for the filling.
- **Over-flouring:** When rolling out your dough, a *lightly* floured surface means *lightly*. Too much flour makes your rolls tough. Nobody wants tough rolls.
- **Under-proofing the Second Rise:** Patience, grasshopper! Don’t rush that second rise. It’s crucial for those soft, pillowy rolls. If they don’t look puffy, they aren’t ready.
- **Skimping on the Filling:** This isn’t the time to be shy with butter, sugar, and cinnamon. Go big or go home!
Alternatives & Substitutions
Feeling adventurous? Or maybe you just ran out of something. Here are a few tweaks:
- **Dairy-Free?** You can totally swap regular milk for a plant-based alternative like almond or oat milk. For butter, use a good quality dairy-free butter substitute. The cream cheese glaze might be a bit trickier, but there are some decent vegan cream cheeses out there!
- **Whole Wheat Flour?** You *can* substitute some all-purpose flour for whole wheat, but I’d recommend sticking to about 1/2 to 1 cup max, or your rolls might get a bit too dense. For classic fluffy rolls, AP is king.
- **Extra Spices?** Feel free to add a pinch of nutmeg or cardamom to your cinnamon filling for an extra layer of cozy flavor. Why not, right?
- **No Cream Cheese Glaze?** If you’re not a cream cheese fan (gasp!), a simple powdered sugar glaze (powdered sugar + milk + vanilla) works just fine. Or, for a truly decadent treat, a brown butter glaze. *Chef’s kiss!*
FAQ (Frequently Asked Questions)
Got questions? I’ve got (casual) answers!
- **”My dough is too sticky/dry from the bread machine, what gives?”** Ah, the fickle nature of dough! Sometimes humidity or flour brand can affect it. If it’s too sticky, add a tablespoon of flour at a time. Too dry? A teaspoon of milk. But **only if it’s extreme**; bread machines are usually pretty good at their job, FYI!
- **”Can I make these ahead of time?”** Absolutely! After the second rise and before baking, cover the pan tightly with plastic wrap and pop it in the fridge overnight. In the morning, let them sit at room temp for 30-60 mins while your oven preheats, then bake as usual. Fresh rolls for breakfast without the early wake-up call? Yes, please!
- **”What if I don’t have a 9×13 pan?”** No biggie! A couple of 8×8 or 9×9 inch pans will work, or even a round cake pan. Just make sure the rolls are cozy but not overly crowded.
- **”Can I use margarine instead of butter?”** Well, technically yes, but why hurt your soul (and taste buds) like that? Butter just tastes better, IMO. Seriously, splurge a little. You deserve it.
- **”My rolls didn’t rise, help!”** Usually, this points to dead yeast. Make sure your yeast isn’t expired and your milk wasn’t too hot (killing the yeast) or too cold (making it sluggish). Fresh, happy yeast is a must for fluffy rolls!
- **”How do I store leftovers?”** *Leftovers?* What are those? Kidding! Keep them covered at room temperature for a day or two, or in the fridge for up to 5 days. Reheat gently in the microwave or oven for that fresh-baked feel.
Final Thoughts
See? That wasn’t so scary, was it? You just unleashed the power of your bread machine to create cinnamon roll magic. Go ahead, bask in the glory, share them (or don’t, I won’t tell!), and revel in your new, ridiculously easy baking prowess. Now go impress someone—or yourself—with your new culinary skills. You’ve earned it!


