So, you’re craving something warm, gooey, and utterly delicious but the thought of kneading dough by hand makes your arms ache just thinking about it, huh? Same, friend, *same*. We’ve all been there – staring longingly at bakery displays, wishing a magical cinnamon roll fairy would just appear. Well, guess what? We’re about to become that fairy for ourselves, and our trusty stand mixer is our wand! Get ready for the most ridiculously easy, insanely delicious homemade cinnamon rolls that will make you question why you ever bought them pre-made. Seriously, this isn’t just baking; it’s an act of self-love… and possibly gluttony. Let’s do this!
Why This Recipe is Awesome
Okay, let’s be real. Most “easy” recipes still feel like they require a culinary degree and the patience of a saint. Not this one. This recipe is awesome because it’s practically foolproof. No, really, even I, who once burned water (don’t ask), have mastered this. Your stand mixer does 90% of the work, meaning less elbow grease for you and more time to, well, *eat* the results. We’re talking fluffy, tender dough, a cinnamon-sugar swirl that’ll make your eyes roll back in your head, and a cream cheese frosting that’s basically a hug in edible form. Plus, think of the bragging rights. “Oh, these? Just some little something I whipped up.” You’re welcome.
Ingredients You’ll Need
Gather your troops! Don’t worry, nothing too exotic here. Most of these are probably already lurking in your pantry, just waiting for their moment to shine.
For the Dough (The Star of the Show):
- 1 cup whole milk (or 2%, but whole gives it that extra lusciousness, IMO) – warmed slightly, like bathwater for a baby.
- 2 ¼ teaspoons active dry yeast (one standard packet) – the magic dust that makes things rise!
- ¼ cup granulated sugar – feeding the yeast, and a little sweetness for the dough.
- 1 large egg – room temperature, for richness and binding.
- ¼ cup unsalted butter – melted and cooled slightly.
- ½ teaspoon salt – don’t skip it! Balances all that sweetness.
- 3 cups all-purpose flour – plus a little extra for dusting.
For the Filling (The Swirly Goodness):
- ½ cup unsalted butter – softened, like really, really soft.
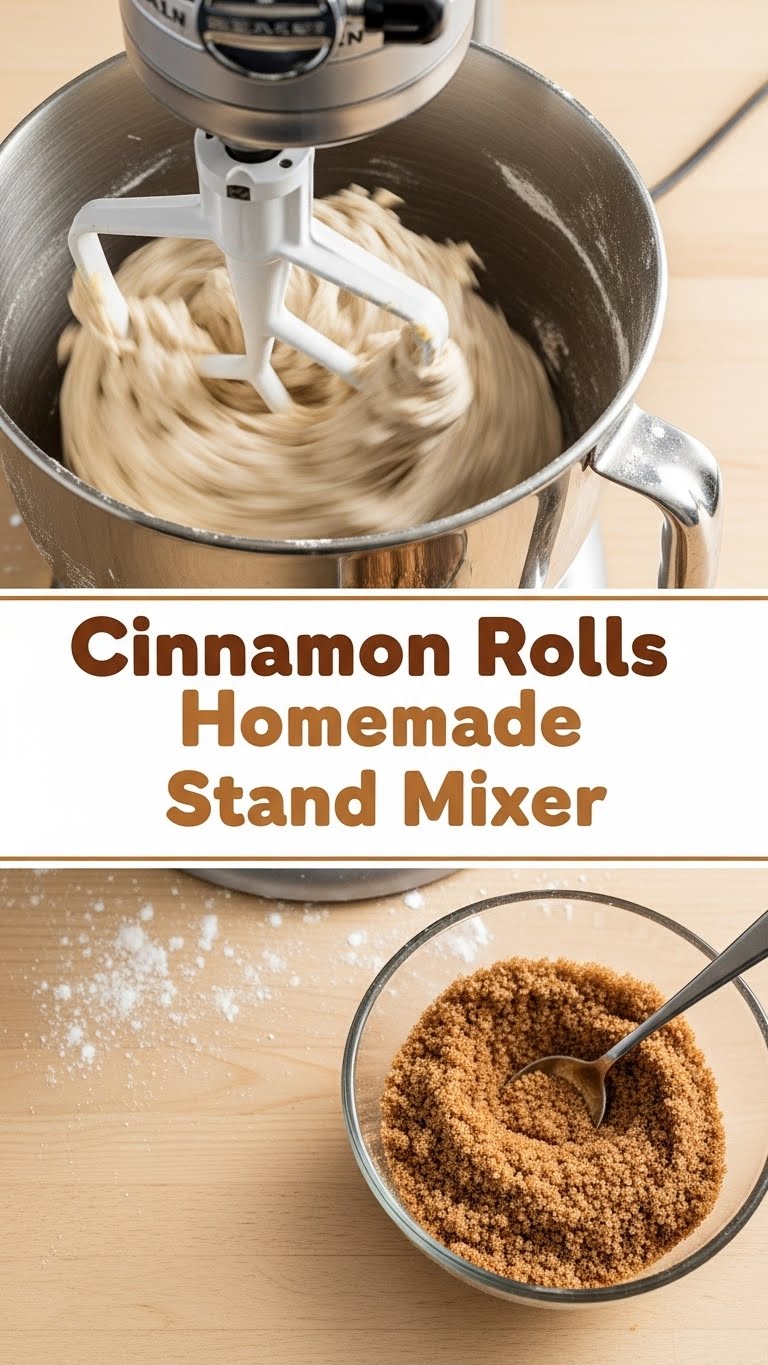
- ¾ cup packed light brown sugar – because brown sugar just hits different.
- 2 tablespoons ground cinnamon – the main event! Don’t be shy.
For the Frosting (The Creamy Dream):
- 4 ounces cream cheese – softened, full-fat is your friend here.
- ¼ cup unsalted butter – softened.
- 1 ½ cups powdered sugar – sifted, if you’re fancy (or hate lumps).
- ½ teaspoon vanilla extract – the soul of all good frostings.
- 1-2 tablespoons milk or cream – for consistency, just a splash.
Step-by-Step Instructions
Dough Time:
In your stand mixer bowl (with the dough hook attachment), combine the warmed milk, yeast, and a pinch of that ¼ cup sugar. Give it 5-10 minutes to foam up. This means your yeast is alive and ready to party!
Add the rest of the sugar, egg, melted butter, and salt to the yeast mixture. Mix on low until combined. Gradually add the flour, one cup at a time, mixing until a shaggy dough forms. Increase speed to medium-low and knead for about 5-7 minutes. You’re looking for a smooth, elastic dough that pulls away from the sides of the bowl. If it’s too sticky, add a tiny bit more flour, a teaspoon at a time.
Lightly grease a large bowl. Place your dough baby in it, turning once to coat. Cover the bowl with plastic wrap or a clean kitchen towel. Let it rise in a warm spot for 1-1.5 hours, or until doubled in size. This is where patience is a virtue, my friend.
Filling & Rolling Fun:
Once the dough has doubled, gently punch it down to release the air. On a lightly floured surface, roll it out into a large rectangle, roughly 12×18 inches. Try to keep the edges as straight as possible—it makes rolling easier.
In a small bowl, mix together the softened butter, brown sugar, and cinnamon for the filling until well combined. Spread this delicious concoction evenly over your rolled-out dough, leaving about a ½ inch border on one of the long edges.
Starting from the long edge *opposite* the border, carefully roll the dough into a tight log. Pinch the seam gently to seal it. Now, for cutting! Using a sharp, un-serrated knife or, even better, unflavored dental floss (seriously, try it!), cut the log into 12 equal pieces, about 1.5 inches thick.
Baking & Frosting Glory:
Lightly grease a 9×13 inch baking dish. Arrange your cinnamon roll spirals cut-side up in the dish. Don’t worry if they look a little sparse; they’ll puff up! Cover again with plastic wrap and let them rise for another 30-45 minutes, or until they’re noticeably puffy and almost touching.
While they’re doing their second rise, preheat your oven to 375°F (190°C). Once risen, bake for 20-25 minutes, or until golden brown on top and cooked through. If they’re browning too quickly, you can loosely tent them with foil.
While the rolls are cooling slightly (but still warm!), make the frosting. In a medium bowl, beat together the softened cream cheese and butter until smooth. Add the powdered sugar, vanilla, and 1 tablespoon of milk/cream. Beat until smooth and creamy, adding more milk/cream if needed for desired consistency. Remember: you want it spreadable, not soupy.
Slather that glorious frosting all over the warm cinnamon rolls. The warmth will melt it slightly, creating an irresistible glaze. Serve immediately and prepare for compliments (and probably sticky fingers).
Common Mistakes to Avoid
- Skipping the warm milk for yeast: Yeast is a diva; it needs a cozy environment to wake up. Too hot and you kill it; too cold and it sleeps in. Aim for lukewarm.
- Not letting the butter soften for the filling: Trying to spread cold, hard butter will tear your dough. You want it soft enough to smear easily.
- Over-flouring the dough: More flour equals dry, tough rolls. Add just enough so the dough isn’t sticking like crazy, but still a little tacky.
- Under-proofing your dough: Impatience leads to dense, sad rolls. Let them rise until noticeably doubled. Trust the process!
- Cutting rolls with a dull knife: This squishes your beautiful spirals. Use a sharp, non-serrated knife or, honestly, dental floss is a game-changer for clean cuts.
- Thinking you don’t need to preheat the oven: Rookie mistake! Baking in a cold oven means uneven cooking and sad rolls. Preheat every time.
Alternatives & Substitutions
Feeling adventurous or missing an ingredient? No stress! Here are some swap-outs:
- Dairy-Free: Use a plant-based milk (almond, soy, oat all work well!) and a good quality dairy-free butter substitute for both the dough and filling. For the frosting, try a dairy-free cream cheese alternative. Just know the texture might be slightly different, but still delish!
- Spicy Swaps: Not just cinnamon! Add a pinch of nutmeg, cardamom, or even a tiny bit of ginger to the filling for an extra layer of flavor. My personal fave is a touch of cardamom; it’s a game-changer!
- No Stand Mixer? You *can* knead by hand, but it’ll take about 10-15 minutes of vigorous kneading. Your arms will get a workout, but the results are worth it!
- Different Frosting: If cream cheese isn’t your jam (gasp!), a simple powdered sugar glaze (powdered sugar + milk + vanilla) works too. Or go wild with a maple glaze!
FAQ (Frequently Asked Questions)
Got questions? I’ve got (casual) answers!
- Can I make these ahead of time? Absolutely! After placing the cut rolls in the baking dish, cover them tightly with plastic wrap and pop them in the fridge overnight. The next morning, take them out, let them come to room temp and proof for about an hour, then bake as usual.
- My dough isn’t rising, what gives? Uh oh! Most likely, your yeast was old/inactive, or your milk was too hot/cold. Always check your yeast’s expiration date!
- Can I use margarine instead of butter? Well, technically yes, but why hurt your soul like that? Butter just tastes better and contributes to a superior texture. For the ultimate flavor, stick with butter.
- How do I store leftovers? If there are any! Store them in an airtight container at room temperature for a day or two, or in the fridge for up to 5 days. Reheat gently in the microwave for that fresh-baked feel.
- My rolls are too dry/dense. What went wrong? Usually, this means you added too much flour during kneading or didn’t let them rise long enough. Humidity also plays a role, so be mindful of how much extra flour you’re adding.
- Can I freeze them? Yep! You can freeze the baked and frosted rolls, or even the unbaked rolls. For unbaked, freeze them individually on a baking sheet, then transfer to a freezer bag. Thaw overnight in the fridge, then proof and bake.
Final Thoughts
So there you have it – your comprehensive (and hopefully entertaining) guide to making cinnamon rolls that will make you a legend in your own kitchen. Seriously, these aren’t just pastries; they’re a warm, sweet hug on a plate. Go forth, conquer that dough, and bask in the glory of your homemade creation. Now go impress someone—or yourself—with your new culinary skills. You’ve earned it!


