So you’re craving something warm, gooey, and sweet, but the thought of spending all day proving yeast and kneading dough makes you want to curl up and cry into a bag of chips? Been there, friend, been there. Good news! We’re about to make your cinnamon roll dreams come true without the all-day commitment. Get ready for a kitchen hack that’ll make you feel like a baking wizard!
Why This Recipe is Awesome
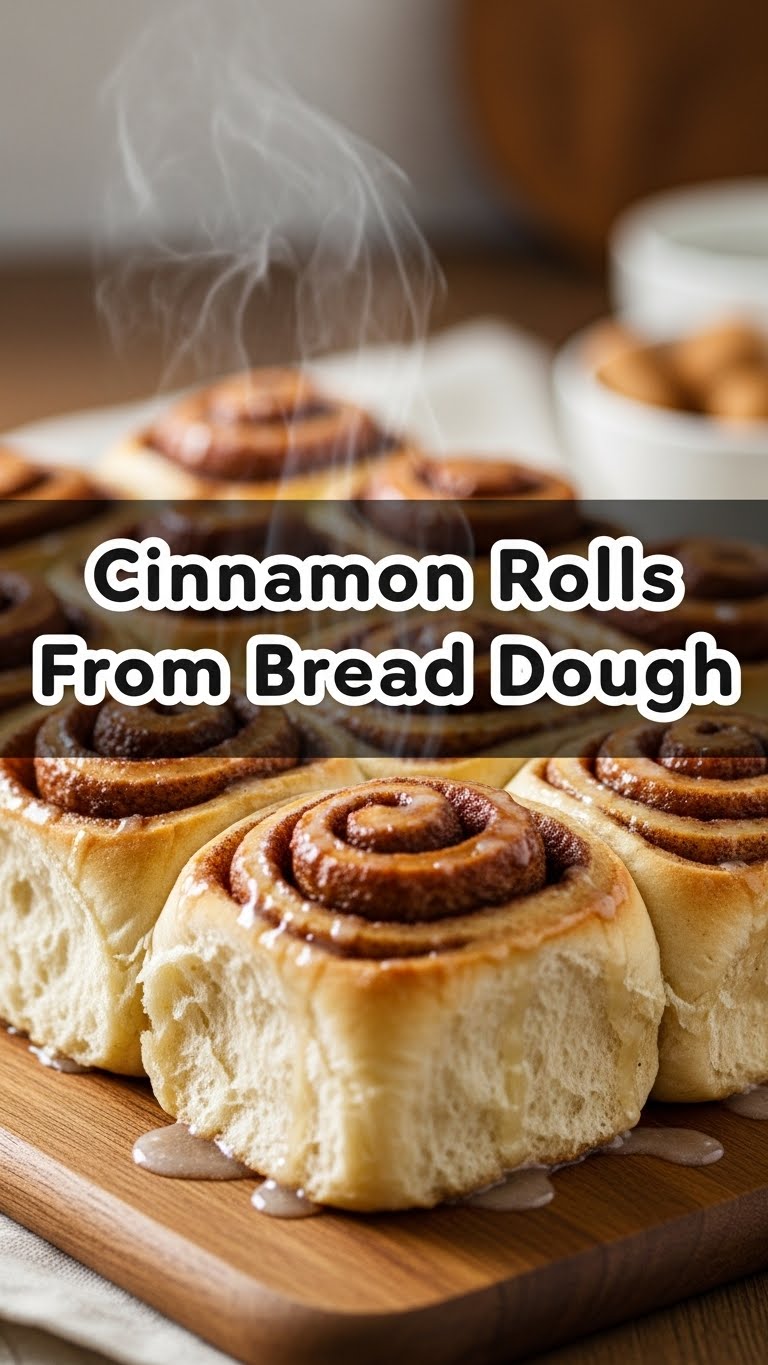
Listen, if you’re anything like me, your ambition to bake from scratch often collides head-on with your desire to, well, *not* spend all day in the kitchen. Enter this brilliant hack: Cinnamon Rolls from BREAD DOUGH! Yes, you read that right. We’re skipping 90% of the effort and still ending up with those dreamy, cinnamon-swirled beauties that taste like you slaved over them.
This recipe is practically idiot-proof. Seriously, even I, the queen of kitchen catastrophes, managed to pull this off without setting off the smoke detector. Plus, instant gratification, people! Who has time to wait for dough to rise twice when there are snacks to be eaten? Not us. It’s fast, minimal effort, and delivers maximum deliciousness. You’re welcome.
Ingredients You’ll Need
Gather ’round, my fellow lazy gourmets. Here’s what you’ll need for this magical transformation:
- For the Rolls:
- 1 loaf (approx. 1 lb) frozen bread dough (the *real* MVP here – find it in the freezer aisle next to the garlic bread)
- ½ cup unsalted butter, melted (because everything’s better with butter, and it spreads easier)
- ½ cup granulated sugar (for sweetness, duh)
- 2 tablespoons ground cinnamon (don’t be shy! We want that classic cinnamon kick)
- For the Glaze:
- 1 cup powdered sugar (icing sugar, confectioners’ sugar – whatever you call it, it’s magic)
- 2-3 tablespoons milk (dairy, almond, oat – whatever floats your boat, start with less and add more if needed)
- ½ teaspoon vanilla extract (the secret ingredient for *oomph*!)
Step-by-Step Instructions
Alright, let’s get down to business. Follow these steps and prepare to be amazed!
- Thaw the Dough: Take that frozen brick of glory out of the freezer. Place it on a lightly floured surface or a baking sheet. Let it chill (literally) at room temperature until it’s soft and pliable, about 2-3 hours. If you’re impatient like me, you can try the defrost setting on your microwave for a minute or two, flipping halfway. Do NOT cook it, just soften it!
- Roll it Out: Once soft, roll the dough into a large rectangle, roughly 12×18 inches. Aim for an even thickness. No need for perfection, we’re making comfort food, not a masterpiece for a museum.
- Butter Up! Melt that butter. Now, using a pastry brush (or your fingers, no judgment here), spread the melted butter generously all over the rolled-out dough. Leave a small margin (about ½ inch) along one of the longer edges – this will help seal the roll.
- Cinnamon Sugar Shower: In a small bowl, mix the granulated sugar and cinnamon. Sprinkle this glorious mixture evenly over the buttered dough. Make sure every inch gets some love and looks like a sweet, spicy blanket.
- Roll ‘Em Up: Starting from the long edge *opposite* the margin you left, tightly roll the dough into a log. The tighter you roll, the prettier those swirls will be, and the less filling will escape.
- Slice and Dice: Using a sharp knife or even unscented dental floss (pro tip for super clean cuts!), slice the log into 12 equal pieces, about 1.5 inches thick.
- Arrange and Rise (Again): Lightly grease a 9×13 inch baking dish. Place the cinnamon roll slices cut-side up in the dish, leaving a little space between them. They’ll snuggle up later! Cover the dish with a clean kitchen towel and let them rise in a warm spot for about 45-60 minutes, or until they’re noticeably puffy and have grown together. This is where the magic happens and they get all airy.
- Bake Time! Preheat your oven to 375°F (190°C). Bake for 20-25 minutes, or until the rolls are beautifully golden brown and cooked through. Keep an eye on them—ovens vary, and we don’t want any burnt bottoms!
- Glaze Glory: While the rolls are baking, whisk together the powdered sugar, milk, and vanilla extract for the glaze. Add milk one tablespoon at a time until you reach your desired consistency – thick but pourable. You want it to coat a spoon nicely.
- Drizzle and Devour: As soon as the rolls come out of the oven, generously drizzle that heavenly glaze all over them. Don’t wait for them to cool completely; the warm rolls will absorb some of that sweet goodness. Now, dig in before they disappear!
Common Mistakes to Avoid
Nobody’s perfect, but we can avoid some common pitfalls, right? Here are a few things to watch out for:
- Not thawing dough enough: Trying to roll a frozen hockey puck? Good luck with that. You need it soft and pliable, not stiff and resisting. Patience, grasshopper.
- Skipping the second rise: Yes, it’s an extra step, but it’s crucial for fluffy, tender rolls. Don’t rush perfection (or near-perfection with minimal effort).
- Over-baking: Dry rolls are a sad sight. Keep an eye on them; golden brown is the goal, not dark mahogany. Set a timer and check often in the last 5-7 minutes.
- Not enough filling: This is not the time to be shy with the butter and cinnamon sugar. Be generous! That’s where all the good flavor lives.
- Thinking you don’t need to preheat the oven: Rookie mistake. Your oven needs to be at the correct temperature for even baking and a good rise. Give it 10-15 minutes to preheat properly.
Alternatives & Substitutions
Feeling creative? Or just missing an ingredient? No stress, we can totally adapt!
- Bread Dough: Can’t find frozen bread dough? Try store-bought pizza dough! It works surprisingly well, just might need a little more flour when rolling to prevent stickiness.
- Butter: Margarine *can* work in a pinch, but butter is king for flavor and richness. Seriously, treat yourself if you can.
- Cinnamon: Feeling adventurous? Add a pinch of nutmeg or cardamom to your cinnamon sugar for an extra spice kick. Or even some finely grated orange zest for a bright, citrusy note!
- Glaze: No vanilla? A tiny squeeze of lemon juice in the glaze can add a nice tang. Or, if you’re feeling extra fancy (and have cream cheese), you could whip up a quick cream cheese frosting for a classic bakery feel.
FAQ (Frequently Asked Questions)
Got questions? I’ve got (casual) answers!
- Can I prepare these ahead of time? Absolutely! You can cover the assembled rolls (before the second rise) and refrigerate them overnight. Take them out about an hour before baking to come to room temp and get a final rise.
- My rolls are tough, what went wrong? Probably over-baked, my friend. Or you might have rolled the dough out too thin. Next time, keep an eye on that oven and aim for about ¼ inch thickness.
- Can I use whole wheat bread dough? You totally can! The texture might be a little denser and chewier, but the flavor will still be delicious. Embrace the rustic charm!
- What if I don’t have a warm spot for the second rise? Pop them in your oven with *just* the light on (oven off, of course!). It creates a nice, cozy environment without cooking them. Works like a charm!
- Is homemade glaze really necessary? Look, you *could* buy canned frosting, but that homemade glaze takes literally 2 minutes and elevates these rolls from “good” to “OMG-I-need-another-one.” It’s totally worth it, IMO.
Final Thoughts
See? I told you it was easy! Now you’ve got warm, gooey, homemade-tasting cinnamon rolls without the all-day commitment. Your kitchen smells amazing, and your tummy is about to be very, very happy. Go on, pat yourself on the back, you culinary genius! Now go impress someone – or just yourself – with your new kitchen skills. You’ve earned it, and a second roll (or third, no judgment here).


