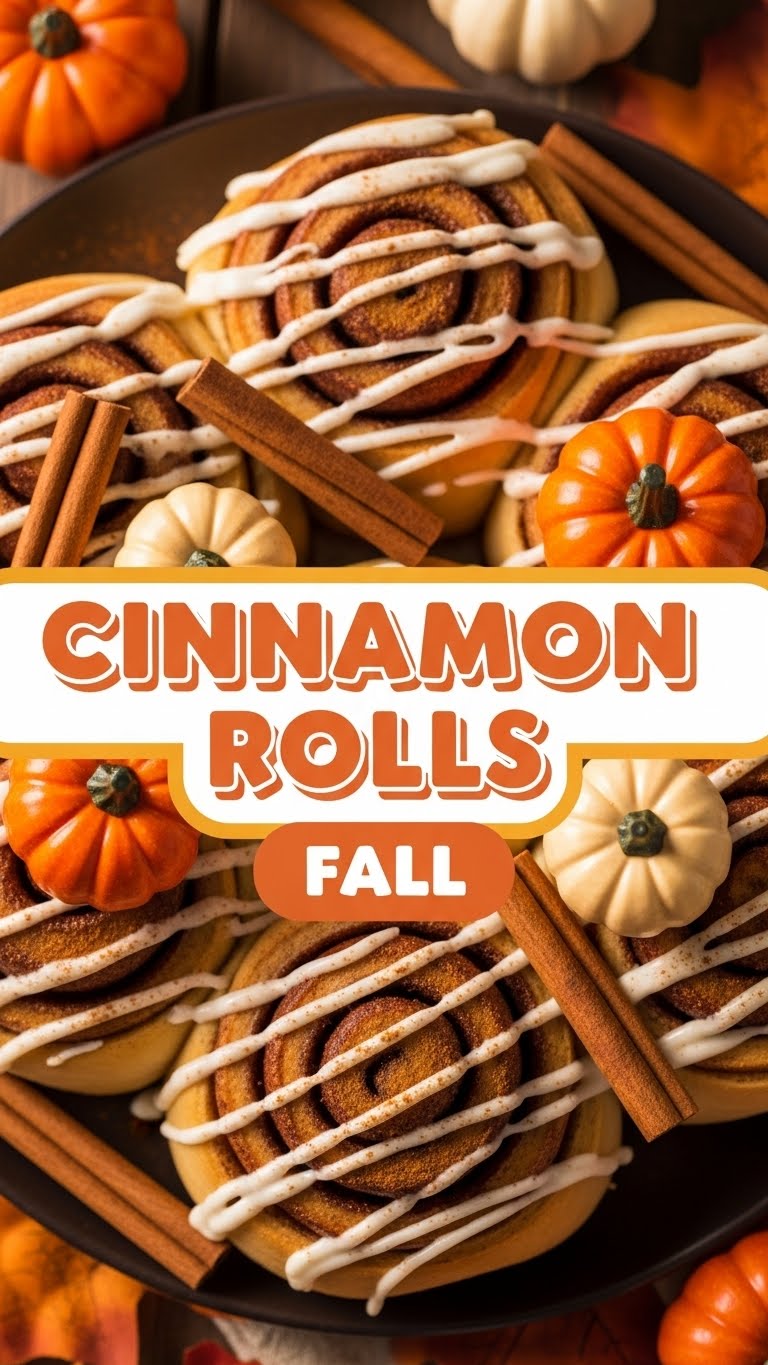
Alright, my friend, listen up! Autumn called, and it wants its cozy vibes back. And what screams ‘fall’ more than a house smelling like warm cinnamon and sugar? Nothing, that’s what. So, you’re craving something ridiculously tasty but too lazy to spend forever in the kitchen, huh? Same. Let’s make some magic – cinnamon roll magic, that is!
Why This Recipe is Awesome
Okay, so why *this* recipe for cinnamon rolls? Because it’s practically foolproof. Seriously, if I can do it without setting off the smoke alarm (again), you definitely can. It’s the perfect balance of fluffy, tender dough, gooey cinnamon-sugar filling, and that dreamy, tangy cream cheese frosting. Plus, **your entire house will smell like a warm, autumnal hug**, which, let’s be honest, is half the reason we bake, right? It’s the ultimate comfort food that feels fancy but is surprisingly chill to make. IMO, it’s a total winner!
Ingredients You’ll Need
Gather your troops! No need for a scavenger hunt, most of these are likely chilling in your pantry already.
- For the Dough:
- 1 cup warm milk (think bathwater temp, not boiling!)
- 2 ¼ teaspoons active dry yeast (one packet, if you’re keeping it simple)
- ¼ cup granulated sugar (for the yeast, they need a snack)
- 1 large egg, room temperature (don’t skip this, it makes a difference!)
- ¼ cup unsalted butter, melted (liquid gold!)
- 1 teaspoon salt (enhances all the sweet goodness)
- 3 ½ – 4 cups all-purpose flour (start with less, add more as needed)
- For the Filling:
- ½ cup unsalted butter, softened (soft enough to spread, not melted)
- ¾ cup packed light brown sugar (that rich, molasses-y goodness)
- 2 tablespoons ground cinnamon (go big or go home!)
- For the Cream Cheese Frosting:
- 4 oz cream cheese, softened (full-fat, don’t you dare skimp!)
- ¼ cup unsalted butter, softened (more butter, more happiness)
- 1 ½ cups powdered sugar (sifted, if you’re feeling fancy)
- ½ teaspoon vanilla extract (the secret ingredient to everything good)
- 1-2 tablespoons milk or heavy cream (to get that perfect drizzle consistency)
Step-by-Step Instructions
Let’s get messy (but in a fun, delicious way!).
- Yeast Awakening: In a large bowl (or stand mixer bowl), combine the warm milk, granulated sugar, and yeast. Give it a gentle stir. Let it sit for 5-10 minutes until it gets foamy and bubbly. This means your yeast is alive and ready to party!
- Dough Time: Add the egg, melted butter, and salt to your bubbly yeast mixture. Stir it up. Gradually add 3 cups of flour, mixing until a shaggy dough forms.
- Knead It: If using a stand mixer, attach the dough hook and knead on medium-low for 5-7 minutes. If by hand, turn the dough out onto a lightly floured surface and knead for 8-10 minutes. The dough should be smooth, elastic, and just slightly tacky. Add more flour, one tablespoon at a time, if it’s too sticky.
- First Rise: Lightly grease a clean bowl with oil. Place the dough in the bowl, turn it once to coat, then cover with plastic wrap or a clean kitchen towel. Let it rise in a warm place for 1-1.5 hours, or until it has roughly doubled in size. **Patience is a virtue here, my friend.**
- Roll Out the Fun: Once risen, gently punch down the dough to release the air. Turn it out onto a lightly floured surface and roll it into a large rectangle, roughly 12×18 inches.
- Spread the Love (and Butter): Evenly spread the softened butter over the entire surface of the dough, leaving about a ½-inch border on one of the long edges. In a small bowl, mix the brown sugar and cinnamon. Sprinkle this delicious mixture generously over the butter.
- Roll ‘Em Up: Starting from one of the long edges, tightly roll the dough into a log. Once rolled, pinch the seam closed.
- Slice and Dice: Use a sharp knife or, even better, a piece of unflavored dental floss (seriously, it gives clean cuts!) to slice the log into 12 even rolls, about 1.5 inches thick.
- Second Rise: Arrange the rolls in a lightly greased 9×13 inch baking pan. Cover them again and let them rise for another 30-45 minutes, or until they look puffy and snug in the pan. Preheat your oven to 375°F (190°C) during this time.
- Bake ‘Em Baby! Pop the pan into the preheated oven and bake for 20-25 minutes, or until the tops are golden brown and the rolls are cooked through.
- Frosting Frenzy: While the rolls are baking (or cooling slightly), whip up that glorious frosting! In a medium bowl, beat the softened cream cheese and butter until smooth. Gradually add the powdered sugar, mixing until well combined. Stir in the vanilla extract. Add milk or cream, one tablespoon at a time, until you reach your desired consistency.
- Serve Warm: As soon as the rolls come out of the oven, generously spread that cream cheese frosting all over them. The warmth of the rolls will make it melt slightly into every crevice. Serve immediately and bask in the glory!
Common Mistakes to Avoid
We’ve all been there. Learn from my past kitchen catastrophes!
- Cold Milk for Yeast: Yeast likes a cozy warm bath, not an icy plunge. If your milk is too cold, your yeast will be sleepy and won’t activate. If it’s too hot, you’ll kill it. Aim for 105-115°F (40-46°C).
- Not Letting Dough Rise Enough: This isn’t a race! Rushing the rise times means dense, sad rolls. Give your dough the time and warmth it needs to become light and fluffy.
- Over-Kneading: While kneading is important, overdoing it can make your rolls tough instead of tender. Stop when the dough is smooth and elastic.
- Skimping on Butter or Frosting: This is a cinnamon roll, not a diet food! Embrace the butter and cream cheese. They are essential for that signature gooeyness and rich flavor. Seriously, **don’t you dare hold back on the frosting!**
- Overbaking: Dry rolls are a tragedy. Keep an eye on them. They should be golden brown, not dark brown and crispy.
Alternatives & Substitutions
Feeling creative? Or just ran out of something? Here are some quick fixes and fun twists:
- Flour Power: You *could* try whole wheat flour, but your rolls will be denser. For maximum fluffiness and that classic texture, stick with good old all-purpose.
- Dairy-Free? Go for it! Use plant-based milk (almond, soy, oat), dairy-free butter, and a vegan cream cheese alternative. They totally work.
- No Cream Cheese Frosting? A simple powdered sugar glaze (powdered sugar, splash of milk/water, vanilla extract) is fine, but honestly, **the cream cheese frosting is what makes these rolls legendary.** Just sayin’.
- Spice It Up: Add a pinch of nutmeg or allspice to your cinnamon filling for an extra autumnal kick.
- Nutty Rolls: Sprinkle some chopped pecans or walnuts over the cinnamon-sugar filling before rolling for a textural crunch.
FAQ (Frequently Asked Questions)
- Can I make these ahead of time? Heck yeah! Assemble the rolls in the baking pan, cover tightly with plastic wrap, and refrigerate overnight (up to 12 hours). In the morning, pull them out an hour before baking to let them come to room temp and get a final small rise, then bake as usual. Best morning ever!
- My yeast didn’t bubble, what gives? Uh oh. Your yeast is probably dead. It happens! Check the expiration date. If it’s old or didn’t get warm enough milk, it won’t activate. Don’t proceed; get fresh yeast, or your rolls will be bricks.
- How do I know when the rolls are done baking? They’ll be golden brown on top and feel slightly firm but still soft when gently pressed. Plus, your kitchen will smell like pure heaven!
- Can I use margarine instead of butter? Well, technically yes, but why hurt your soul like that? Butter just tastes better and contributes to a richer texture. Margarine is a downgrade, IMO.
- Can I freeze baked cinnamon rolls? Absolutely! Let them cool completely (with or without frosting). Wrap individually in plastic wrap, then place in a freezer-safe bag for up to 1-2 months. Thaw and reheat gently.
- Why do my rolls sometimes come out dry? Likely culprits: overbaking (keep an eye on that timer!) or not enough fat (butter!) in the dough or filling. Don’t be shy with the butter!
Final Thoughts
There you have it, superstar baker! Your very own batch of cozy, fall-tastic cinnamon rolls, ready to make any autumn day a little brighter. Now go impress someone—or yourself—with your new culinary skills. You’ve earned those warm, gooey delights. Just try not to eat them all in one sitting… I dare you. (But hey, I won’t judge if you do.) Happy baking!


