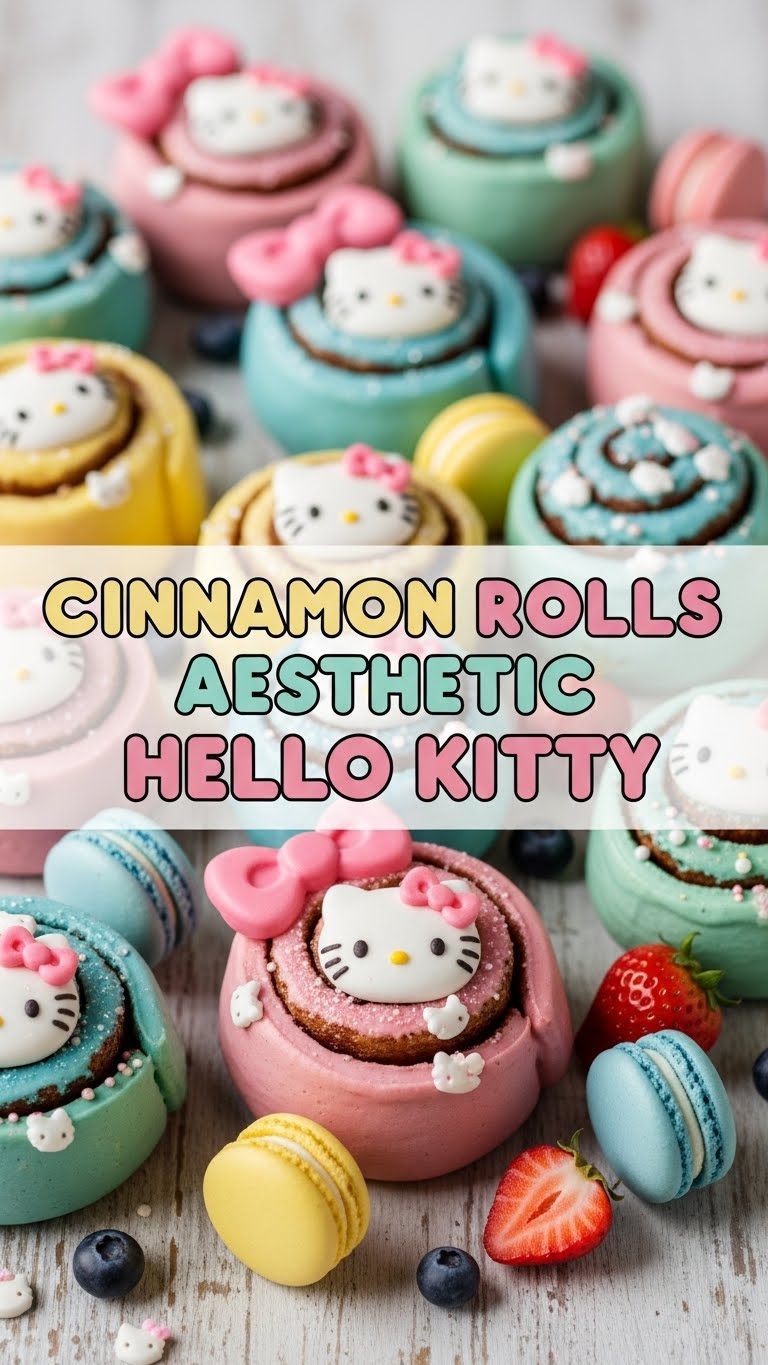
So, you’ve scrolled through enough aesthetic food TikToks to last a lifetime, and now your soul is whispering, “But what if… Hello Kitty… cinnamon rolls?” Girl, same. We’re about to make your sugary, adorable dreams come true without turning your kitchen into a disaster zone or your life into a baking competition. Get ready for some serious cuteness and even more serious deliciousness!
Why This Recipe is Awesome
Okay, let’s be real. We want gourmet results with minimal effort. This recipe is basically a superhero in a cute pink cape. It’s **idiot-proof**, seriously, even if your previous baking attempts resulted in something resembling a charcoal briquette, you got this. We’re talking fluffy, gooey cinnamon rolls that are so ridiculously cute, they practically scream “Instagram me!” Plus, you’ll get to impress everyone (or just yourself, no judgment here) with your newfound ability to create edible art. It’s like therapy, but with more sprinkles.
Ingredients You’ll Need
Gather your troops, fellow baker! Here’s what you’ll need for this sweet, sweet mission:
- For the Dough:
- 1 cup warm milk (think bathwater temp, not lava)
- 2 ¼ teaspoons active dry yeast (one standard packet, the little magic dust)
- ¼ cup granulated sugar (just enough to make the yeast happy)
- 1 large egg, room temperature (don’t skip this, it helps with fluffiness!)
- ¼ cup unsalted butter, melted and slightly cooled (don’t nuke it into a scalding mess)
- ½ teaspoon salt (flavor booster!)
- 3 cups all-purpose flour, plus more for dusting (the backbone of our operation)
- For the Filling:
- ½ cup unsalted butter, softened (not melted, like spreadable, okay?)
- ¾ cup packed light brown sugar (that rich, caramelly goodness)
- 2 tablespoons ground cinnamon (the star of the show!)
- For the Hello Kitty Aesthetic Frosting:
- 4 ounces cream cheese, softened (straight from the fridge is a no-go)
- ¼ cup unsalted butter, softened (again, soft!)
- 1 ½ cups powdered sugar (for that smooth, sweet finish)
- ½ teaspoon vanilla extract (makes everything better)
- 1-2 tablespoons milk (to get the perfect drizzle consistency)
- A few drops of pink food coloring (liquid or gel, for that iconic Hello Kitty vibe!)
- Optional: Cute sprinkles (pink, white, or themed ones if you’re extra!)
Step-by-Step Instructions
- Activate the Magic: In a large bowl, combine the warm milk, yeast, and a pinch of that ¼ cup sugar. Give it a gentle stir and let it sit for about 5-10 minutes. You want to see it get all bubbly and foamy – that means your yeast is alive and ready to party!
- Mix the Wet Stuff: Into your activated yeast mixture, whisk in the remaining ¼ cup sugar, the room temperature egg, melted butter, and salt. Make sure everything is well combined before moving on.
- Bring on the Flour: Gradually add the flour, about a cup at a time, mixing with a wooden spoon or a stand mixer with a dough hook until a shaggy dough forms. Once it’s too stiff to stir, turn it out onto a lightly floured surface.
- Knead It Good: Knead the dough for about 5-8 minutes until it’s smooth, elastic, and bounces back when you gently poke it. Don’t overdo it, but give it a good workout!
- First Rise: Lightly grease your mixing bowl, place the dough in it, and turn it once to coat. Cover the bowl with plastic wrap or a clean kitchen towel. Let it rise in a warm place for 1-1.5 hours, or until it’s doubled in size. This is where patience is a virtue, my friend!
- Make the Filling: While your dough is rising, whip up the filling. In a small bowl, cream together the softened butter, brown sugar, and cinnamon until it’s light and fluffy. Set it aside.
- Roll ‘Em Out: Once your dough has risen, punch it down gently to release the air. On a lightly floured surface, roll it out into a large rectangle, about 12×18 inches and ¼ inch thick. Try to keep the edges as straight as possible, it makes rolling easier.
- Spread the Love: Evenly spread your cinnamon-sugar filling all over the dough, leaving a small border (about ½ inch) along one of the long edges. This border helps seal the roll.
- Roll and Slice: Starting from the long edge *without* the border, carefully roll the dough into a tight log. Once rolled, use a sharp knife or unflavored dental floss to slice the log into 12 even rolls. Dental floss gives you super clean cuts, FYI!
- Second Rise & Bake: Arrange the rolls in a lightly greased 9×13 inch baking dish. Cover again and let them rise for another 30-45 minutes, or until they look puffy. While they’re rising, **preheat your oven to 375°F (190°C)**. Bake for 20-25 minutes, or until golden brown and cooked through.
- Whip Up the Hello Kitty Frosting: While the rolls are cooling slightly (they shouldn’t be piping hot when you frost them), beat the softened cream cheese and butter together until smooth. Add the powdered sugar, vanilla, and 1 tablespoon of milk. Beat until smooth, adding more milk if needed to reach your desired consistency. Finally, add a few drops of pink food coloring until you get that perfect Hello Kitty pink!
- Frost and Adorn: Drizzle or spread the pink frosting generously over the warm (but not hot) cinnamon rolls. Top with cute sprinkles, because sprinkles just make everything better. Now, go impress someone—or yourself—with your new culinary skills. You’ve earned it!
Common Mistakes to Avoid
Listen, we all make mistakes. But let’s try to avoid these rookie errors, okay?
- Cold Ingredients: Using cold milk or eggs is a big no-no. **Room temperature is key** for happy yeast and a smooth dough.
- Impatient Rising: Don’t rush the rise times! Your dough needs its beauty sleep to get all fluffy and airy. If your kitchen is cold, find a warmer spot.
- Over-Flouring: Adding too much flour makes your dough tough, not tender. Start with the suggested amount and only add more if truly necessary, and in small increments.
- Not Preheating the Oven: Thinking you can just shove ’em in and hope for the best? Rookie mistake! **A properly preheated oven ensures even baking.**
- Over-Baking: Dry cinnamon rolls are a tragedy. Keep an eye on them; they should be golden brown, not dark brown. A little under-baked is better than over-baked for gooeyness.
Alternatives & Substitutions
Feeling a little rebellious, or just missing an ingredient? No stress, we can totally adapt!
- Dairy-Free: You can swap regular milk for plant-based milk (almond or oat milk work great!) and use a good quality dairy-free butter substitute for both the dough and the filling/frosting. Just make sure your plant-based milk is unsweetened.
- Gluten-Free: While I haven’t personally tested it for this specific recipe, a good 1:1 gluten-free baking flour blend should work. Just be aware the texture might be slightly different. IMO, it’s worth a shot if you need it!
- Frosting Flavors: Not feeling the vanilla? Try almond extract for a little something different. You could also skip the pink food coloring if you’re going for a more “classic but still cute” vibe.
- Filling Variations: Feel free to add a pinch of cardamom or nutmeg to your cinnamon filling for extra spice. Or, for a twist, sprinkle some chopped pecans or walnuts before rolling.
FAQ (Frequently Asked Questions)
Got questions? I’ve got (casual) answers!
- Can I prepare the dough ahead of time? Absolutely! After the first rise, you can punch it down, cover it tightly, and pop it in the fridge overnight. Just let it come to room temp for about 30 minutes before rolling it out the next day.
- My dough isn’t rising, what gives? Uh oh! Usually, this means your yeast wasn’t active (too old, water too hot/cold). Or your kitchen is too chilly. Make sure your yeast foams up, and find a warm spot for rising!
- Can I use margarine instead of butter? Well, technically yes, but why hurt your soul like that? Butter just tastes better and gives a superior texture. For the best Hello Kitty rolls, **stick with butter** if you can!
- How do I store leftover cinnamon rolls? If there *are* leftovers (highly doubtful, but okay), store them in an airtight container at room temperature for a day or two, or in the fridge for up to a week. Reheat gently in the microwave or oven.
- Can I make them into actual Hello Kitty shapes? Oh, you’re ambitious! For this “easy” recipe, we’re focusing on the aesthetic frosting. Making actual Hello Kitty shapes would involve cutting out ears, adding bows, etc., which is a whole other level of intricate baking. Stick to the cute pink frosting for now and level up later!
- My rolls are too dry! What did I do wrong? Likely over-baked them, or added too much flour to your dough. Remember, you want them golden and just set, not rock-hard.
Final Thoughts
And there you have it, my friend! You’ve just unlocked the secret to making the cutest, most delicious Hello Kitty aesthetic cinnamon rolls. Seriously, take a moment to admire your handiwork. You just whipped up something that’s both adorable and ridiculously tasty. Now go impress someone—or yourself—with your new culinary skills. You’ve earned it! Go forth and spread that sugary, pink-tinted joy!


