So, you’re eyeing that holiday to-do list, and it’s looking a little… intense, right? And you’re craving something festive, chocolatey, and utterly adorable without feeling like you just ran a marathon in your kitchen? My friend, you’ve come to the right place. We’re talking **Christmas Tree Chocolate Chip Cookies** – because boring circles are so last year, and who doesn’t love a cookie that’s dressed for the occasion?
Why This Recipe is Awesome
Let’s be real, some holiday recipes demand more commitment than a long-term relationship. Not this one! This recipe is your secret weapon for looking like a domestic goddess (or god) with minimal effort. It’s **idiot-proof**, I swear, even *I* didn’t mess it up. Plus, it combines two of the best things in the universe: the comforting chewiness of a chocolate chip cookie and the undeniable charm of a Christmas tree. It’s basically a holiday hug in cookie form, and it’s pretty much guaranteed to make you feel like you’ve got your festive act together.
Ingredients You’ll Need
Get ready to raid your pantry (or make a quick dash to the store – no judgment here). Here’s what we’re rounding up:
- **All-purpose flour:** About 2 ¼ cups. The backbone of our cookie dreams.
- **Baking soda:** 1 teaspoon. Our little leavening hero.
- **Salt:** ½ teaspoon. Essential for balance, just like in life.
- **Unsalted butter:** 1 cup (that’s 2 sticks), softened. The good stuff, none of that sad margarine business.
- **Granulated sugar:** ¾ cup. For that perfect sweetness.
- **Light brown sugar:** ¾ cup, packed. Adds that chewiness we all crave.
- **Large eggs:** 2. Room temperature, please! They mix better.
- **Vanilla extract:** 1 teaspoon. Don’t skimp on this, it’s the soul of the cookie.
- **Green food coloring:** Gel preferred! A few drops, to turn our dough into a vibrant forest.
- **Chocolate chips:** 1 ½ cups. Semi-sweet or milk, your call. Because what’s life without them?
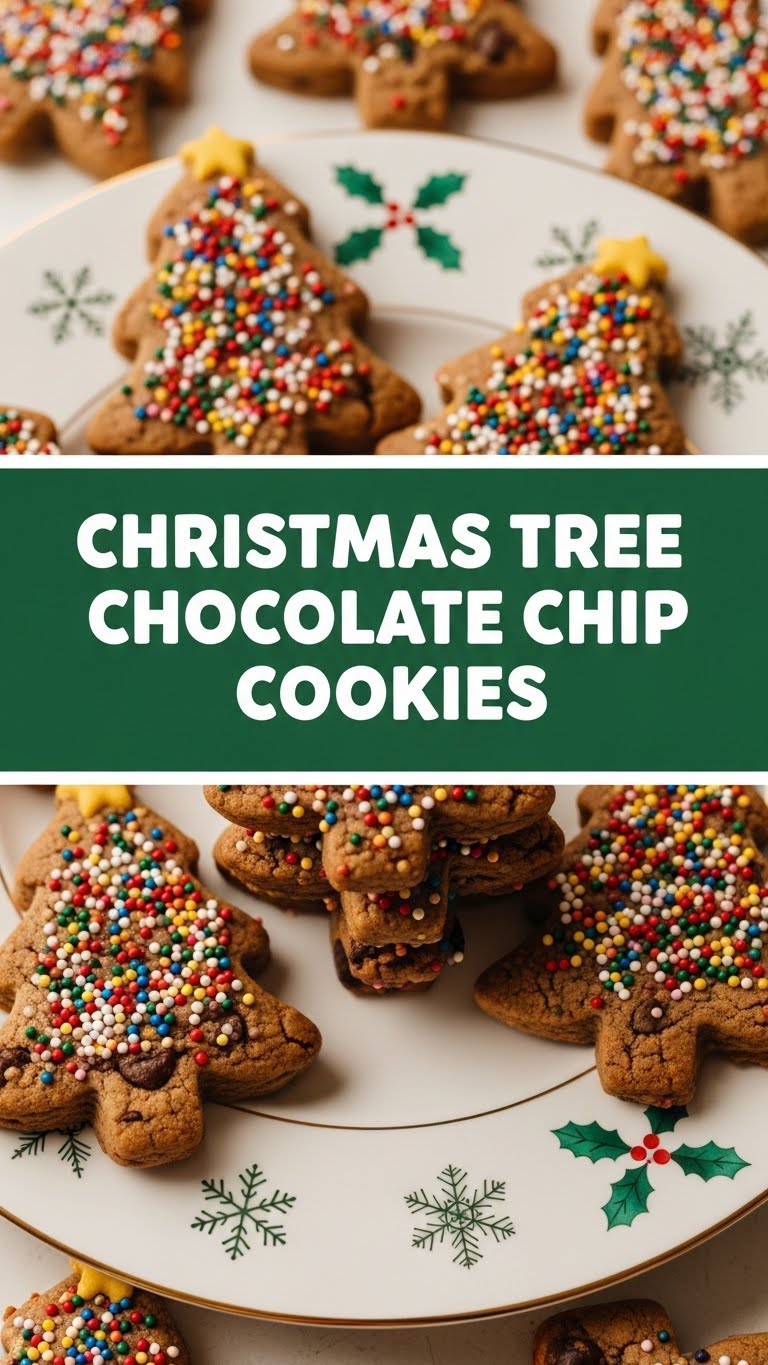
- **Festive sprinkles:** Stars, balls, whatever makes your heart sing. For decorating our “trees”!
Step-by-Step Instructions
Alright, apron on, festive tunes playing (optional, but highly recommended), let’s get baking!
- **Preheat & Prep:** First things first, crank that oven to **375°F (190°C)**. Line two baking sheets with parchment paper. Trust me, this saves your sanity (and your cookies from sticking).
- **Mix Dry Goods:** In a medium bowl, whisk together the flour, baking soda, and salt. Set it aside for a sec.
- **Cream the Butter & Sugars:** In a large bowl (or stand mixer if you’re fancy), beat the softened butter until it’s light and fluffy. Now, add both the granulated and brown sugars and beat until the mixture is pale and creamy. This is key for that perfect cookie texture!
- **Add Wet Ingredients:** Crack in the eggs, one at a time, mixing well after each addition. Stir in the vanilla extract. Then, add a few drops of green food coloring until you reach your desired shade of Christmas tree green. Go bold or go home!
- **Combine Everything:** Gradually add the dry ingredients to the wet ingredients, mixing on low speed until *just* combined. **Don’t overmix!** Nobody wants tough cookies.
- **Fold in the Chips:** Gently fold in those glorious chocolate chips. Because a chocolate chip cookie without chocolate chips is just… a cookie.
- **Chill Out (Crucial Step!):** Flatten the dough into a disc, wrap it in plastic wrap, and **refrigerate for at least 30 minutes**. Seriously, don’t skip this. It prevents spreading and makes handling easier. FYI, chilled dough is happy dough.
- **Roll & Cut:** On a lightly floured surface, roll out the chilled dough to about ¼-inch thickness. Grab your trusty Christmas tree cookie cutter and get cutting! Carefully transfer the cutouts to your prepared baking sheets.
- **Decorate Your Trees:** Now for the fun part! Gently press your festive sprinkles onto each cookie tree. Go wild! Stars, little candy balls – whatever makes them sparkle.
- **Bake ‘Em Up:** Pop those trays into the preheated oven for **8-10 minutes**, or until the edges are lightly golden and the centers are just set. **Important: Don’t overbake!** We want chewy, not crispy.
- **Cool Down:** Let the cookies cool on the baking sheets for a few minutes before transferring them to a wire rack to cool completely. Patience, young grasshopper.
Common Mistakes to Avoid
Listen, we’ve all been there. Learning from our mishaps is part of the fun (or the frustration). Here are a few rookie mistakes to dodge:
- **Skipping the Chill:** Thinking you’re too cool to chill the dough? Nope. That dough needs its beauty rest, otherwise, your trees will spread into sad, blobby puddles. **Always chill the dough.**
- **Overmixing the Dough:** Once you add the flour, mix *just* until combined. Overmixing develops the gluten, leading to tough cookies. And nobody wants tough cookies, IMO.
- **Forgetting Parchment Paper:** Unless you enjoy scraping cookies off a baking sheet and cursing, use parchment paper. It’s a game-changer.
- **Overbaking:** Those extra few minutes might seem harmless, but they’re the difference between perfectly chewy and rock hard. Pull them out when the edges are golden and the centers are *just* set.
- **Eating Half the Dough:** Okay, this isn’t really a mistake, more of an occupational hazard. But try to save *some* for baking!
Alternatives & Substitutions
Feeling adventurous? Or maybe you’re just missing an ingredient (it happens to the best of us). Here are some ideas:
- **Chocolate Chip Varieties:** Not a fan of semi-sweet? Use milk chocolate, dark chocolate, or even white chocolate chips! Or a mix! You do you.
- **Extracts:** Want to add a twist? A ¼ teaspoon of peppermint extract (hello, mint chocolate chip trees!) or almond extract can be a delightful addition.
- **No Tree Cutter? No Problem!** Roll out the dough and cut triangles with a knife. Or just make round cookies and decorate them like Christmas ornaments. Creativity is key!
- **Other Decorations:** Out of sprinkles? A simple glaze made from powdered sugar and a tiny bit of milk or lemon juice can create “snow,” or just drizzle with melted white chocolate for a fancy touch.
- **Butter Substitution:** Can I use margarine instead of butter? Well, technically yes, but why hurt your soul like that? Butter truly makes the best cookies. If you must, use a high-quality stick margarine.
FAQ (Frequently Asked Questions)
Got questions? I’ve got answers (and probably some witty commentary).
- **Can I make the dough ahead of time?** Absolutely! You can keep the dough in the fridge for up to 3 days. Just let it soften slightly at room temp before rolling.
- **My cookies spread too much! What happened?** Usually, this means the dough wasn’t chilled enough, your butter was too soft, or your oven temperature is off. **Always chill your dough!**
- **Can I freeze these cookies?** You bet! You can freeze the baked cookies in an airtight container for up to 3 months. You can also freeze the unbaked dough cutouts – just arrange them on a baking sheet and freeze until solid, then transfer to a freezer bag. Bake from frozen, adding a minute or two to the baking time.
- **How do I store them?** Once cooled, store your beautiful tree cookies in an airtight container at room temperature for up to 5-7 days. If they last that long, that is.
- **What kind of food coloring is best?** Gel food coloring gives you a much richer, more vibrant green without adding too much liquid to your dough. Liquid food coloring works, but you might need more, and it can slightly alter the dough consistency.
- **Can I add nuts?** Sure, if you’re a nut person! Roughly chop about ½ cup of pecans or walnuts and fold them in with the chocolate chips.
Final Thoughts
There you have it! A festive, delicious, and surprisingly easy recipe for Christmas Tree Chocolate Chip Cookies that will impress everyone (including yourself). So go forth, bake some magic, and bask in the glory of your culinary prowess. Whether you share them or eat them all in one sitting while binge-watching holiday movies, you’ve earned every single bite. Happy baking, my friend!


