Alright, buckle up, buttercup! Christmas is basically peeking around the corner, and if you’re anything like me, your kids are already bouncing off the walls, demanding “festive treats!” But who has time to steam a whole Christmas pudding for eight hours? Not me, and probably not you either. So, let’s talk about something ridiculously easy and dangerously delicious that’ll make you look like a domestic goddess (or god) without actually breaking a sweat.
Why This Recipe is Awesome
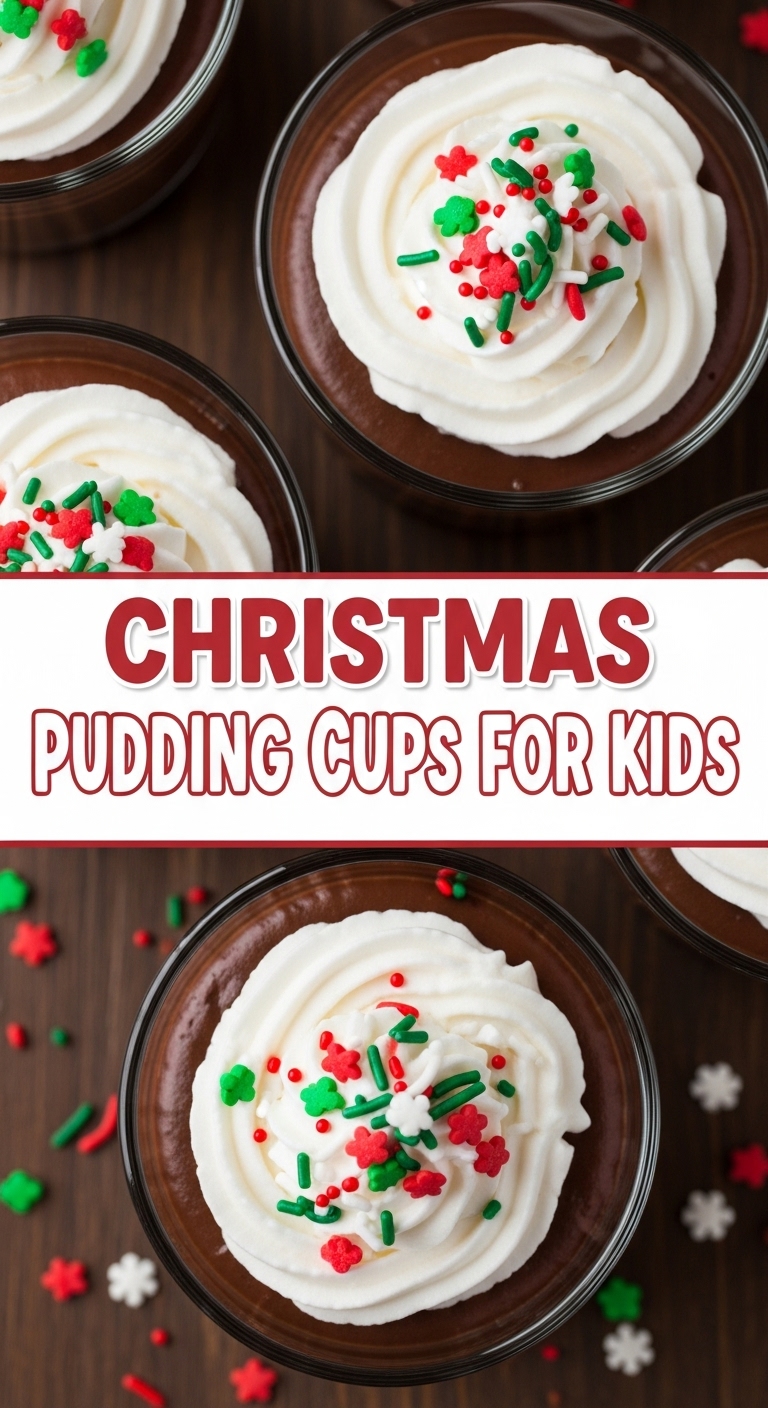
Let’s be real, we’re all busy. And sometimes, “cooking for the kids” really just means “making something they’ll actually eat without throwing a tantrum, and that doesn’t require a culinary degree.” Enter the Christmas Pudding Cups For Kids! This recipe is basically a magic trick in a mug. It’s:
- **Stupidly simple:** No baking, no steaming, no complicated steps. You could do this blindfolded (though I don’t recommend it, for safety reasons, obvs).
- **Kid-friendly:** Not only will your little elves devour them, they can even help assemble them. Unless you’d prefer to hoard all the fun yourself, which, honestly, fair enough.
- **Impressively cute:** They look like mini Christmas puddings but taste like a much more accessible, less dense, non-boozy wonderland. Total win!
- **Fast AF:** We’re talking minutes, not hours. Perfect for when you remember you promised a festive treat five minutes ago.
Ingredients You’ll Need
Get ready for the most low-maintenance shopping list ever. Seriously, don’t overthink this.
- Store-bought chocolate muffins or cupcakes: About 6-8 of them. Because who has time to bake from scratch right now? Not us, my friend, not us. Get the plain kind, no crazy fillings.
- White chocolate (approx. 100g): For that glorious “custard” drizzle. Go for good quality; your taste buds will thank you.
- A splash of milk or cream: Just a tiny bit, to thin out your melted chocolate if it gets too thick.
- Red and green candies/jellies: Think mini M&Ms, jelly beans, even chopped up fruit leather. These are for our “holly berries” and “leaves.” The more vibrant, the better!
- Icing sugar (optional): If you want to make a slightly thicker, more opaque ‘custard’ glaze instead of just melted chocolate.
- Small cups or muffin liners: For serving. Clear ones look extra snazzy.
- Optional: Sprinkles! Because if you’re not adding sprinkles, are you even living?
Step-by-Step Instructions
Ready? This is so easy you’ll wonder why you didn’t think of it sooner.
- Crumble the muffins: Grab those chocolate muffins and tear them apart into small, delicious crumbs. You can do this with your hands, a fork, or even in a food processor if you’re feeling fancy. Divide the crumbs evenly into your serving cups. This is your “pudding” base.
- Melt the white chocolate: Break up your white chocolate and pop it into a microwave-safe bowl. Microwave in 20-second bursts, stirring well after each burst, until it’s smooth and melty. **Don’t overheat it!** If it’s too thick, stir in a tiny splash of milk or cream until it’s drizzly.
- Drizzle the “custard”: Spoon or drizzle a generous amount of the melted white chocolate over the muffin crumbs in each cup. Let it ooze down the sides a bit – that’s the classic Christmas pudding look we’re going for!
- Decorate like a pro: While the chocolate is still wet, artfully arrange your red and green candies on top to resemble holly berries and leaves. Get creative! This is where the kids can really shine (or make a colourful mess, either way is fun).
- Chill out (literally): Pop your festive cups into the fridge for about 15-20 minutes. This helps the chocolate set, making them less messy to eat.
- Serve and bask in glory: Take them out, maybe add a sprinkle or two (you know you want to!), and watch those little faces light up. You did it!
Common Mistakes to Avoid
Even an “idiot-proof” recipe has a few pitfalls. Learn from my trial-and-error (mostly error) experiences:
- **Over-melting the chocolate:** White chocolate can seize and turn clumpy if it gets too hot. Be patient, use short bursts, and stir, stir, stir. Otherwise, you’ll end up with a weird, gritty paste. Rookie mistake.
- **Eating all the ingredients before assembly:** I get it, those muffins are tempting. But try to maintain some semblance of self-control. You need them for the cups!
- **Not chilling long enough:** If you skip the fridge step, you’re looking at a warm, melty, slightly chaotic mess. Still tasty, but not exactly photo-op ready.
- **Letting the kids decorate unsupervised with sticky hands:** Unless you’re aiming for “abstract art” or a sticky countertop, keep an eye on them during the decorating phase. Just sayin’.
Alternatives & Substitutions
Feeling a little rebellious? Here are some ways to switch things up:
- Muffin mayhem: No chocolate muffins? No problem! Use plain vanilla muffins, brownies, crumbled chocolate chip cookies, or even digestive biscuits. Anything that crumbles well will do.
- “Custard” creativity: Instead of white chocolate, you could use a simple cream cheese frosting, a plain yogurt mixed with a little honey and vanilla, or even a white chocolate ganache (if you’re feeling extra fancy, you go!).
- Holly alternatives: Fresh raspberries or cranberries make amazing “berries.” Green mint leaves or even small cutouts of green fruit leather can stand in for holly leaves.
- Adults only (shhh!): For a grown-up version, add a tiny splash of rum, brandy, or orange liqueur to the muffin crumbs before layering. Just keep those separate from the kids’ batch, **FYI**.
FAQ (Frequently Asked Questions)
- Can I use dark chocolate instead of white?
Well, technically yes, but why hurt your soul like that? It won’t give you that classic “custard” look, but if you prefer dark chocolate, go for it! Your kitchen, your rules. - How long do these last in the fridge?
Realistically? Probably not long enough to actually worry about spoilage because they’ll be devoured. But they’re good for about 2-3 days, covered, in the fridge. - Can kids *really* make these by themselves?
Absolutely! The crumbling and decorating are prime kid tasks. Just supervise the microwave melting, unless you fancy cleaning up chocolate explosions. - What if I don’t have individual cups?
No stress! You can layer everything in one big trifle bowl or even individual small bowls. Presentation is less important than deliciousness, IMO. - Do they taste like real Christmas pudding?
Heck no! And that, my friend, is precisely why they’re awesome for kids (and many adults who aren’t fans of the real deal). It’s all the festive fun without the dense, fruity, boozy flavour profile. - Can I make them ahead of time for a party?
You bet! You can assemble them up to a day in advance. Just keep them chilled in the fridge until showtime.
Final Thoughts
See? I told you it was easy peasy, lemon squeezy. Or rather, muffin crumbly, chocolate drizzly! You’ve just whipped up a festive treat that’s guaranteed to bring smiles, uses minimal effort, and leaves your kitchen mostly intact. You’re basically a culinary genius with a secret weapon. Now go forth and conquer the festive season with these bad boys. Don’t forget to send me a pic of your glorious creations – I’m here for the vicarious sugar rush!


