Tired of those dry, crumbly Christmas cakes that taste like regret? Yeah, me too. This year, we’re ditching the dense fruitcake and embracing the glorious, gooey, chocolatey goodness. Because, let’s be real, Christmas just feels more *Christmasy* with chocolate. And who wants to spend all day slaving away when there are carols to sing and naps to take? Not me, friend. Not me.
Why This Recipe is Awesome
Okay, so why this particular chocolate cake recipe, you ask? Because it’s practically **idiot-proof**. Seriously, even if your culinary skills are limited to microwaving popcorn, you can nail this. It’s incredibly moist, super rich, and has that perfect “I spent hours on this” vibe, when in reality, it’s pretty quick. Plus, it’s a crowd-pleaser, guaranteed to make Uncle Barry ask for a second slice (and that’s saying something for Uncle Barry, trust me).
No fancy techniques, no obscure ingredients, just pure, unadulterated chocolate joy. It’s like a warm hug from Santa, but in cake form. What’s not to love?
Ingredients You’ll Need
Alright, let’s gather our edible treasures. Make sure everything is at room temperature unless specified—it really does make a difference!
- 2 cups (250g) All-Purpose Flour: The foundation of our delicious empire.
- 2 cups (400g) Granulated Sugar: Sweet, sweet happiness. Don’t skimp!
- ¾ cup (65g) Unsweetened Cocoa Powder: The dark magic that makes it chocolatey. Go for good quality; it matters!
- 2 tsp Baking Soda: For that beautiful lift, because nobody wants a flat cake.
- 1 tsp Baking Powder: Double the lift, double the fun!
- 1 tsp Salt: Just a pinch, to make everything else pop.
- 1 cup (240ml) Milk (or Buttermilk): Your moisture provider supreme. Buttermilk adds an extra tang and moistness, FYI.
- ½ cup (120ml) Vegetable Oil (or Melted Unsalted Butter): The secret to *actual* moistness. Oil makes it super soft, butter gives more flavor. Pick your poison!
- 2 Large Eggs: Nature’s glue, binding all this deliciousness together.
- 1 tsp Vanilla Extract: Because vanilla makes everything better, fight me.
- 1 cup (240ml) Hot Water (or Hot Brewed Coffee): Trust me on this one. Coffee enhances the chocolate flavor without making it taste like coffee. It’s magic!
For the Dreamy Chocolate Frosting:
- ½ cup (113g) Unsalted Butter: Softened, please!
- 3 cups (360g) Powdered Sugar (Icing Sugar): Sifted, unless you like lumps.
- ½ cup (45g) Unsweetened Cocoa Powder: Sifted, again, no lumps!
- ¼ cup (60ml) Milk (or Cream): More fat, more flavor, more joy.
- 1 tsp Vanilla Extract: Because, you know.
- Pinch of Salt: Balances the sweetness.
Step-by-Step Instructions
- Preheat & Prep: First things first, preheat your oven to **350°F (175°C)**. Grab a 9×13 inch baking pan (or two 9-inch round pans if you’re feeling fancy). Grease it well and dust with cocoa powder or flour. Nobody likes a stuck cake.
- Dry Mix Magic: In a large bowl, whisk together the flour, sugar, cocoa powder, baking soda, baking powder, and salt. Make sure there are no lumps—we want smooth sailing here!
- Wet Mix Wonder: In a separate medium bowl, whisk together the milk, oil (or melted butter), eggs, and vanilla extract until well combined.
- Combine Forces: Pour the wet ingredients into the dry ingredients. Mix on low speed with an electric mixer (or by hand with a spatula) until *just* combined. **Don’t overmix!** Overmixing is the enemy of tender cake.
- The Hot Secret: Carefully pour the hot water (or coffee) into the batter. Mix again on low speed until the batter is smooth and a bit thin. This is the secret to that super moist texture, so don’t skip it!
- Bake It Up: Pour the batter evenly into your prepared pan(s). Bake for **30-35 minutes** for a 9×13 pan, or **25-30 minutes** for round pans. How do you know when it’s done? A toothpick inserted into the center should come out clean.
- Cool Down: Let the cake cool in the pan for about 10-15 minutes before inverting it onto a wire rack to cool completely. **This is crucial before frosting!**
- Frosting Fun: While the cake cools, make your frosting! Beat the softened butter until creamy. Gradually add the sifted powdered sugar and cocoa powder, alternating with splashes of milk, until smooth and fluffy. Stir in the vanilla and salt. If it’s too thick, add more milk a teaspoon at a time. If too thin, add more powdered sugar.
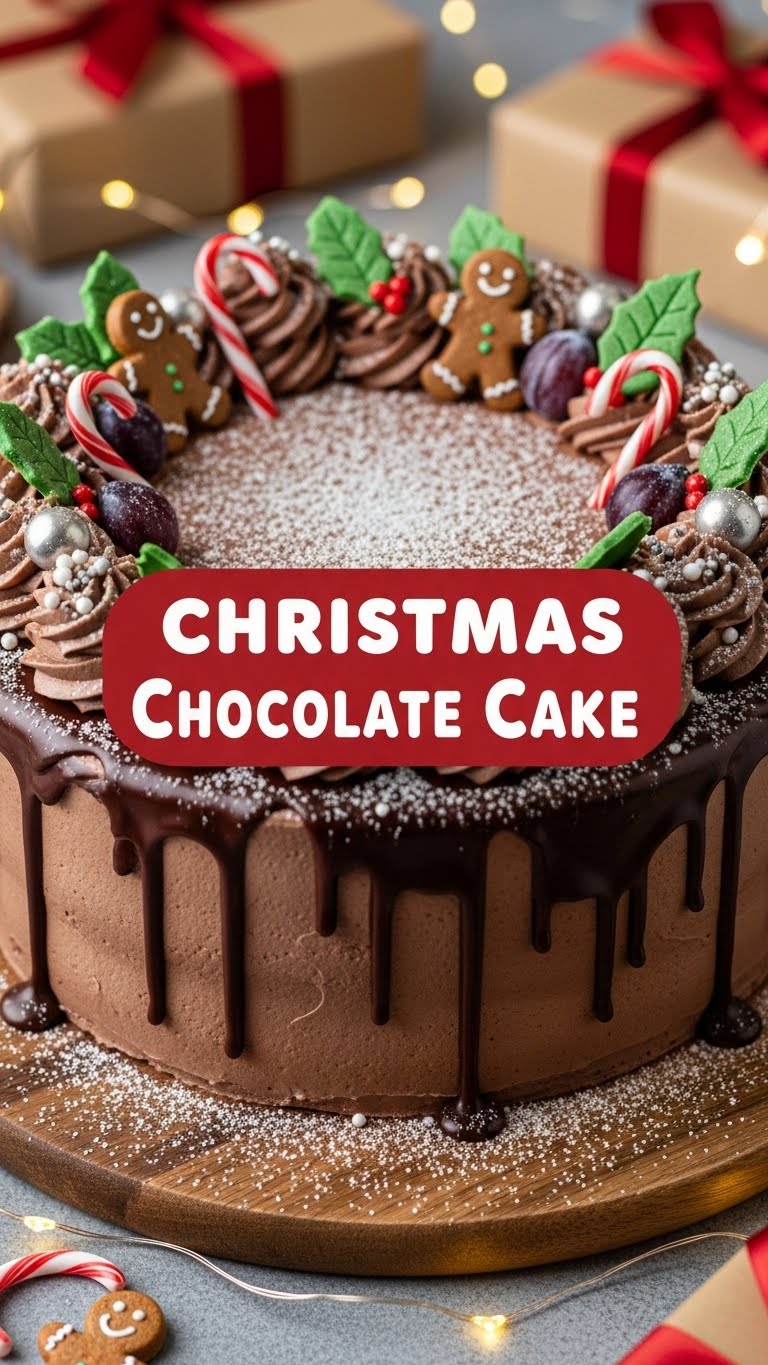
- Decorate & Devour: Once the cake is completely cool, spread that glorious chocolate frosting all over it. Decorate with sprinkles, crushed candy canes, or whatever your festive heart desires. Then, slice and enjoy your masterpiece!
Common Mistakes to Avoid
Even though this recipe is pretty foolproof, there are a few rookie errors that can derail your chocolate dreams. Beware!
- **Not preheating the oven:** This is like trying to run a marathon without stretching. It affects the rise and texture. Always preheat!
- **Overmixing the batter:** You want to mix until *just* combined. Overmixing develops the gluten too much, leading to a tough, dense cake. We want fluffy!
- **Opening the oven door constantly:** Patience, young grasshopper. Every time you open the door, you let out heat, which can make your cake sink. Only peek when absolutely necessary towards the end of baking.
- **Not letting it cool before frosting:** Unless you’re aiming for a chocolate soup instead of a cake, wait until it’s **completely cold**. Warm cake + frosting = melty mess.
- **Using cold ingredients:** Especially the eggs and milk. Room temperature ingredients emulsify better, leading to a smoother, more evenly textured cake. Plan ahead!
Alternatives & Substitutions
Feeling a bit adventurous, or missing an ingredient? No stress, here are some easy swaps:
- Buttermilk Bonanza: Don’t have buttermilk? No problem! Add 1 tablespoon of lemon juice or white vinegar to your regular milk and let it sit for 5 minutes. Voila, instant buttermilk!
- Coffee vs. Water: Seriously, use hot brewed coffee instead of hot water if you can. It really deepens the chocolate flavor without making it taste like coffee. **Highly recommended!**
- Oil vs. Butter: Vegetable oil makes for a super moist and tender cake, but if you prefer the flavor of butter, go for it! Just melt it first.
- Dairy-Free Delight: You can totally make this dairy-free! Use your favorite plant-based milk (almond, soy, oat), dairy-free butter, and a good quality dairy-free chocolate for the frosting.
- Gluten-Free Goodness: Swap the all-purpose flour for a 1:1 gluten-free baking blend. Results may vary slightly, but it often works beautifully!
- Flavor Boosters: Add a pinch of espresso powder to the cocoa in the batter for an even deeper chocolate kick. Or, for a festive twist, add a tiny bit of peppermint extract to the frosting!
FAQ (Frequently Asked Questions)
- Can I make this dairy-free? Absolutely! Just swap out the dairy milk and butter for your favorite plant-based alternatives. Coconut oil can also work as a sub for vegetable oil. Easy peasy!
- Can I make it in advance? You bet! This cake actually tastes even better the next day, IMO, as the flavors meld. Store it covered at room temperature for up to 3 days, or in the fridge for up to a week.
- What if I don’t have cocoa powder for the frosting? Well, you could make a vanilla buttercream, but then it’s not a *chocolate* cake, is it? Just sayin’. If you’re out of cocoa, maybe just dust with powdered sugar and call it “chocolate-adjacent.”
- How do I know when it’s done? The good old toothpick test! Insert a clean toothpick into the center of the cake. If it comes out clean (maybe with a few moist crumbs, but no wet batter), you’re golden. If it’s gooey, give it another 2-5 minutes.
- My cake sank in the middle! Why? Could be a few things: your baking soda/powder might be old (check the expiry!), you opened the oven door too early, or your oven temperature isn’t accurate. Science, man!
- Can I add booze? Oh, you adventurous soul! A splash of rum, Kahlua, Irish cream, or even red wine in the batter or frosting? **Chef’s kiss!** Go for it, it’s Christmas after all!
Final Thoughts
So there you have it, your ticket to holiday chocolate heaven. This cake isn’t just a dessert; it’s a declaration of deliciousness, a testament to your (newfound) baking prowess, and an excuse to eat more chocolate. Go forth and bake something truly epic (and easy!). Don’t forget to share with your loved ones, or don’t – I won’t judge your priorities.
Now go impress someone—or yourself—with your new culinary skills. You’ve earned it!


