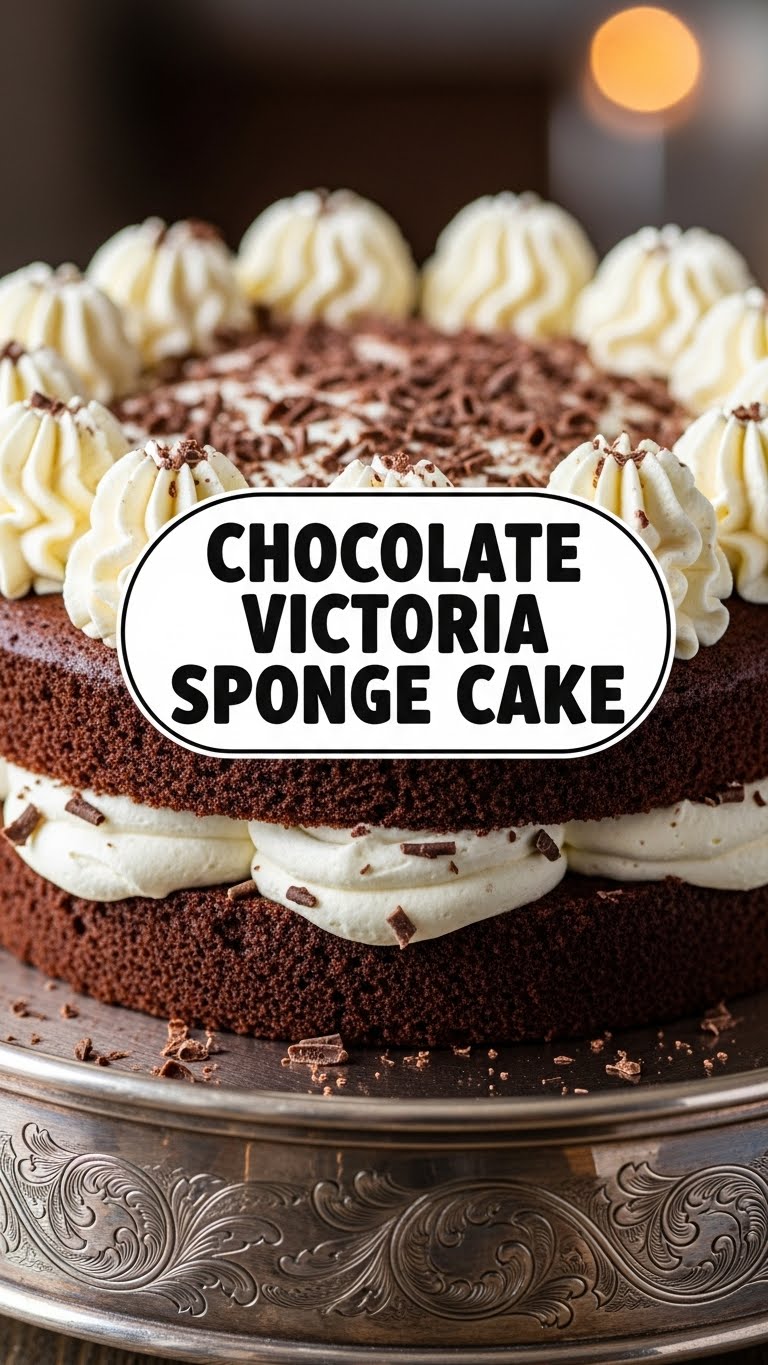
Ever wanted to feel like a fancy British baker without, you know, actually going to baking school? Or even owning a proper chef’s hat? Same! And frankly, sometimes a regular Victoria Sponge just isn’t chocolatey *enough*, right? Enter our hero: the Chocolate Victoria Sponge. It’s a classic, but with a delicious dark side. Think elegant, but also, “I just want to eat all the chocolate, please.”
Why This Recipe is Awesome
Okay, so why *this* one? First off, it’s ridiculously easy. Seriously, if you can cream butter and sugar, you’re basically a pastry chef in training. Second, it looks super impressive, making you look like you actually
Ingredients You’ll Need
- 200g (7oz) Unsalted Butter: At room temp, please! Nobody wants rock-hard butter trying to make friends with sugar. Also, unsalted gives you control over the saltiness, obvs.
- 200g (7oz) Caster Sugar: Fine sugar, because we’re going for fluffy, not gritty. Granulated works in a pinch, but caster is the real MVP here.
- 4 Large Eggs: Free-range if you’re feeling fancy. Room temp too, they mix better.
- 170g (6oz) Self-raising Flour: The lazy baker’s best friend! It already has the raising agent. If you only have plain, don’t sweat it, check the “Alternatives” section.
- 30g (1oz) Good Quality Cocoa Powder: This is where our ‘chocolate’ comes from. Don’t skimp, your taste buds will thank you.
- 1 tsp Baking Powder: Just a little extra boost, especially with the cocoa powder sometimes being heavy.
- 2-3 tbsp Milk: Full-fat is best for richness, but any milk works. Just a splash to loosen things up if needed.
For the Filling:
- 100g (3.5oz) Unsalted Butter: You guessed it, room temp!
- 200g (7oz) Icing Sugar: Sifted! We’re making buttercream, not sugar gravel.
- 2 tbsp Cocoa Powder: Again, good quality for that choccy hit!
- 1-2 tbsp Milk: To get that buttercream to the perfect spreadable consistency.
- 4-5 tbsp Good Quality Raspberry Jam: Because chocolate and raspberry are soulmates, and a Victoria sponge without jam is just… a sponge. IMO.
Step-by-Step Instructions
- **Preheat & Prep:** Get your oven to 180°C (160°C fan/Gas Mark 4). Grease and line two 20cm (8-inch) sandwich tins. Use baking parchment circles. **Don’t skip this part!** Nobody likes a stuck cake.
- **Cream it Up:** In a large bowl, cream together the softened butter and caster sugar until light, fluffy, and pale. This is your arm workout for the day! Go for at least 3-5 minutes with an electric mixer.
- **Eggcellent Addition:** Beat in the eggs one at a time, adding a spoonful of flour with each to prevent curdling. Mix well after each addition. The mixture should still look light and fluffy.
- **Dry Stuff:** Sift the self-raising flour, cocoa powder, and baking powder into the wet mixture. **Sifting is key** for no lumps and a lighter cake!
- **Fold & Fold:** Gently fold the dry ingredients into the wet mixture using a spatula or a large metal spoon. Be gentle – we want to keep all that lovely air you just beat in. Add a splash of milk if the batter seems a bit too stiff.
- **Divide & Bake:** Divide the batter evenly between your two prepared tins. Smooth the tops. Bake for 20-25 minutes, or until golden, springy to the touch, and a skewer inserted into the centre comes out clean.
- **Cool Down:** Let the cakes cool in their tins for 5-10 minutes, then turn them out onto a wire rack to cool completely. **Patience, my friend!** Don’t try to fill warm cakes unless you enjoy a jammy, buttery mess.
- **Buttercream Bonanza:** While the cakes cool, make your buttercream. Beat the softened butter until pale and creamy. Gradually beat in the sifted icing sugar and cocoa powder until smooth and fluffy. You might need a tiny splash of milk to get the right consistency.
- **Assemble Your Masterpiece:** Once the cakes are completely cool, place one sponge on your serving plate. Spread generously with raspberry jam, then top with a generous layer of chocolate buttercream. Place the second sponge on top. A dusting of icing sugar is optional but pretty.
- **Devour:** Slice and enjoy your utterly delicious creation! You’ve earned it.
Common Mistakes to Avoid
- **Cold ingredients:** Trying to cream cold butter and sugar is like trying to convince a cat to take a bath – it’s just not going to work well. **Room temp is your friend!**
- **Overmixing:** Once the flour is in, *stop* mixing once just combined. Overmixing develops the gluten, leading to a tough, dense cake. We want fluffy, remember?
- **Opening the oven door too early:** I know it’s tempting to peek, but resist for at least the first 15 minutes! The sudden change in temperature can make your cakes sink. Nobody wants a sunken cake.
- **Warm cakes and filling:** Seriously, wait until they’re *completely* cool. Otherwise, your beautiful buttercream will melt into a sad puddle. Rookie mistake!
- **No parchment paper:** Thinking you can just grease the tins and hope for the best? Good luck with that! Parchment is your insurance policy against sticky cake bottoms.
Alternatives & Substitutions
- **Flour Power:** Only got plain flour? No worries! For every 150g (6oz) of plain flour, add 1.5 teaspoons of baking powder and half a teaspoon of bicarbonate of soda. Boom, self-raising in disguise!
- **Butter Up:** Vegan? Or just out of dairy butter? Use a good quality baking margarine or a plant-based butter alternative. Just make sure it’s block-style, not spreadable, for the best texture.
- **Jam Session:** Raspberry is classic, but maybe you’re a strawberry fiend, or apricot lover? Go wild! Or skip the jam altogether if you’re a chocolate purist (but why would you?).
- **Filling Variations:** Fancy a different kind of chocolate hit? How about a simple chocolate ganache? Or a whipped cream cheese frosting? Get creative! You’re the boss of this cake.
FAQ (Frequently Asked Questions)
- **”My cake sank in the middle! What happened?”** Oh no! Usually, this means one of two things: either your oven wasn’t hot enough (or you opened the door too early, impatient pants!), or there was too much raising agent for the amount of flour.
- **”Can I make this dairy-free?”** Absolutely! Swap dairy butter for a plant-based block butter and use a plant-based milk. Most good quality cocoa powders are naturally dairy-free. Easy peasy!
- **”How long will the cake keep?”** If you can resist eating it all in one go, it’ll happily last 3-4 days in an airtight container at room temperature. But honestly, it rarely makes it past day two in my house!
- **”Can I freeze the sponges?”** Yes! Bake them, let them cool completely, then wrap them tightly in cling film and foil. They’ll keep in the freezer for up to 3 months. Thaw at room temperature before filling.
- **”My buttercream is too runny/stiff!”** Buttercream drama! If it’s too runny, add more sifted icing sugar (a spoonful at a time). Too stiff? Add a tiny splash of milk until it’s perfect. It’s a balancing act, like life itself.
- **”Do I *have* to use caster sugar?”** For the cake, it really does give the best texture – fine granules dissolve quickly for a light crumb. For the buttercream, definitely use icing sugar (powdered sugar), otherwise it’ll be gritty!
Final Thoughts
Alright, my culinary compadre, you’ve officially leveled up your baking game. This Chocolate Victoria Sponge isn’t just a cake; it’s a statement. A statement that says, “Yes, I can make something beautiful and delicious, and also, I really love chocolate.” So go on, bask in the glory, share a slice (or five), and remember: life’s too short for boring cake. Now go impress someone—or yourself—with your new culinary skills. You’ve earned it!


