So you’re craving something tasty but too lazy to spend forever in the kitchen, huh? Same. We’ve all been there, staring into the fridge, wishing a gourmet dessert would magically appear. Well, guess what? I’ve got your back with a recipe so easy, so ridiculously delicious, you’ll feel like a culinary genius without actually breaking a sweat. And yeah, they’re so pretty, you’ll wanna slap a “made with love (and minimal effort)” text overlay on every single one. 😉
Why This Recipe is Awesome
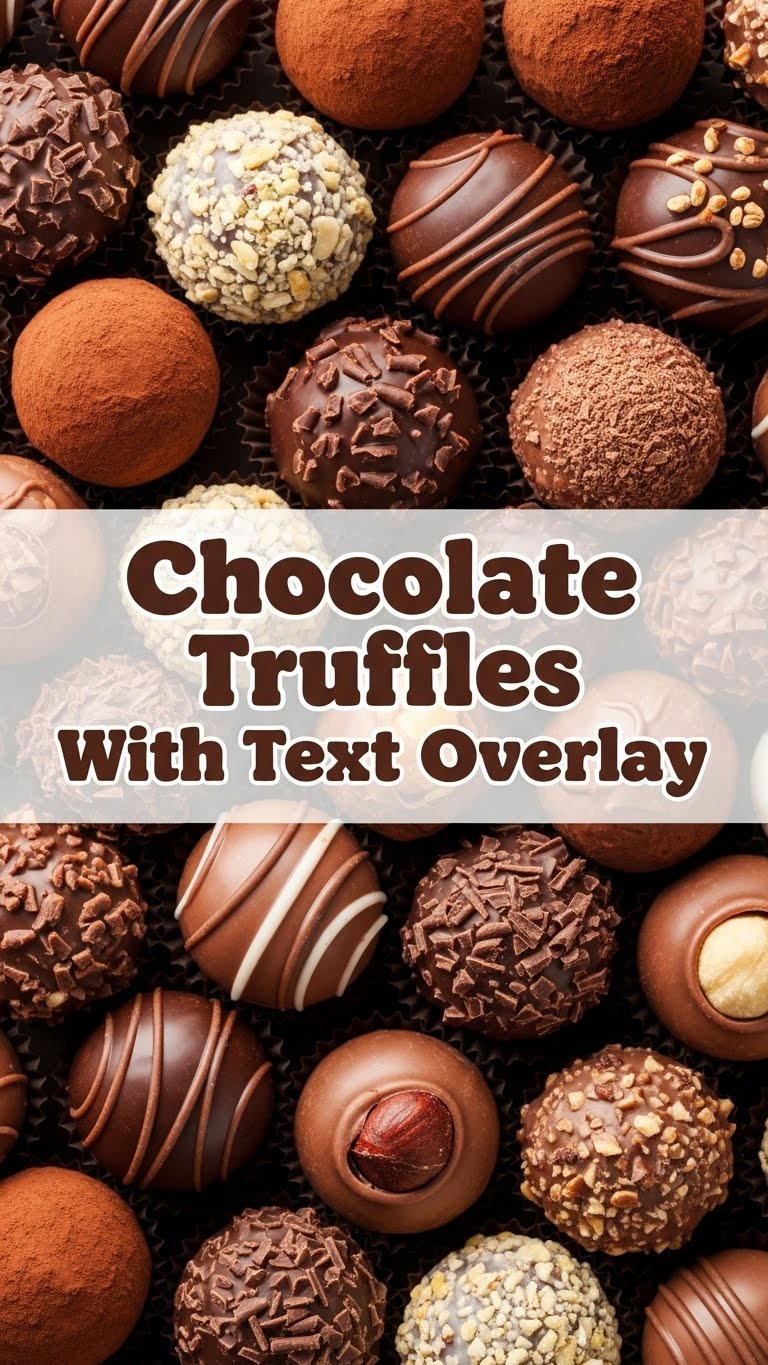
Okay, let’s be real. This recipe for chocolate truffles is basically a magic trick. It’s **idiot-proof**, I swear, even I didn’t mess it up (and that’s saying something). You get rich, decadent, melt-in-your-mouth chocolate goodness with just a handful of ingredients and minimal fuss. Plus, they look super fancy, which means you can impress literally everyone – your friends, your family, your dog (though maybe don’t give them chocolate). They’re perfect for gifting, parties, or, let’s be honest, devouring solo while binging your favorite show. These little beauties are practically begging for a close-up and a witty caption, hence the “text overlay” vibe. They’re Instagram-ready, no filter needed!
Ingredients You’ll Need
Get ready for simplicity. No exotic stuff here, just pure, unadulterated deliciousness.
- Good Quality Dark Chocolate (10-12 oz / 280-340g): Think 60-70% cacao. This is where your truffles get their soul, so don’t skimp! A bar or chips, whatever your heart desires.
- Heavy Cream (¾ cup / 180ml): The magic fluid that turns solid chocolate into dreamy ganache.
- Unsalted Butter (2 tbsp / 28g): Gives them that extra silky texture and luxurious mouthfeel. Don’t skip this, it’s a game-changer.
- Vanilla Extract (1 tsp): A classic for a reason. Enhances all that chocolatey goodness.
- Optional Flavor Boosters: A splash of your favorite liqueur (like Kahlúa, Grand Marnier, or even rum), a pinch of sea salt, or a tiny bit of espresso powder for depth.
- For Coating (Pick one or a few!):
- Unsweetened Cocoa Powder (the classic look!)
- Powdered Sugar
- Finely Chopped Nuts (pistachios, almonds, hazelnuts)
- Sprinkles (because why not?)
- Shredded Coconut (toasted or raw)
Step-by-Step Instructions
Alright, apron on, let’s get this party started! (Just kidding, you probably don’t even need an apron for this.)
- Chop that Chocolate: If you’re using a bar, chop your chocolate into small, uniform pieces. This helps it melt evenly. Place it in a medium heat-proof bowl.
- Heat the Cream: Pour the heavy cream into a small saucepan. Heat it over medium heat until it just begins to simmer around the edges – don’t let it boil vigorously! You should see tiny bubbles.
- Melt & Mix: Immediately pour the hot cream over the chopped chocolate. Let it sit for about 5 minutes to soften the chocolate. Then, gently stir with a spatula or whisk, starting from the center and working your way out, until it’s completely smooth and glossy.
- Butter & Flavor Time: Add the softened butter and vanilla extract (and any other optional flavor boosters you’re using) to the ganache. Stir until the butter is fully melted and incorporated. It should look like pure, velvety perfection.
- Chill Out: Cover the bowl with plastic wrap, pressing it directly onto the surface of the ganache to prevent a skin from forming. Pop it in the fridge for at least 2-3 hours, or until it’s firm enough to scoop. **Don’t rush this step!**
- Roll ‘Em Up: Once firm, use a small spoon or a mini ice cream scoop to portion out the ganache. Roll it between your palms to form perfect little balls. If your hands get too warm and sticky, rinse them with cold water and dry thoroughly.
- Coat Away: Place your chosen coating(s) in a shallow dish. Roll each truffle in the coating until it’s nicely covered.
- Final Chill: Arrange your coated truffles on a parchment-lined plate or tray. Chill them again for at least 30 minutes to set the coating and firm them up completely.
Common Mistakes to Avoid
Look, we all make mistakes. Here are a few to sidestep for truffle perfection:
- Impatience is NOT a Virtue: Trying to roll your truffles before the ganache is properly chilled is a recipe for a sticky, melty mess. **Chill your ganache completely!** Trust me, it’s worth the wait.
- Scorching the Chocolate: Don’t try to melt the chocolate directly over high heat or in a microwave without careful watching. Overheated chocolate gets grainy and nasty. The hot cream method is your best friend here.
- Skimping on Quality: Using cheap chocolate will result in cheap-tasting truffles. This is a simple recipe, so the quality of your ingredients shines through.
- Over-Handling: The more you roll and play with the ganache, the warmer it gets from your hands, and the stickier it becomes. Work quickly and efficiently.
- Eating All the Ganache Before Rolling: This is a grave error. You need to save some for the truffles, my friend!
Alternatives & Substitutions
Feeling adventurous? Here are some fun ways to mix things up:
- Chocolate Varieties: While dark chocolate is classic, you can absolutely use **milk chocolate** for a sweeter truffle (reduce or omit added sugar if using milk chocolate that’s already sweet). Or try **white chocolate** truffles, maybe with a hint of lemon or raspberry!
- Flavor Frenzy:
- **Mint:** Add a few drops of food-grade peppermint extract.
- **Orange:** A tablespoon of Grand Marnier or finely grated orange zest.
- **Spicy:** A pinch of cayenne pepper for a subtle kick!
- **Coffee:** A teaspoon of instant espresso powder mixed into the hot cream.
- Creative Coatings:
- **Crushed Cookies:** Oreos, Graham crackers, even shortbread!
- **Edible Glitter/Dust:** For extra sparkle and glam.
- **Melted Chocolate Drizzle:** Dip them in melted white or milk chocolate and let it set.
- **Freeze-Dried Fruit Powder:** Raspberry or strawberry powder for a tart burst.
FAQ (Frequently Asked Questions)
- My ganache is too runny after chilling, what gives?
Uh oh! Did you use enough chocolate? Or maybe your fridge isn’t super cold? Pop it back in for a longer chill. If it’s still stubbornly liquid, try adding a tablespoon of melted chocolate and whisking well, then re-chill. Patience, young padawan!
- Can I use margarine instead of butter?
Well, technically yes, you *could*. But why hurt your soul (and your truffles’ flavor and texture) like that? Butter adds a richness and creaminess that margarine just can’t replicate. **Stick with butter!**
- How long do these beauties last?
In an airtight container in the fridge, they’ll stay good for about 1-2 weeks. But let’s be real, they rarely last that long, do they?
- Can I freeze truffles?
Absolutely! Place them on a parchment-lined tray (uncoated, if you plan to coat later) and freeze until solid. Then transfer them to a freezer-safe bag or container for up to 2-3 months. Thaw in the fridge before serving.
- What if my ganache looks oily or separated?
This is called a “broken ganache,” and it happens! It usually means it’s either too hot or too cold, or it was stirred too aggressively. Try gently warming it over a double boiler (or in 10-second bursts in the microwave), then whisking in a tablespoon of *cold* cream or milk until it comes back together. Magic!
- Why is the “text overlay” part in the title? Am I supposed to write on them?
Haha, not literally, unless you’ve got some edible ink markers ready! The “text overlay” vibe is all about how stunning these truffles look. They’re so picture-perfect and ready for their close-up, they practically scream for an Instagram caption or a witty note about your amazing culinary skills. Think of it as a nod to their undeniable photogenic quality!
Final Thoughts
See? That wasn’t scary at all! You just whipped up a batch of gorgeous, gourmet chocolate truffles that are going to make you feel like a total rockstar. They’re delicious, they’re impressive, and best of all, they’re super simple. Now go impress someone – or yourself – with your new culinary skills. You’ve earned it! Maybe make an extra batch… just for quality control, of course. 😉 Happy rolling!


