So you’re craving something tasty but too lazy to spend forever in the kitchen, huh? Same. And listen, sometimes your sweet tooth screams for something fancy, but your energy levels are just *nope*. That’s where these ridiculously easy, utterly delicious chocolate truffles with a tropical coconut twist come in. They’re basically tiny balls of pure joy that demand minimal effort. Win-win!
Why This Recipe is Awesome
Okay, let’s be real. We all want to look like a culinary genius without actually, you know, being one. This recipe is your secret weapon. It’s so simple, even your cat could probably supervise it successfully. Seriously, it’s idiot-proof – and if *I* didn’t mess it up, you’re golden. No baking, minimal dishes, and the result? Pure, unadulterated chocolate bliss with a fancy-pants feel. Plus, it only takes like, what, 20 minutes of actual “doing” time? The rest is just chillin’ in the fridge, literally.
Ingredients You’ll Need
Gather your troops, folks. These aren’t fancy ingredients, just your basic pantry heroes:
- Good Quality Dark Chocolate (250g / 9 oz): This is the star of the show, so don’t skimp! Think 60-70% cocoa for that perfect balance of bitter and sweet. (No, milk chocolate won’t give you the same grown-up vibe. Trust me.)
- Heavy Cream (125ml / 1/2 cup): The magic potion that makes everything silky smooth. Don’t even think about using skim milk. We’re making truffles, not a diet drink.
- Unsalted Butter (2 tablespoons): A little pat of butter makes these truffles extra luxurious and shiny. It’s like a tiny secret hug for your chocolate.
- Vanilla Extract (1 teaspoon): Just a splash to make the chocolate sing.
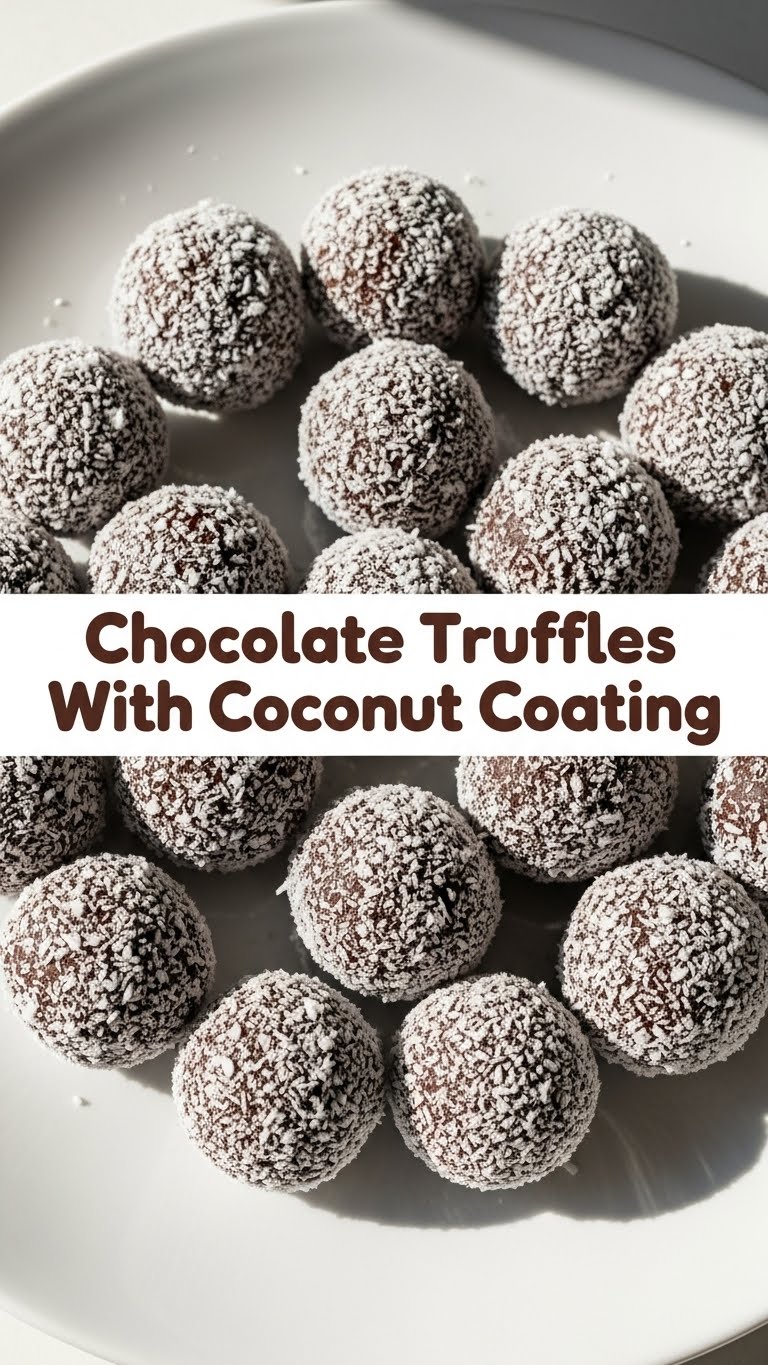
- Shredded Coconut (Unsweetened, 1 cup): Our tropical coat! Unsweetened works best so it doesn’t overpower the chocolate. If you only have sweetened, reduce the sugar in your main truffle mix (kidding, there’s no sugar to reduce, just roll with it!).
- A Pinch of Salt: Seriously, don’t skip this. It wakes up all the flavors.
Step-by-Step Instructions
- Chop the Chocolate: Grab your dark chocolate and chop it into small, uniform pieces. The smaller, the faster it melts. Think tiny chocolate shards, not giant boulders. Place them in a heatproof bowl.
- Heat the Creamy Goodness: In a small saucepan, gently heat your heavy cream and butter over medium heat until it just begins to simmer around the edges. Do not boil it vigorously! We’re aiming for warm and happy, not angry and frothy.
- Pour & Melt: Immediately pour the hot cream mixture over your chopped chocolate. Let it sit untouched for about 5 minutes. This gives the heat time to work its magic.
- Stir to Silky Perfection: After 5 minutes, gently stir the mixture from the center outwards until it’s completely smooth, glossy, and lump-free. Stir in the vanilla extract and that tiny pinch of salt. This is your ganache, the heart of your truffle.
- Chill Out: Cover the bowl with plastic wrap and pop it in the fridge for at least 2-3 hours, or until it’s firm enough to scoop but still pliable. Overnight is even better if you have the patience (I usually don’t).
- Get Rolling! Once firm, scoop out small amounts (about 1-inch balls) using a small spoon or a mini ice cream scoop. Roll them quickly between your palms to form perfect spheres. Don’t dilly-dally, or they’ll melt too much in your hands.
- Coconut Spa Day: Pour your shredded coconut onto a shallow plate. Roll each chocolate ball in the coconut until it’s completely covered. Give it a gentle pat to ensure the coating sticks.
- Final Chill & Serve: Place the finished truffles on a parchment-lined plate or tray and return them to the fridge for another 30 minutes to firm up properly. Then, boom! You’re ready to devour.
Common Mistakes to Avoid
Even though this is super easy, a few pitfalls can turn your glorious truffles into, well, not-so-glorious truffles. Don’t be *that* person:
- Using Subpar Chocolate: Seriously, this isn’t the time for chocolate chips that taste like sadness. Invest in decent dark chocolate. Quality matters!
- Boiling the Cream: Remember, we’re warming, not boiling. Overheated cream can separate your ganache and give you a grainy texture. Blech.
- Impatience with Chilling: Trying to roll warm ganache is like trying to build a sandcastle in a tsunami. It won’t work. Chill it properly!
- Over-handling the Truffles: Your hands are warm. The truffles are chocolate. Too much rolling, and they’ll melt into a sticky mess. Be swift, my friend.
- Forgetting the Salt: “A pinch of salt? Really?” Yes, really! It doesn’t make it salty; it just makes the chocolate taste *more* like chocolate. Trust the process.
Alternatives & Substitutions
Feeling rebellious? Want to mix things up? I get it. Here are some ideas:
- Boozy Truffles: Replace 1-2 tablespoons of cream with your favorite liquor (rum, Kahlua, Grand Marnier, even a good whiskey). Hello, adult treats!
- Different Coatings: Not a coconut fan? (We can still be friends, I guess.) Try cocoa powder, chopped nuts (pistachios are divine!), sprinkles, or even a drizzle of melted white chocolate. Be creative!
- Flavor Boosts: Add a tiny bit of orange zest to the ganache for a citrusy kick. Or a hint of espresso powder to deepen the chocolate flavor. Mint extract works wonders too!
- Dairy-Free Version: Use full-fat coconut milk (the canned kind, not the carton beverage) instead of heavy cream, and use a good quality dairy-free dark chocolate. FYI, the texture might be slightly different, but still delish!
FAQ (Frequently Asked Questions)
- “Can I use milk chocolate instead of dark?” Well, technically yes, but why dilute the rich, sophisticated flavor? Dark chocolate gives you that proper truffle experience. Milk chocolate truffles tend to be sweeter and less intense, if that’s your jam.
- “My ganache is too runny! What went wrong?” You probably didn’t chill it long enough, or your proportions might be slightly off. Pop it back in the fridge! If it’s *really* runny even after chilling, you might have too much liquid – try adding more melted chocolate or re-chilling for much longer.
- “How long do these last?” In an airtight container in the fridge, they’ll happily hang out for about 1-2 weeks. But let’s be honest, will they even last 2 days? Probably not.
- “Can I freeze them?” Absolutely! Arrange them on a baking sheet, freeze until solid, then transfer them to an airtight container or freezer bag. They’ll keep for up to a month. Just thaw in the fridge before serving.
- “I don’t have a mini scoop. How do I make them uniform?” Eyeball it! Or use a regular teaspoon, scoop, and then practice your rolling skills. They don’t have to be perfectly identical – homemade charm, right?
- “Is unsweetened coconut really better?” IMO, yes! It provides a lovely textural contrast and lets the chocolate shine without adding excessive sweetness. But if sweetened is all you have, go for it!
Final Thoughts
And there you have it, folks! Your very own batch of ridiculously good, deceptively easy chocolate truffles with a tropical coconut vibe. You’ve officially leveled up your dessert game without breaking a sweat (or the bank). These are perfect for impressing guests, making a thoughtful gift, or, let’s be real, hoarding all to yourself for a self-care evening. Now go forth and impress someone—or yourself—with your new culinary skills. You’ve earned it!


