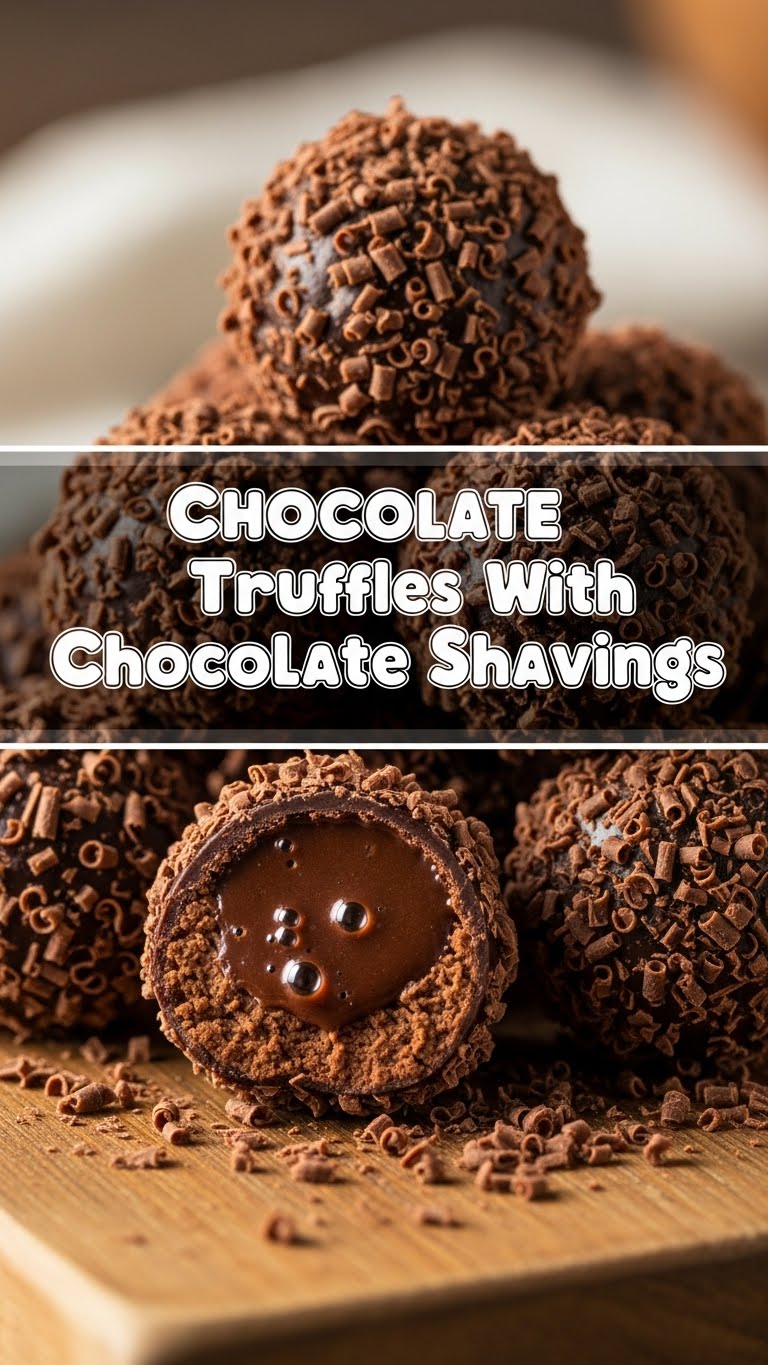
So you’re craving something ridiculously tasty but also kinda want to pretend you’re a fancy chocolatier without, you know, doing *actual* fancy chocolatier work? Same, friend, same. What if I told you we could whip up some decadent chocolate truffles, complete with a snazzy chocolate shaving coat, without breaking a sweat? Get ready to impress everyone (but mostly yourself), because today we’re making the easiest, most delicious chocolate truffles you’ve ever imagined.
Why This Recipe is Awesome
First off, it’s pretty much **idiot-proof**. Seriously, even I, someone who once mistook baking soda for baking powder (don’t ask), can nail this. It takes minimal ingredients, minimal effort, and minimal time. You’ll look like a culinary genius, and no one needs to know your secret. Plus, it’s chocolate. Need I say more? It’s basically a hug in edible form.
Ingredients You’ll Need
Get ready to gather your deliciousness. Don’t skimp on quality here; it really makes a difference!
- **Good Quality Dark Chocolate (60-70% cacao):** About 8 ounces (225g). Think Ghirardelli, Lindt, or whatever makes your heart sing. Avoid chocolate chips if you can help it; they have stabilizers that make them melt weird.
- **Heavy Cream:** ½ cup (120ml). The full-fat, glorious stuff. This isn’t the time for skim milk, my friend.
- **Unsalted Butter:** 2 tablespoons. Cut into small cubes. Butter makes everything better, doesn’t it?
- **Pure Vanilla Extract:** 1 teaspoon. The real deal, none of that imitation nonsense.
- **A Pinch of Salt:** Just a tiny bit to make the chocolate pop. Trust me on this.
- **Another Chocolate Bar for Shavings:** About 2-3 ounces (60-85g) of whatever chocolate you like (dark, milk, or white). This is for the glorious coat!
Step-by-Step Instructions
Let’s get this party started! Follow these simple steps, and you’ll be rolling in truffles (literally).
- **Chop That Chocolate:** Grab your 8 ounces of dark chocolate and give it a good chop. Small, uniform pieces melt faster and more evenly. Pile them into a heatproof bowl.
- **Heat the Creamy Goodness:** Pour your heavy cream into a small saucepan. Heat it over medium heat until it just begins to simmer around the edges. **Do not let it boil vigorously!** We’re not making soup here.
- **Melt & Mix:** Immediately pour the hot cream over your chopped chocolate. Add the butter cubes, vanilla extract, and that tiny pinch of salt. Let it sit for about 5 minutes. This gives everything a chance to warm up and melt.
- **Stir Until Silky:** After 5 minutes, gently stir the mixture with a whisk or spatula. Start from the center and work your way out. Keep stirring until it’s completely smooth, glossy, and beautifully combined. This is your ganache, and it’s looking fabulous!
- **Chill Out:** Cover the bowl with plastic wrap and pop it into the fridge. Let it chill for at least 2-3 hours, or until it’s firm enough to scoop. **Patience is a virtue here.** If you try to roll it too soon, you’ll have a chocolatey mess.
- **Prepare Your Shavings:** While your ganache is chilling, use a vegetable peeler or a sharp knife to create lovely chocolate shavings from your extra chocolate bar. Scatter them onto a plate.
- **Scoop and Roll:** Once the ganache is firm, use a small cookie scoop or two spoons to scoop out about 1-inch portions. Quickly roll them into balls between your palms. Work fast so they don’t get too melty.
- **Coat ‘Em Up:** Gently roll each truffle ball in the chocolate shavings until it’s fully coated. Don’t be shy!
- **Final Chill (Optional, but Recommended):** Place the finished truffles on a parchment-lined tray and pop them back into the fridge for another 15-30 minutes to firm up completely.
Common Mistakes to Avoid
Don’t be that person. Learn from my chocolatey errors:
- **Overheating the Cream:** If your cream boils, it might scald, and no one wants scorched-milk-flavored truffles. Just a gentle simmer, folks!
- **Aggressive Stirring:** When mixing the ganache, be gentle! Over-stirring can introduce air or even cause the ganache to split and look oily.
- **Impatience with Chilling:** Trying to roll truffles before they’re properly chilled is a rookie mistake. You’ll end up with sticky, shapeless blobs. **Chill, literally.**
- **Using Low-Quality Chocolate:** Remember, this recipe has very few ingredients. Each one shines. Use good chocolate, or you’ll regret it.
- **Eating the Ganache Straight from the Bowl:** Okay, maybe not a “mistake” per se, but you’ll have fewer truffles to show off!
Alternatives & Substitutions
Feeling adventurous? Here are some ways to switch things up:
- **Different Coatings:** No chocolate for shavings? No problem! Roll your truffles in cocoa powder, chopped nuts (pistachios or hazelnuts are amazing), sprinkles, shredded coconut, or even a mix of all of them!
- **Boozy Boost:** Add a tablespoon of your favorite liqueur to the warm ganache (after the chocolate melts, before chilling). Think Grand Marnier, rum, Irish cream, or even a shot of espresso for a coffee kick.
- **Sweeter Truffles:** While dark chocolate is classic, you can totally use milk chocolate for a sweeter profile. Just be aware it might be a bit softer, so chill it extra well.
- **Vegan Vibes:** You can absolutely make these vegan! Use good quality dark vegan chocolate and swap the heavy cream for full-fat coconut cream (the thick part from a can of chilled coconut milk) and use vegan butter.
FAQ (Frequently Asked Questions)
Got questions? I’ve got answers (and maybe some sass).
Can I use milk chocolate instead of dark?
Well, technically, yes! But why dilute the delicious intensity? Dark chocolate gives you that rich, deep flavor. If you prefer a sweeter truffle, go for it, but just know they might be a bit softer and need extra chilling time.
How long do these truffles last?
If you can manage not to eat them all in one sitting, they’ll happily hang out in an airtight container in the fridge for about a week. Beyond that, they might get a little dry. But let’s be real, they won’t last that long.
My ganache looks oily and separated! What happened?
Oh dear. This usually means you either overheated the cream too much, or you stirred it too vigorously. Sometimes, you can save it by adding a tablespoon of cool water or milk and stirring gently until it comes back together. No promises, though!
Can I freeze these truffles?
Absolutely! Pop them onto a parchment-lined tray until solid, then transfer them to an airtight freezer-safe container or bag. They’ll keep for up to a month. Just thaw them in the fridge when you’re ready for a chocolate fix.
I don’t have a small cookie scoop. Any other ideas?
Yep! Two small spoons work just fine. Scoop a bit with one, use the other to push it off into your palm. Or, if you’re feeling rustic, just use a regular spoon and make them slightly larger. Size doesn’t always matter… unless we’re talking about truffles, then smaller is cuter IMO.
Do I *have* to chill the ganache for so long?
Yes, my friend, **yes!** This isn’t a suggestion, it’s a command. The longer it chills and firms up, the easier it will be to roll into perfect, non-sticky balls. Trying to rush it will just lead to frustration and sticky fingers (and not the good kind).
Final Thoughts
So there you have it! You’ve just created fancy, gourmet-level chocolate truffles with chocolate shavings, probably in your pajamas, and without breaking a sweat. You’re basically a professional chocolatier now, and I’m super proud of you. Go forth and impress someone—or better yet, just hoard them all for yourself. You’ve earned it!


