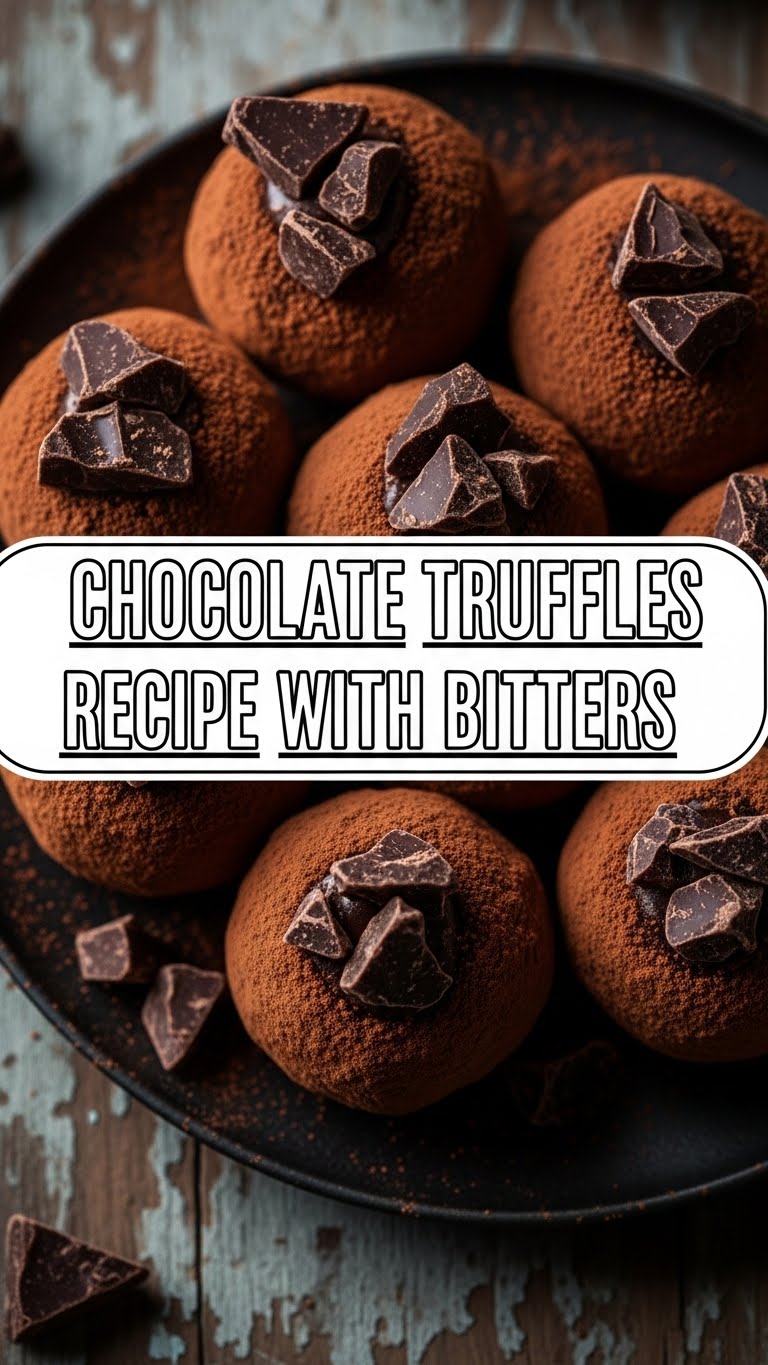
So, you’ve got that irresistible craving for something dangerously delicious, but your inner chef is currently on vacation, sipping margaritas, and utterly refusing to get off the couch? Been there, done that, bought the T-shirt. Good news: I’ve got a recipe that’s so ridiculously easy, it practically makes itself. We’re talking Chocolate Truffles with a secret bitter twist that’ll make your tastebuds do a happy dance. No fuss, maximum deliciousness. Let’s get sticky!
Why This Recipe is Awesome
Okay, first off, it’s chocolate. Do I even need to say more? But beyond the obvious, this recipe is a total game-changer because:
- It’s basically idiot-proof. Seriously, if I can do it without burning down the kitchen, you’re golden.
- Minimal ingredients, maximum impact. You won’t need to raid a specialty store; most of this stuff is probably already chilling in your pantry.
- The bitters! This isn’t your grandma’s truffle recipe. We’re adding a little oomph with some aromatic bitters that transform these from ‘good’ to ‘OMG, what is this magic?!’ It’s like a secret handshake for your palate.
- No baking required. That’s right, folks! Save your oven for, well, never. This is a chill-and-roll situation.
- Impressive factor: Guests will think you slaved away for hours. Let them believe it. Your secret is safe with me.
Ingredients You’ll Need
Alright, gather your troops! Here’s what you’ll need for your truffle mission. (Spoiler: it’s not much!)
- 10 oz (about 280g) high-quality dark chocolate: Think 60-70% cacao. This is the star, so don’t skimp! No ‘chocolate-flavored candy melts,’ please. Your taste buds deserve better.
- ½ cup (120ml) heavy cream: Or whipping cream. The good stuff. Not low-fat; we’re making truffles, not diet food.
- 2 tablespoons unsalted butter: Because butter makes everything better, duh.
- 1-2 teaspoons aromatic bitters: Angostura or Peychaud’s work wonders here. Start with one, taste, add more if you’re feeling adventurous. This is our secret weapon!
- Pinch of salt: Enhances all those chocolatey vibes. Don’t skip it!
- For coating (your choice!):
- Cocoa powder (unsweetened, naturally!)
- Finely chopped nuts (pistachios, almonds, hazelnuts – get fancy!)
- Shredded coconut
- Powdered sugar
- Sprinkles (because why not?)
Step-by-Step Instructions
Time to get cooking! Or rather, melting and chilling. These steps are so easy, you can probably do them blindfolded. (Please don’t actually do that.)
- Chop that chocolate: Grab your fancy dark chocolate bar (or bars) and chop it into small, uniform pieces. The smaller the pieces, the faster and smoother it melts. Toss them into a heat-proof bowl.
- Heat the cream & butter: In a small saucepan, gently heat the heavy cream and butter over medium heat. Stir occasionally until the butter is melted and the cream just starts to simmer around the edges. Don’t let it boil vigorously! We’re not making soup.
- Pour and wait: Immediately pour the hot cream mixture over your chopped chocolate. Let it sit there for about 5 minutes, undisturbed. This allows the heat to work its magic and melt the chocolate properly. Patience, young Jedi.
- Stir in the magic: After 5 minutes, grab a whisk or a spatula and gently start stirring from the center outwards. Keep stirring until the mixture is completely smooth, glossy, and beautifully uniform. Now, stir in your aromatic bitters and that pinch of salt. Taste test (responsibly!). If you want more bitter kick, add another dash.
- Chill out: Cover the bowl with plastic wrap and pop it into the fridge. Let it chill for at least 2-3 hours, or until it’s firm enough to scoop and roll. Don’t rush this step; properly chilled ganache is key! You can also leave it overnight.
- Roll ’em up: Once firm, grab a small spoon or a mini ice cream scoop. Scoop out small portions (about 1 tablespoon each) and roll them quickly between your palms into cute little balls. Work fast; your hands are warm!
- Coat and admire: Roll your truffles in your chosen coating. Cocoa powder is classic, nuts add texture, sprinkles add fun. Arrange them on a plate or in a fancy box.
- Final chill: Store your finished truffles in an airtight container in the fridge for about 15-20 minutes to set the coating, then they’re ready for their grand debut!
Common Mistakes to Avoid
Listen up, buttercup! Don’t make these rookie errors. I’ve made them so you don’t have to (you’re welcome).
- Using low-quality chocolate: This isn’t the time for cheap chocolate chips. Truffles are all about that rich, intense chocolate flavor. Splurge a little; it makes a huge difference.
- Boiling the cream: Remember, we’re just simmering! Overheated cream can scorch, and nobody wants burnt cream in their truffles.
- Not letting it chill enough: Trying to roll warm ganache is like trying to catch smoke with a net. It’s messy, frustrating, and just won’t work. Be patient!
- Overworking the ganache: Once it’s smooth, stop stirring! Over-stirring can incorporate too much air and affect the texture.
- Forgetting the salt: A tiny pinch of salt isn’t just for savory dishes; it really helps to bring out the depth of the chocolate flavor. Don’t skip it!
Alternatives & Substitutions
Feeling frisky? Want to play around? Here are some ideas:
- Chocolate type: While dark chocolate is king here, you can totally use milk chocolate if you have a sweeter tooth. Just be aware it’ll be a lot richer, and you might want to adjust the bitters or add a pinch more salt to balance. White chocolate also works, but that’s a whole different vibe, often needing less cream.
- Bitters flavors: Don’t limit yourself to Angostura! Orange bitters, chocolate bitters, even a dash of cherry bitters could be super interesting. Experiment with what you have! Just remember: a little goes a long way.
- Other flavorings: A splash of espresso, a tiny bit of orange zest, a drop of peppermint extract, or a tablespoon of your favorite liqueur (rum, Kahlua, Cointreau) can jazz things up. Add these with the bitters!
- Coatings galore: Get creative! Crushed freeze-dried raspberries, finely chopped candied ginger, even a drizzle of tempered white chocolate can elevate your truffles. Think outside the cocoa powder box!
FAQ (Frequently Asked Questions)
Got questions? I’ve got (casual) answers!
- Q: Can I skip the bitters?
A: Technically, yes. But why would you want to deny yourself that delightful, complex little kick? It really takes these from ‘yum’ to ‘whoa!’ Give it a try! - Q: My ganache isn’t setting. What did I do wrong?
A: Oh dear! You likely didn’t have enough chocolate compared to the cream, or it just needs more chill time. Pop it back in the fridge, or even the freezer for a quick 30 minutes if you’re desperate. It’ll get there, promise. - Q: How long do these truffles last?
A: In an airtight container in the fridge, they’ll stay deliciously fresh for about 1-2 weeks. If they last that long, that is. Mine usually mysteriously disappear within 24 hours. - Q: Can I use chocolate chips instead of a bar?
A: You can, but it’s not ideal. Chocolate chips often contain stabilizers that prevent them from melting as smoothly as a good quality baking bar. If that’s all you have, go for it, but expect a slightly different texture. - Q: What if my ganache looks oily or separated?
A: Uh oh! This usually happens if the chocolate and cream are at different temperatures or if it’s been over-stirred. Try adding a tablespoon of lukewarm water or milk, one drop at a time, and stir very gently until it comes back together. Sometimes, a quick zap in the microwave (5-10 seconds) and a gentle whisk can rescue it. - Q: Can I freeze these truffles?
A: Absolutely! Place them in a single layer on a baking sheet to freeze, then transfer to an airtight freezer-safe container. They’ll last for a couple of months. Just thaw them in the fridge for a few hours before serving.
Final Thoughts
And there you have it, fellow chocolate enthusiast! You’ve just whipped up a batch of utterly divine chocolate truffles with a sophisticated twist, and you barely broke a sweat. Seriously, give yourself a pat on the back – or better yet, grab a truffle. You’ve earned it! Now go forth and share (or hoard, no judgment here) your delectable creations. Impress your friends, bribe your boss, or simply enjoy a moment of pure bliss with these little gems. Happy truffle-making!


