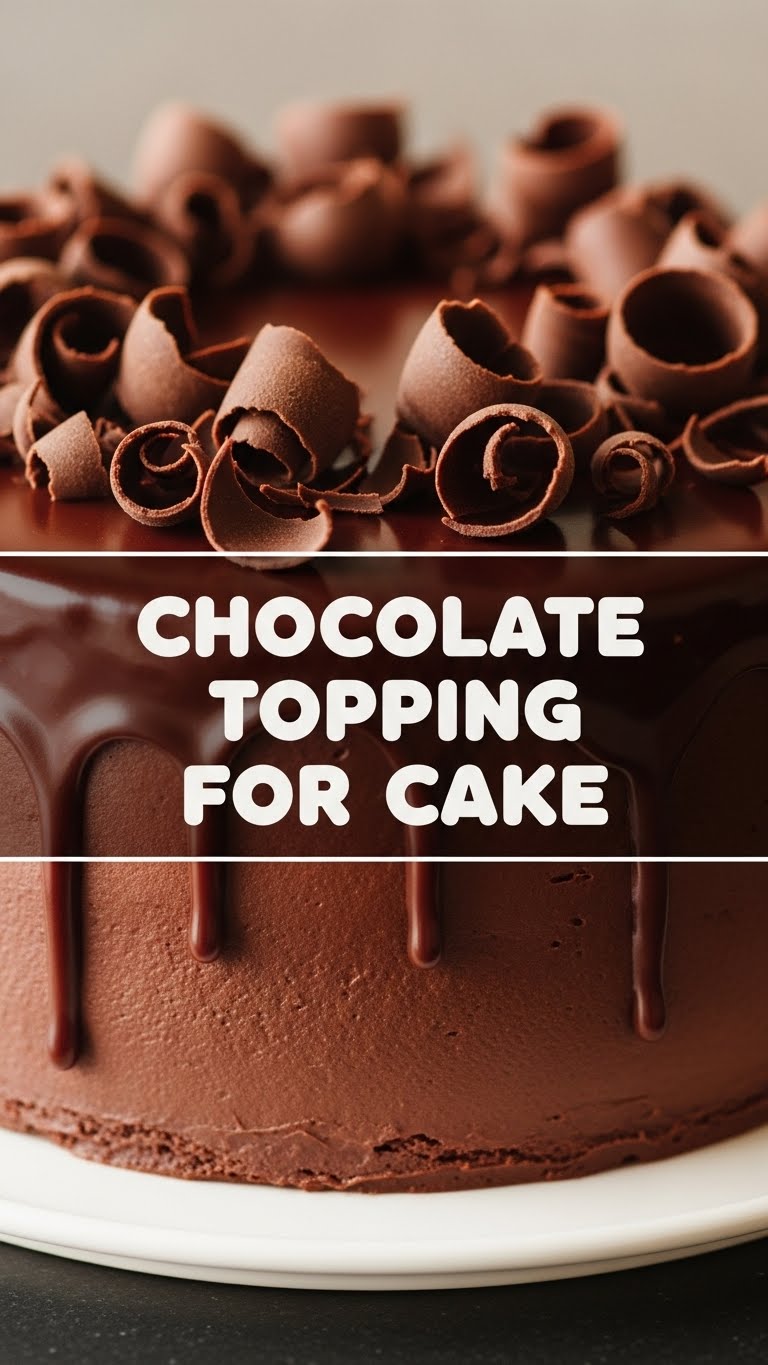
So, you’ve got a cake, right? Maybe you baked it yourself (go you!) or maybe you, ahem, “sourced” it from the grocery store. No judgment here, friends. But a cake, no matter its origin story, often feels a little… naked without a luscious, shiny, utterly decadent chocolate topping. And you’re craving something that screams “I’m amazing!” but your energy levels are whispering “please just let me scroll TikTok.” Sound familiar? Same. That’s why we’re about to dive into the easiest, most gloriously simple chocolate topping recipe that will make you look like a culinary genius without actually breaking a sweat. You’re welcome.
Why This Recipe is Awesome
Okay, let’s be real. In a world full of complicated ganaches and fancy frostings that require a degree in pastry arts, this recipe is your superhero. Why? Because it’s **idiot-proof**. Seriously, even I, someone who once mistook baking soda for baking powder (the results were… unforgettable), can nail this every single time. It comes together faster than you can find your phone charger, uses ingredients you probably already have lurking in your pantry, and transforms any cake (or brownie, or ice cream, or spoon) into a masterpiece. Plus, it tastes like a warm, chocolatey hug. Who doesn’t need more of those?
Ingredients You’ll Need
- **Unsweetened Cocoa Powder (½ cup):** The star of the show! Don’t skimp here; good quality makes a difference. Think rich, not bitter.
- **Granulated Sugar (1 cup):** Sweetness is key. We’re making a topping, not a health drink, people.
- **Milk (½ cup):** Any kind works, but whole milk makes it extra creamy and dreamy. Or, if you’re feeling fancy (or dairy-free), almond or oat milk can step in.
- **Unsalted Butter (¼ cup, 4 tablespoons):** This is where the magic happens, giving it that luxurious shine and rich mouthfeel. Don’t even *think* about margarine.
- **Vanilla Extract (1 teaspoon):** A little splash of magic. Enhances all that chocolate goodness.
- **Pinch of Salt:** Yes, salt! It doesn’t make it salty; it just makes the chocolate taste *more* chocolatey. Trust me on this.
Step-by-Step Instructions
- **Gather Your Gear:** Grab a medium saucepan. Make sure it’s big enough that nothing will overflow when it starts bubbling.
- **Whisk the Dry Stuff:** In your saucepan (before turning on the heat!), whisk together the cocoa powder, sugar, and pinch of salt. Make sure there are no lumpy bits. We’re aiming for smooth sailing here.
- **Add the Wet Stuff (Except Vanilla):** Pour in the milk and add the butter. Put the saucepan on medium heat.
- **Stir, Stir, Stir:** Now, this is crucial. **Continuously whisk** the mixture as it heats up. You want the butter to melt and all the ingredients to combine into a smooth, glossy sauce. Don’t walk away; this stage demands your attention!
- **Bring to a Gentle Boil:** Keep whisking! Once it comes to a gentle boil (you’ll see small bubbles breaking the surface), let it cook for **just one minute**. This helps it thicken slightly.
- **Remove and Vanilla Time:** Take the saucepan off the heat immediately. Stir in the vanilla extract. Give it a good whisk for another 30 seconds or so.
- **Cool (Slightly) and Conquer:** Let the topping cool for about 10-15 minutes before pouring over your cake. It will thicken a bit more as it cools. If you pour it on too hot, it’ll just melt your cake! Nobody wants a lava cake unless it’s *supposed* to be a lava cake.
Common Mistakes to Avoid
- **Forgetting to Whisk:** This isn’t a “set it and forget it” situation, buttercup. Constant whisking prevents burning on the bottom and ensures a silky-smooth topping. Lumps are for oatmeal, not this.
- **Overcooking:** Boiling it for too long will make it too thick, possibly grainy, and sad. **One minute** is your sweet spot after it starts bubbling.
- **Pouring it on Piping Hot:** Patience, young padawan! Let it cool slightly. If you rush, it’ll be too runny and just soak into your cake instead of sitting pretty on top.
- **Using Cheap Cocoa:** While you don’t need to break the bank, super cheap, low-quality cocoa can result in a flat, less flavorful topping. Invest a tiny bit more for a noticeable difference.
Alternatives & Substitutions
Feeling adventurous? Or just missing an ingredient? No worries, I got you!
- **Creamy Factor:** Instead of milk, use half-and-half or heavy cream for an even richer, more decadent topping. It’s like giving your cake a tiny, fancy spa treatment.
- **Flavor Boosts:** Add a **teaspoon of instant espresso powder** with the dry ingredients for a deeper chocolate flavor (it won’t taste like coffee, just enhances the chocolate!). Or, swap out vanilla for a different extract like almond, peppermint (hello, holiday cakes!), or even a splash of rum or Kahlúa (for the adults, obviously).
- **Dairy-Free Delight:** Swap the milk for a plant-based alternative like almond, oat, or soy milk, and use a good quality plant-based butter substitute. FYI, it still turns out surprisingly good!
- **Darker Chocolate:** For a more intense, less sweet topping, you can slightly reduce the sugar (maybe by ¼ cup) but taste as you go!
FAQ (Frequently Asked Questions)
- **”Can I use margarine instead of butter?”** Well, technically yes, you *can*, but why hurt your soul like that? Butter provides a flavor and richness that margarine just can’t replicate. It’s an essential fat for a reason!
- **”My topping is too thick/too thin. Help!”** If it’s too thick after cooling, gently reheat it over low heat with a tablespoon or two of milk or cream, whisking until it reaches your desired consistency. If it’s too thin, you probably didn’t boil it long enough. Reheat and boil for another 30 seconds to a minute, whisking constantly.
- **”How long does this topping last?”** Stored in an airtight container in the fridge, it’s good for about 5-7 days. It will firm up in the fridge, so you might need to gently reheat it (or let it come to room temp) before using again.
- **”Can I use this as a filling instead of a topping?”** Absolutely! It’s fantastic as a cake filling. Just make sure it’s cooled completely and slightly firmed up so it doesn’t ooze out the sides.
- **”What if I don’t have vanilla extract?”** You can skip it in a pinch, but it really does round out the flavor. IMO, it’s worth a quick trip to the store. Or, try a pinch of cinnamon for a different twist!
Final Thoughts
And there you have it! A chocolate topping so good, so easy, you’ll wonder why you ever bought those tubs of frosting. Now go forth, grab that naked cake, and give it the chocolatey embrace it deserves. Or, if you’re like me, just grab a spoon and call it “quality control.” You’ve earned it! Happy topping, friends!


