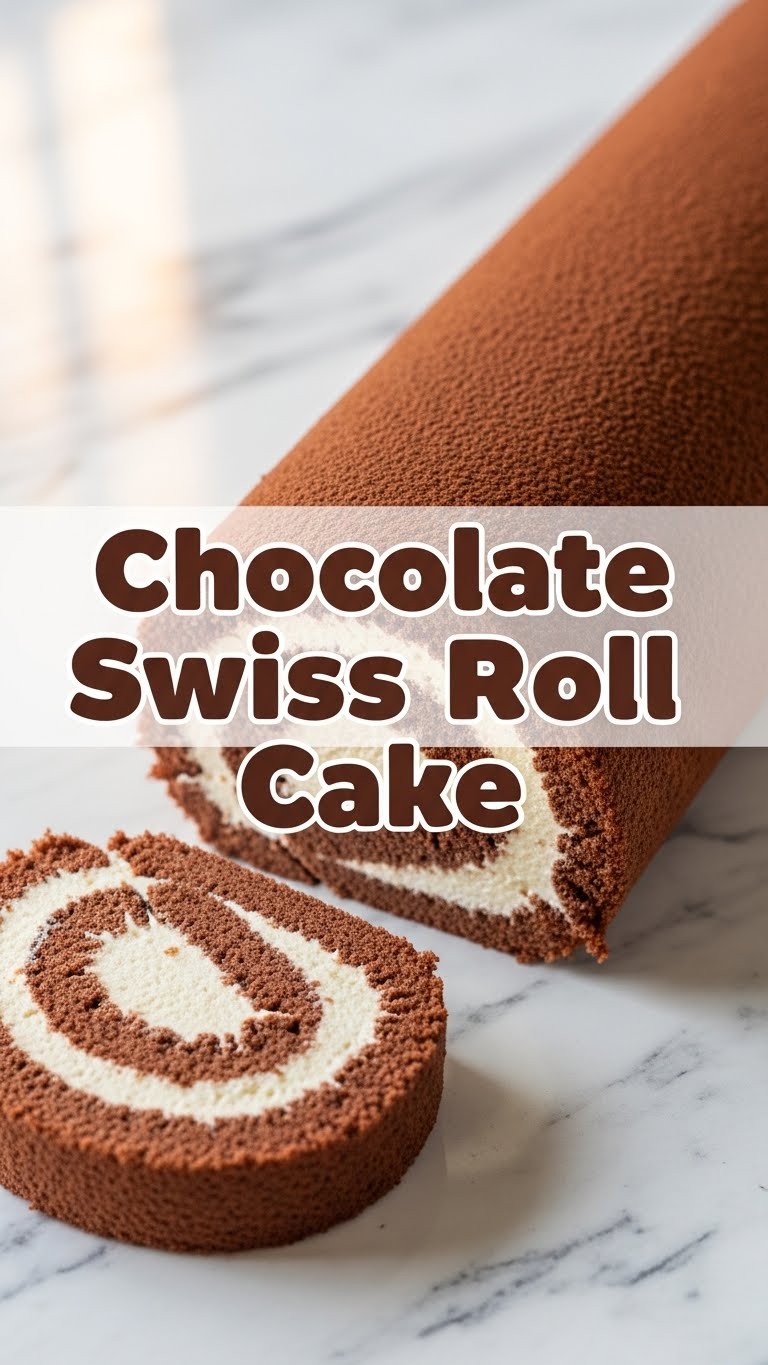
Ever looked at those ridiculously perfect Swiss roll cakes in bakery windows and thought, “Yeah, I could totally make that… if I had a magic wand, a culinary degree, and about three extra sets of arms”? Same. But what if I told you that impressive-looking dessert is actually way less intimidating than it seems? Grab your apron, buttercup, because we’re about to demystify the glorious **Chocolate Swiss Roll Cake**!
Why This Recipe is Awesome
Okay, let’s be real. This isn’t just “awesome”; it’s a culinary superpower disguised as a cake. First off, it *looks* incredibly fancy, which means instant bragging rights without the actual Michelin-star effort. It’s chocolatey, obviously, so that’s a win right there. Plus, it bakes up super fast, which is perfect for when you need a dessert fix but don’t want to dedicate your entire afternoon to it.
Seriously, it’s so straightforward, your overly critical aunt will finally have nothing to complain about. It’s light, it’s airy, and it delivers that “OMG, you made this?!” moment. **Bonus points**: it’s surprisingly fun to roll. Like baking and a mild craft project all in one!
Ingredients You’ll Need
No need for obscure, expensive ingredients here! We’re keeping it simple, classic, and delicious. Think pantry staples with a bit of pizzazz.
For the Chocolate Cake:
- 3 large eggs: The backbone of our fluffy cake. Make sure they’re at room temp – it helps them whip up beautifully.
- ½ cup granulated sugar: Sweetness is essential, obviously.
- ⅓ cup all-purpose flour: The structure. Who needs fancy cake flour when you’ve got this guy?
- ¼ cup unsweetened cocoa powder: Get a good quality one for that deep chocolate flavor. This isn’t the time for compromise.
- ½ tsp baking powder: A little lift never hurt anyone.
- ¼ tsp salt: Balances out the sweetness and makes the chocolate sing. Don’t skip it!
- 1 tsp vanilla extract: Because everything’s better with a splash of vanilla.
For the Cream Filling:
- 1 ½ cups heavy cream (cold): The star of our fluffy filling. Make sure it’s *cold cold cold* for best whipping results.
- ½ cup powdered sugar: Dissolves like a dream, no gritty bits allowed.
- 1 tsp vanilla extract: Again, because it’s the best.
- Optional: Chocolate shavings or a dusting of cocoa powder for garnish. Because presentation matters, even if it’s just for you!
Step-by-Step Instructions
- Preheat & Prep: Get your oven to a cozy 375°F (190°C). Line a 10×15-inch baking sheet (or similar jelly roll pan) with parchment paper. **Key tip:** Lightly grease the pan *before* the parchment to make it stick, no sliding around!
- Whip Those Eggs: In a large bowl, beat the eggs and granulated sugar together with an electric mixer on high speed. You want this mixture to be pale, thick, and almost ribbon-like when you lift the beaters. This can take about 5-7 minutes. Patience, grasshopper!
- Sift & Fold: In a separate bowl, whisk together the flour, cocoa powder, baking powder, and salt. Sift this dry mixture over the egg mixture in two additions. Gently fold it in with a spatula after each addition, until just combined. Don’t overmix, or your cake will be tough. Stir in the vanilla.
- Bake It Up: Pour the batter evenly onto your prepared baking sheet. Spread it right to the edges. Pop it into the preheated oven and bake for 10-12 minutes. The cake should spring back when lightly touched and the edges might pull away slightly.
- The Critical Roll: While the cake is baking, grab a clean kitchen towel and generously dust it with powdered sugar. As soon as the cake comes out of the oven, **immediately** invert it onto the sugared towel. Carefully peel off the parchment paper.
- Roll While Warm: Starting from a short end, tightly roll the cake up with the towel inside. Let it cool completely in this rolled-up state on a wire rack. This “trains” the cake not to crack later.
- Whip the Filling: Once the cake is cool, it’s filling time! In a chilled bowl, beat the cold heavy cream, powdered sugar, and vanilla extract until stiff peaks form. Don’t overdo it, or you’ll have butter instead of cream.
- Assemble Your Masterpiece: Gently unroll the cooled cake. Spread the whipped cream evenly over the entire surface, leaving a small border around the edges. Carefully re-roll the cake, without the towel this time.
- Chill & Garnish: Place the rolled cake seam-side down on a serving platter. Cover it loosely and chill in the refrigerator for at least 1 hour. This helps it firm up and makes it easier to slice. Before serving, dust with extra powdered sugar or cocoa, or scatter some chocolate shavings on top. Voila!
Common Mistakes to Avoid
- Overbaking the Cake: This is a biggie! An overbaked cake will be dry and brittle, making it super prone to cracking when you try to roll it. Set a timer, keep an eye on it. We want pliable, not crumbly.
- Not Rolling While Warm: Seriously, don’t wait. The cake needs to be warm and flexible to “learn” its rolled shape. If you wait until it’s cool, it’ll stubbornly resist and crack like a sad geological fault line.
- Forgetting to Dust the Towel: If you don’t coat that towel with powdered sugar, your beautiful cake will stick to it like glue. And then you’ll have a crumbled mess instead of a majestic roll. Rookie mistake!
- Over-Whipping the Cream: Beat it until stiff peaks, then stop! If you keep going, you’ll end up with lumpy, grainy butter, and nobody wants that in their Swiss roll.
Alternatives & Substitutions
Feeling creative? Or maybe you just have different stuff in your pantry. No worries, we can totally tweak this!
- Flour Power: If you’re gluten-free, you can totally use a 1:1 gluten-free baking blend (often with xanthan gum already included). The texture might be slightly different, but it’ll still roll!
- Filling Fun: Not a whipped cream fan? Swap it for a light cream cheese frosting, a rich chocolate ganache, or even a tangy fruit jam (raspberry or cherry would be divine!). Feeling wild? Spread a thin layer of nut butter before the cream.
- Flavor Boosters: Add a teaspoon of espresso powder to the cake batter for an even deeper chocolate flavor. Or, for an orange-chocolate vibe, add some orange zest to both the cake and the filling. Mint extract in the cream? A classic pairing!
- Cocoa Choices: Use Dutch-processed cocoa for a darker, less acidic chocolate flavor, or natural cocoa for a slightly tangier note. Both work great!
FAQ (Frequently Asked Questions)
Got questions? I’ve got answers (mostly humorous, always helpful!).
- My cake cracked! What did I do wrong? Odds are, it was either overbaked (dry cake = brittle cake) or you waited too long to roll it. **Remember: roll it while it’s warm!**
- Can I make this ahead of time? Absolutely! It actually tastes even better the next day once the flavors have melded. Just keep it chilled in the fridge, covered.
- Do I really need to use a kitchen towel for rolling? Yes, for best results! The texture of the towel helps absorb moisture and gives the cake something to grip. If you’re truly desperate, you can try with just the parchment paper, but it’s trickier.
- Can I use margarine instead of butter in the filling? Well, you *could*, technically, but why hurt your soul (and your taste buds) like that? For whipped cream, you need heavy cream. For a butter-based filling, butter is king.
- How long does it last in the fridge? It’s usually good for 3-4 days in an airtight container. If it lasts that long, you’re a stronger person than me.
- Can I freeze a Swiss roll? You bet! Wrap it tightly in plastic wrap, then foil, and freeze for up to a month. Thaw in the fridge overnight before serving.
Final Thoughts
Phew! You’ve made it through the chocolatey journey, and now you’re armed with all the knowledge to conquer the Swiss roll. This cake is seriously impressive, surprisingly easy, and undeniably delicious. So go forth, my friend, unleash your inner pastry chef, and make some magic happen!
Now go impress someone—or yourself—with your new culinary skills. You’ve earned it! (And maybe save a slice for me, just sayin’).


