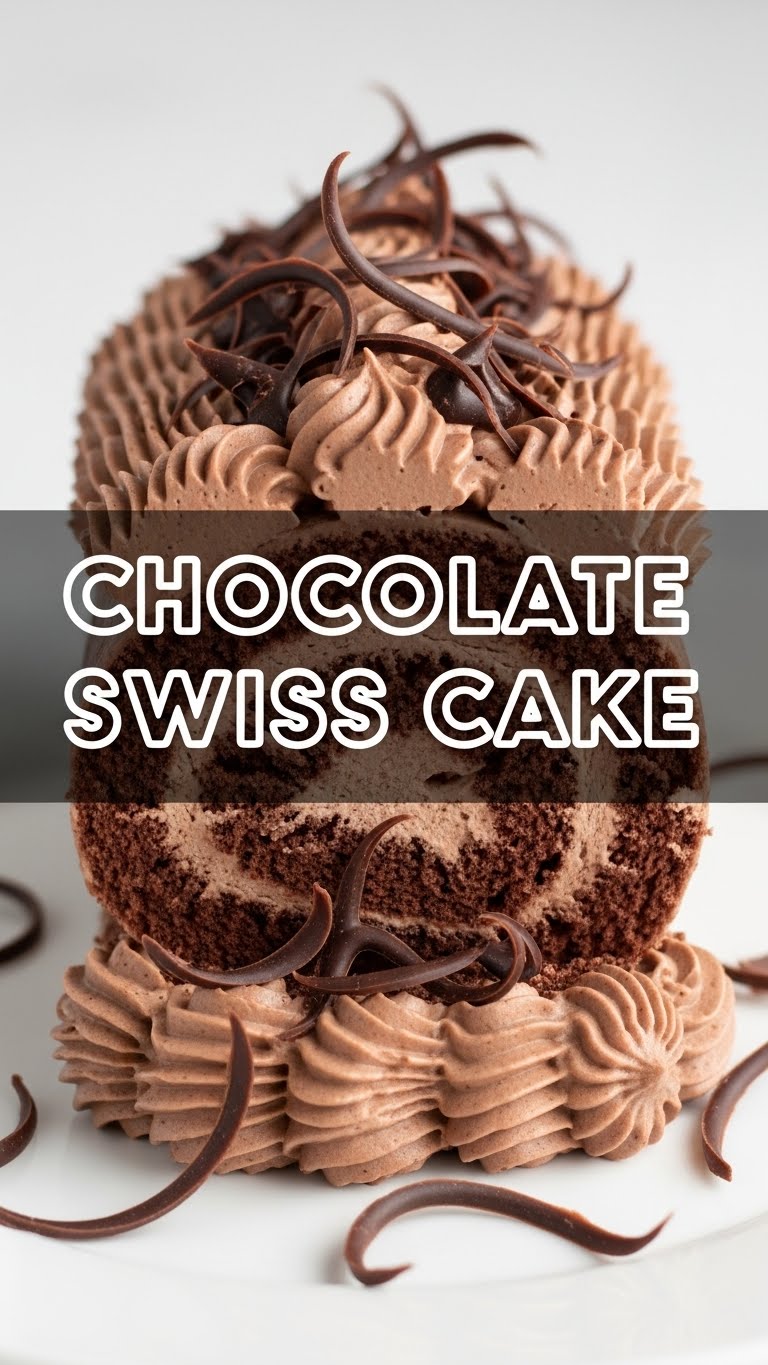
Okay, so you just scrolled through Instagram, saw a perfectly glossy chocolate cake, and now your soul is screaming for something rich, chocolatey, and utterly decadent, but also… kinda easy? Yeah, been there. Grab your apron, because we’re making a Chocolate Swiss Cake that’s so good, you’ll wonder if you secretly became a pastry chef overnight.
Why This Recipe is Awesome
Let’s be real, who has hours to spend fussing over a cake that’s going to disappear in five minutes anyway? Not me, and probably not you. This Chocolate Swiss Cake recipe is your new best friend because:
- It’s ridiculously simple. Like, ‘my cat could almost bake this’ simple.
- The chocolate factor is off the charts. We’re talking deep, dark, melt-in-your-mouth goodness.
- It looks super fancy, but shhh, it’s our secret how little effort it took. Impress your friends, or just yourself in front of the mirror, totally up to you.
- No obscure ingredients. You probably have most of this stuff in your pantry already. No special trips to the ‘fancy flour’ store needed.
Ingredients You’ll Need
Here’s your grocery list, but make it fun. (Because even shopping for chocolate cake ingredients should spark joy, right?)
- For the Cake:
- 1 ½ cups all-purpose flour (the basic stuff, no need to get fancy)
- 1 cup granulated sugar (for that sweet, sweet bliss)
- ½ cup unsweetened cocoa powder (go dark, or go home!)
- 1 teaspoon baking soda (our little lift-off agent)
- ½ teaspoon salt (brings out all the chocolatey goodness)
- 1 cup buttermilk (the secret to moisture, don’t skip this!)
- ½ cup vegetable oil (or any neutral oil, we’re not picky)
- 1 large egg (the binder, not the omelet star)
- 1 teaspoon vanilla extract (because everything’s better with vanilla)
- ½ cup hot water (the magic ingredient that makes the chocolate bloom!)
- For the Chocolate Swiss Meringue Buttercream (fancy name, easy frosting):
- 5 large egg whites (save the yolks for custard, or make some serious scrambled eggs)
- 1 ½ cups granulated sugar (sweetener for our cloud-like frosting)
- 1 ½ cups unsalted butter, softened and cut into cubes (the good stuff, trust me)
- 1 teaspoon vanilla extract (more vanilla, because why not?)
- 4 oz good quality dark chocolate, melted and cooled (the star of the show, obviously)
- Pinch of salt (just a tiny bit to balance the sweetness)
Step-by-Step Instructions
Alright, let’s get down to business. Follow these steps, and you’ll be a cake wizard in no time!
- **Get Prepped:** Preheat your oven to 350°F (175°C). Grease and flour two 8-inch round cake pans. Or, line them with parchment paper if you’re feeling extra fancy and want zero stickage.
- **Mix Dry Ingredients:** In a large bowl, whisk together the flour, sugar, cocoa powder, baking soda, and salt. Make sure there are no lumps—we’re aiming for smooth sailing here.
- **Add Wet Ingredients (Cake):** Add the buttermilk, oil, egg, and vanilla extract to the dry ingredients. Mix on medium speed until just combined. Don’t overmix, or you’ll get a tough cake, and nobody wants that.
- **The Hot Water Magic:** Carefully pour in the hot water. Mix until the batter is smooth and a bit thin. This is normal! It helps create that lovely moist texture.
- **Bake It Up:** Divide the batter evenly between your prepared cake pans. Bake for 28-32 minutes, or until a wooden skewer inserted into the center comes out clean.
- **Cool Down:** Let the cakes cool in the pans for about 10-15 minutes before inverting them onto a wire rack to cool completely. Patience is a virtue, especially when cake is involved.
- **Make the Meringue Buttercream:** While the cakes cool, combine egg whites and sugar in a heatproof bowl set over a saucepan of simmering water (bain-marie style). Whisk constantly until the sugar dissolves and the mixture reaches 160°F (71°C). **This step is crucial for safety and texture!**
- **Whip It Real Good:** Remove the bowl from heat. Using an electric mixer (stand mixer is best here), whip the egg white mixture on high speed until stiff, glossy peaks form and the bowl is cool to the touch. This can take 8-10 minutes. You’re basically making a meringue cloud!
- **Butter Time:** Reduce the speed to medium-low. Gradually add the softened butter cubes, one at a time, mixing well after each addition. The mixture might look curdled or soupy initially—don’t panic! Keep mixing. It will come together into a smooth, dreamy buttercream.
- **Chocolate & Vanilla Finish:** Once the buttercream is smooth, mix in the vanilla extract and the cooled melted chocolate. Beat until fully incorporated and absolutely luscious.
- **Assemble Your Masterpiece:** Once cakes are completely cool, level them if needed. Frost your cake with that glorious chocolate Swiss meringue buttercream. Get creative with your frosting style, or just slather it on—it’s your cake!
Common Mistakes to Avoid
Look, we all make mistakes. But let’s try to avoid these particular oopsies, shall we?
- **Not cooling your cakes completely:** Frosting a warm cake is a recipe for a molten, sliding mess. Don’t do it. Seriously.
- **Overmixing the batter:** You want a tender crumb, not a hockey puck. Mix just until combined.
- **Skipping the hot water:** That hot water is key to a moist, rich chocolate flavor. It makes the cocoa bloom!
- **Giving up on the buttercream:** When you add the butter, the meringue might look like it’s falling apart. It’s a phase! Keep beating, and it *will* transform into smooth, silky frosting. **Trust the process!**
- **Not preheating your oven:** Thinking you can just shove the cake in and hope for the best? Rookie mistake. Consistent oven temp = happy cake.
Alternatives & Substitutions
Feeling a little rebellious? Or just ran out of something? Here are a few swaps that usually work out:
- **Buttermilk:** No buttermilk? No problem! Add 1 tablespoon of white vinegar or lemon juice to a measuring cup, then fill the rest with regular milk until you reach 1 cup. Let it sit for 5 minutes. Boom, DIY buttermilk.
- **Oil:** Vegetable oil is great, but canola or even a light olive oil (if you’re feeling adventurous) works too. Just avoid anything too strong in flavor, unless you want a chocolate olive cake (which, actually, sounds intriguing…).
- **Cocoa Powder:** For a darker, more intense chocolate flavor, use Dutch-processed cocoa powder. It’s less acidic and creates a deeper color. **FYI**, it doesn’t react with baking soda as much, so if you only have Dutch, use baking powder instead of baking soda for the leavening.
- **Chocolate for Buttercream:** You can totally use milk chocolate for a sweeter, milder frosting, or even omit it and just have a plain Swiss meringue buttercream. It’s your cake, friend!
- **Cake Pans:** Don’t have two 8-inch pans? You can use two 9-inch pans (cakes will be thinner, bake less time), or even a 9×13 inch rectangular pan (adjust baking time to around 30-35 mins).
FAQ (Frequently Asked Questions)
Got questions? I’ve got (mostly) answers! Think of me as your culinary agony aunt.
- **Can I make this dairy-free?** For the cake, yes, swap buttermilk for a dairy-free milk + vinegar, and use a plant-based oil. For the buttercream, it’s a bit trickier as the butter is essential to the Swiss meringue technique. There are vegan meringue buttercreams out there, but they’re a different beast!
- **My buttercream looks like soup/curdled, what did I do wrong?** Absolutely nothing! This is super common. It usually means your butter was too cold or too warm, or you just need to keep beating. Keep whipping it on medium-high for several minutes; it *will* emulsify and smooth out. **Patience, young grasshopper!**
- **How long does this cake last?** Covered at room temperature, it’s good for 2-3 days. In the fridge, up to a week. Honestly though, it usually disappears before then.
- **Can I freeze this cake?** Heck yeah! You can freeze unfrosted cake layers wrapped tightly in plastic wrap for up to 2 months. You can also freeze a fully frosted cake (wrap it well once the frosting is firm) for similar duration. Just thaw in the fridge.
- **Do I really need a thermometer for the Swiss meringue?** Highly, highly recommended. It ensures the egg whites are pasteurized (safe!) and that the sugar is fully dissolved, which is key for a stable meringue. Eyeballing it is risky business, IMO.
- **What if I don’t have a stand mixer? Can I use a hand mixer?** Yes, but prepare for an arm workout! The meringue part takes a while, so a stand mixer is definitely the path of least resistance here. But a hand mixer will get the job done if you’re determined!
Final Thoughts
So there you have it! You just conquered a Chocolate Swiss Cake, and probably had a few laughs (or internal screams) along the way. This cake isn’t just dessert; it’s a statement. A statement that says, ‘I can make fancy things, but I also enjoy binge-watching Netflix in my PJs.’ Now go forth, slice yourself a generous piece, and bask in the glory of your chocolatey creation. You’ve earned it, superstar!


