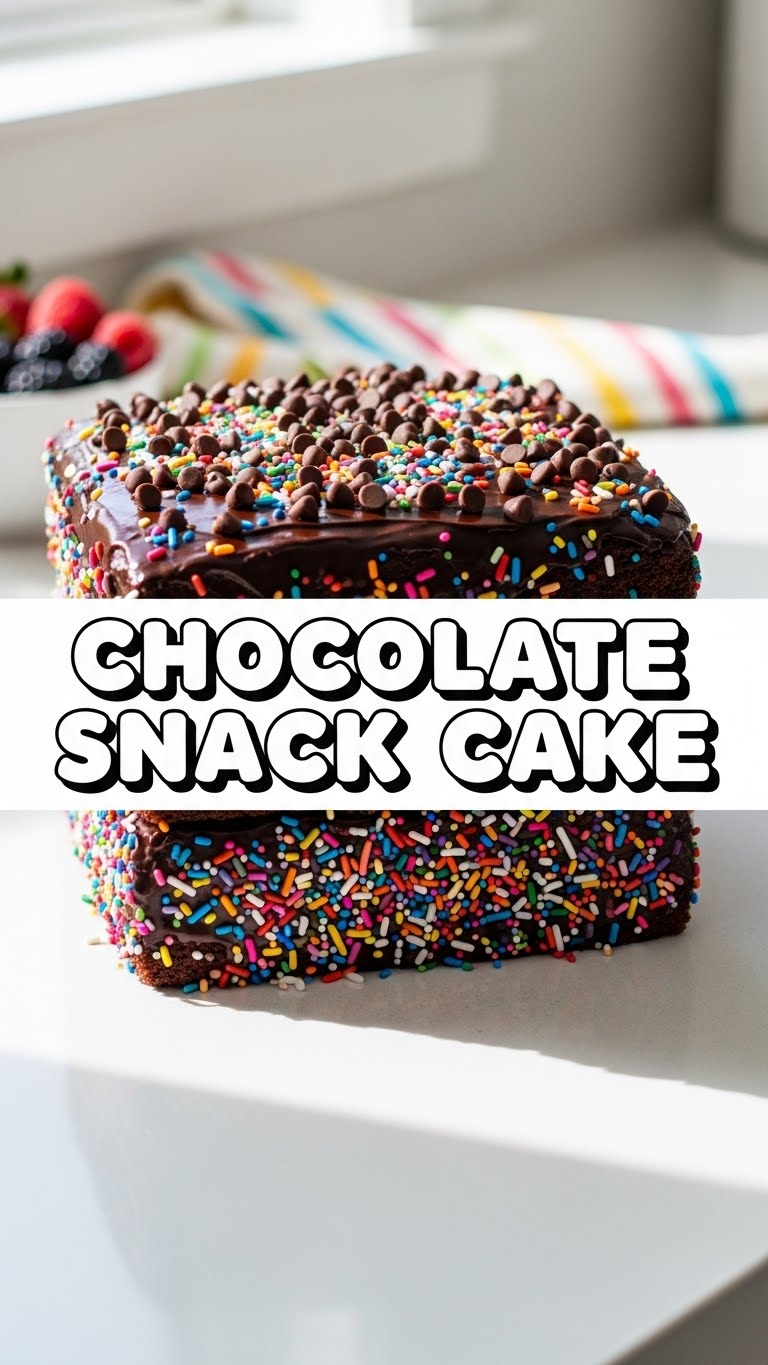
So, your sweet tooth is staging a full-blown coup, and your brain is screaming ‘CHOCOLATE NOW!’ but your ambition level is hovering somewhere near ‘watching paint dry’? Been there, baked that, and ate the evidence. We’re talking about that instant gratification, no-fuss kind of treat that feels like a warm hug but only takes about five minutes of actual effort. Let’s make some magic, friend, in the form of the most epic Chocolate Snack Cake!
Why This Recipe is Awesome
Okay, let’s be real. In a world full of multi-tiered, fondant-covered masterpieces (that honestly look terrifying to make), sometimes you just want cake. Like, right now. This recipe is your culinary superhero, swooping in to save the day with minimal drama. It’s:
- Stupidly Easy: Seriously, if I can make it without setting off the smoke detector, you’re golden. No fancy equipment, just bowls and a whisk.
- Pantry-Friendly: You probably have all these ingredients already. No frantic trips to a specialty store, thank goodness.
- Super Moist: Thanks to a couple of secret weapons (we’ll get to those), this cake stays gloriously tender. No dry, crumbly sadness here!
- Fast AF: Mix it up in less than 10 minutes, bake for 30ish, and you’re practically done. Instant gratification, folks!
- Budget-Friendly: Because who needs to spend a fortune to satisfy a chocolate craving? Not us, my friend.
Ingredients You’ll Need
Gather ’round your humble kitchen, future snack cake champion! Here’s your simple shopping list:
- 1 ½ cups all-purpose flour: The trusty backbone.
- 1 cup granulated sugar: Because life’s better sweet, obviously.
- ¼ cup unsweetened cocoa powder: The darker, the better, IMO. Go for good quality if you have it!
- 1 teaspoon baking soda: Our little lift-off agent. Don’t skip it!
- ½ teaspoon salt: Seriously, don’t omit this. It makes all the chocolatey flavors *pop*.
- 1 large egg: The binder that holds our chocolate dreams together.
- ½ cup milk: Any kind works – whole, 2%, even almond or oat if you’re feeling adventurous (and it won’t curdle!). Just not expired, please.
- ¼ cup vegetable oil: For maximum moistness without the butter fuss. Canola or sunflower oil works too.
- 1 teaspoon vanilla extract: A hug in a bottle. Always a good idea.
- ½ cup boiling water: Our secret weapon for intensifying that chocolate flavor and keeping things super moist!
Step-by-Step Instructions
Alright, apron on (or not, we don’t judge!), let’s get this party started:
Preheat & Prep: First things first, crank your oven to 350°F (175°C). Lightly grease and flour an 8×8-inch square pan or a 9-inch round cake pan. Nobody wants their cake sticking to the bottom, right?
Whisk the Dry Stuff: In a large mixing bowl, grab your whisk and combine the flour, sugar, cocoa powder, baking soda, and salt. Give it a good whisk until everything looks evenly distributed. We’re aiming for no sneaky lumps of baking soda!
Add the Wet (Mostly): To your dry ingredients, add the egg, milk, oil, and vanilla extract. This is where the magic begins!
Mix It Up: With your whisk (or a spoon, again, no judgment!), mix everything until it’s *just* combined. Don’t overmix! A few tiny lumps are totally fine; overmixing develops gluten and can make your cake tough. And nobody wants a tough cake.
The Hot Secret: Now, carefully pour in the ½ cup of boiling water. Stir it in quickly until the batter is smooth. It’ll look really thin, but trust the process! This hot water blooms the cocoa, making it extra rich and fudgy.
Bake ‘Em Up: Pour your lovely, thin batter into your prepared pan. Pop it into the preheated oven and bake for 28-35 minutes. How do you know it’s done? A toothpick inserted into the center should come out clean or with a few moist crumbs attached.
Cool Down: Let the cake cool in the pan on a wire rack for about 10-15 minutes before attempting to flip it out (if you even bother, sometimes I just eat it straight from the pan). Once it’s cool, frost it with your favorite chocolate frosting, dust with powdered sugar, or just eat it plain. You do you!
Common Mistakes to Avoid
Even the simplest recipes have their pitfalls. Here’s how not to mess up your chocolatey destiny:
- Forgetting to Preheat the Oven: Rookie mistake! Your oven needs to be at the right temp *before* the cake goes in for proper rising.
- Overmixing the Batter: As mentioned, this is a cake-killer. Mix until just combined, then stop. Walk away from the whisk.
- Opening the Oven Door Too Soon: Patience, young padawan! Opening the door too early can cause your cake to sink. Wait until it’s mostly set, around the 25-minute mark, before peeking.
- Not Using Boiling Water: That hot water isn’t just for funsies! It’s crucial for the texture and flavor. Cold water just won’t cut it, literally.
- Baking in the Wrong Size Pan: A pan that’s too big will result in a thin, dry cake. Too small, and it might overflow. Stick to the 8×8 or 9-inch round.
Alternatives & Substitutions
Got a dietary restriction or just want to shake things up? No problem! This cake is pretty flexible.
- Dairy-Free: Swap out regular milk for almond, soy, or oat milk. Easy peasy. Just make sure it’s unsweetened if you don’t want extra sweetness.
- Gluten-Free: You can absolutely use a 1:1 gluten-free all-purpose flour blend in place of regular flour. Just ensure your blend contains xanthan gum, or add ½ tsp if it doesn’t.
- Oil Alternatives: If you’re out of vegetable oil, melted coconut oil or even unsweetened applesauce (use ¾ of the amount of oil for applesauce) can work, though the texture might be slightly different. For best results, stick with the oil.
- Flavor Boosters: Add a teaspoon of instant espresso powder along with the cocoa for an even deeper, richer chocolate flavor. It won’t taste like coffee, just more chocolatey! A pinch of cinnamon can also be lovely.
- Add-ins: Throw in ½ cup of chocolate chips (mini ones are great for snack cakes!) or even some chopped nuts for extra texture.
FAQ (Frequently Asked Questions)
Can I use cold water instead of boiling water? Nope! I mean, technically you *can*, but why would you want to compromise that deep chocolate flavor and moistness? The boiling water is a game-changer for blooming the cocoa. So, boil it!
Do I really need to grease and flour the pan? Yes, unless you’re using a truly non-stick pan or parchment paper. It’s like insurance for your cake. Don’t risk a sticky situation!
I don’t have a stand mixer. Can I make this by hand? Absolutely! This recipe is basically designed for a whisk and a bowl. No fancy gadgets required. You’ll get an arm workout, though!
How long does this cake last? If kept covered at room temperature, it’ll be delightful for 2-3 days. But let’s be honest, it rarely lasts that long in my house.
Can I turn this into cupcakes? You bet! Pour the batter into a lined cupcake tin, filling each liner about two-thirds full. Bake for 18-22 minutes. Voila, chocolate snack cupcakes!
What if I don’t have cocoa powder? Well, then it won’t be a *chocolate* snack cake, will it? But if you’re out, you could try an equal amount of instant coffee granules for a coffee cake, or just leave it out for a plain vanilla snack cake. You’d lose the chocolate, though, which feels like a crime.
Can I add frosting right after baking? Please don’t! The cake needs to cool completely, or your frosting will melt into a sad, sugary puddle. Patience, my friend, patience.
Final Thoughts
There you have it! Your new go-to recipe for when that chocolate craving hits hard, but your energy levels are low. This Chocolate Snack Cake is proof that you don’t need to be a pastry chef or spend hours in the kitchen to whip up something truly delicious and satisfying. It’s perfect for a weeknight dessert, an afternoon pick-me-up, or just because it’s Tuesday and you deserve it. Now go impress someone—or yourself—with your new culinary skills. You’ve earned it!

