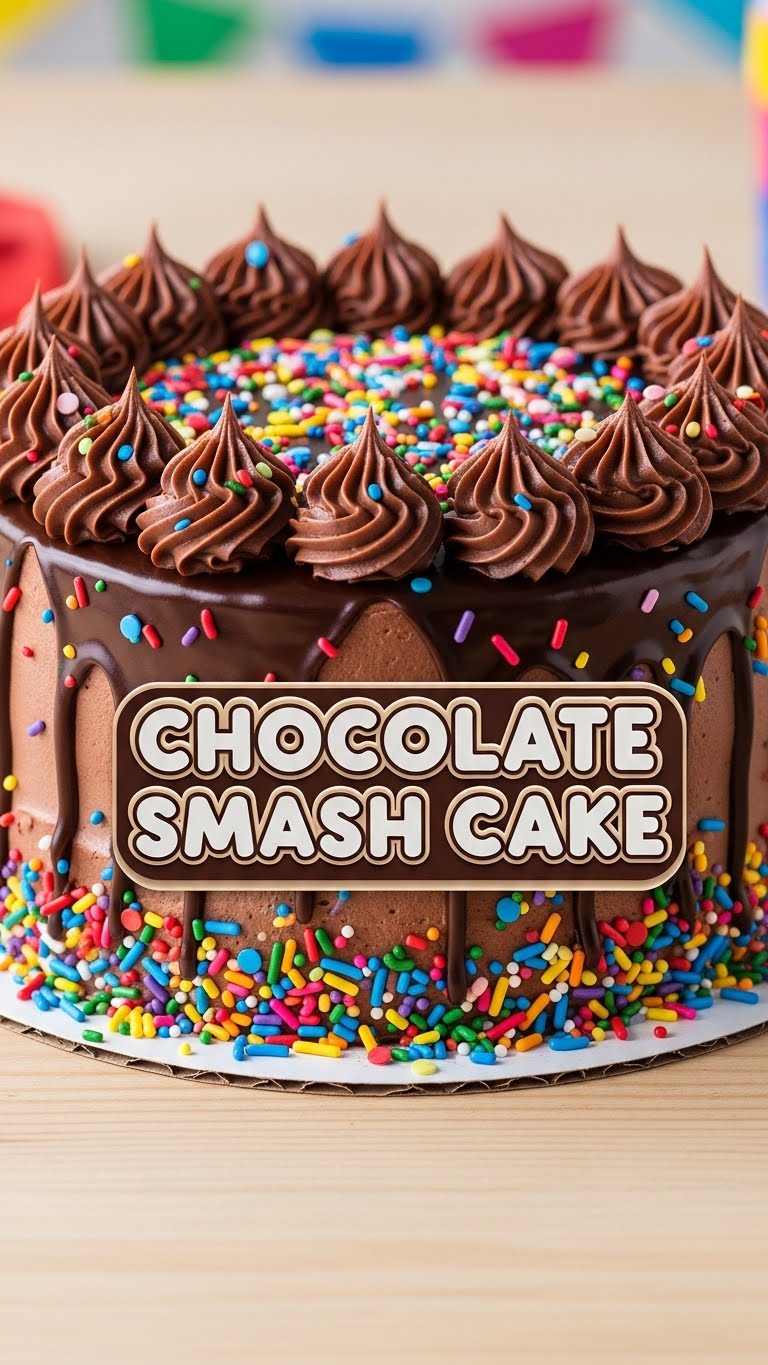
So, you’re looking for an excuse to wield a hammer indoors, but, like, make it delicious? And chocolate? My friend, you’ve stumbled into the right place. Forget those dainty slices of cake – we’re talking about a Chocolate Smash Cake! It’s less “cake,” more “edible piñata of pure joy.” Get ready to impress everyone (or just yourself) with this delightfully destructive dessert.
Why This Recipe is Awesome
Because frankly, life’s too short for boring desserts. This isn’t just a recipe; it’s an experience. You literally make a giant, glorious chocolate shell, fill it with all the things your heart desires, and then… well, you smash it! It’s therapy, it’s a party trick, and it’s genuinely delicious. Plus, it’s pretty **idiot-proof** – even I, a seasoned veteran of kitchen mishaps, managed not to burn down the house. Seriously, if you can melt chocolate, you can make this. And who doesn’t love a bit of justified aggression when it leads to candy?
Ingredients You’ll Need
Keep it simple, silly! Quality over quantity here, folks.
- Good Quality Melting Chocolate (500g / about 1.1 lbs): This is your star. Think chocolate bars you’d actually enjoy eating, not those waxy chips. Dark, milk, or a mix – your call!
- Your Favorite Fillings (loads!): Mini cookies, brownie bites, colorful candies, mini marshmallows, sprinkles, even some fresh berries if you’re feeling fancy. This is where your inner child goes wild.
- A Round Bowl or Mold (about 6-8 inches diameter): We need something to shape our masterpiece. A sturdy plastic or metal bowl works perfectly.
- Vegetable Oil or Non-Stick Spray: Just a tiny bit to help our chocolate baby release.
Step-by-Step Instructions
- Prep Your Mold: Lightly grease your chosen bowl or mold with a tiny bit of vegetable oil or non-stick spray. Don’t overdo it, or your chocolate will slide right off.
- Melt the Chocolate: Chop your good quality chocolate into small, even pieces. Place about two-thirds of it into a heatproof bowl. Gently melt it over a double boiler (a bowl set over a pot of simmering water – make sure the bowl doesn’t touch the water!) or in 30-second bursts in the microwave, stirring well after each burst. You want it smooth and gloriously melted.
- Temper (ish) Your Chocolate: Remove the melted chocolate from the heat. Stir in the remaining one-third of chopped chocolate until it’s completely melted and smooth. This helps it set nicely and gives it that beautiful shine. Don’t skip this part! It helps prevent unsightly white streaks (blooming).
- First Chocolate Layer: Spoon a generous amount of melted chocolate into your prepared bowl. Using the back of the spoon, spread it evenly up the sides and bottom. You want a decent, opaque layer. Pop it in the fridge for about 10-15 minutes until it’s firm.
- Second Layer (and maybe third!): Once firm, apply another layer of chocolate, paying extra attention to any thinner spots or edges. The thicker the shell, the better it holds up to filling (and smashing!). Return to the fridge for another 15-20 minutes, or until completely firm and easy to handle.
- Release the Beast: Carefully remove the chocolate shell from the mold. You might need to gently warm the outside of the bowl with your hands for a few seconds to help it release. Don’t force it, be gentle!
- Fill ‘Er Up: Place your beautiful chocolate dome onto a serving plate. Now, unleash the fun! Fill it with all your chosen goodies: candies, mini cookies, brownie chunks, sprinkles – anything that brings you joy.
- Seal the Deal (Optional): If you want to create a flat bottom or attach it to a chocolate base, melt a little more chocolate. You can pour it over the bottom of your filled dome or use it to “glue” your dome to a chocolate disc. This step is totally optional, but it makes for a cleaner smash!
- Chill & Decorate: Back to the fridge for a final chill (10 minutes should do it). Once set, you can drizzle extra chocolate, add more sprinkles, or attach edible decorations to the outside.
Common Mistakes to Avoid
- Impatience is NOT a Virtue Here: Trying to take the shell out of the mold too early is a recipe for disaster (and a broken chocolate dome). **Chill it properly!**
- Overheating the Chocolate: Burnt chocolate tastes sad. Use gentle heat, and stir constantly. If microwaving, go slow and steady.
- Using Cheap Chocolate: Trust me, it makes a difference. Waxy, low-quality chocolate doesn’t melt as smoothly and can be much harder to work with. Your taste buds (and your sanity) will thank you for splurging a little.
- Forgetting to Grease the Mold: Rookie mistake! You’ll end up with a shell stuck to its prison forever.
Alternatives & Substitutions
This is your playground, friend! Get creative!
- Chocolate Type: Not a dark chocolate fan? Use all milk chocolate! Feeling fancy? Go for a high-quality white chocolate (though it can be a bit trickier to melt without scorching). Or, **mix ’em up** for a marbled effect!
- Fillings Galore: Beyond candy, consider mini donuts, fresh fruit (strawberries, raspberries), chopped nuts, edible glitter, or even a small, pre-made cupcake! The sky’s the limit, IMO.
- Mold Shapes: Don’t have a round bowl? Use a clean, new balloon (carefully coat it after inflating and tying). Or a loaf pan for a rectangular smash bar!
- Spiced Chocolate: Add a pinch of chili powder or cinnamon to your melted chocolate for a sophisticated kick. Who knew smashing could be so cultured?
FAQ (Frequently Asked Questions)
Got questions? I got answers (mostly humorous ones).
- Do I need a special mold? Nah, any clean, smooth, round-ish bowl or container will do. Plastic salad bowls, metal mixing bowls – whatever you have!
- Can I use chocolate chips? Well, technically yes, but why hurt your soul like that? Chocolate chips often contain stabilizers that prevent them from melting as smoothly as good quality baking chocolate or couverture. For best results (and less stress), use bars.
- My chocolate seized! What now? Ah, the dreaded seize! This usually happens if even a tiny drop of water gets into your melting chocolate. Unfortunately, once it seizes into a grainy, clumpy mess, it’s pretty much a goner. Start over, and **be super careful with steam and water!**
- How long will my smash cake last? If stored in a cool, dry place (not the fridge, unless it’s super hot) it can last a week or so, depending on your fillings. But honestly, who’s letting this masterpiece sit around that long?
- What do I smash it with? A small hammer, a rolling pin, the back of a sturdy spoon – anything that gives a satisfying CRACK! Just make sure it’s clean, LOL.
Final Thoughts
So there you have it! Your very own Chocolate Smash Cake. It’s fun, it’s delicious, and it’s a brilliant way to let off some steam. Now go forth and create some edible chaos! Whether you’re making it for a party, a gift, or just because it’s Tuesday and you deserve it, you’re going to have a blast. You’ve earned those bragging rights (and the chocolate!).


