Ever found yourself staring blankly at a perfectly good cake, thinking, “This needs *more*… but, like, without the actual *effort*?” Yeah, me too. We’re talking about taking that cake from ‘meh’ to ‘OMG, did *you* make this?!’ with minimal fuss and maximum chocolatey glory. Get ready to sprinkle some magic, literally. This isn’t just about dessert; it’s about elevating your snack game with zero stress.
Why This Recipe is Awesome
Okay, so this isn’t exactly a ‘recipe’ in the traditional sense – it’s more like a life hack for lazy geniuses. Why is it awesome? Because it requires zero baking, zero fancy equipment (unless you count a peeler fancy), and delivers **maximum visual impact** with minimal brain cells expended. It’s the ultimate ‘I totally tried’ trick that even *I* can’t mess up. Seriously, if you can peel a carrot, you can master this. It’s perfect for those last-minute dessert upgrades or when you just want to feel like a fancy pastry chef without, you know, actually being one.
Ingredients You’ll Need
- A chocolate bar (good quality, please!): Don’t skimp here. This is the star of the show. Dark chocolate, milk chocolate, even white chocolate if you’re feeling rebellious. IMO, darker is better for that sophisticated look.
- A cake (store-bought, homemade, even a muffin if you’re feeling adventurous): The canvas for your edible masterpiece. No judgment if it came from a box mix – we’re all about convenience here!
- A vegetable peeler or sharp knife: Your weapons of choice for chocolate domination.
Step-by-Step Instructions
- **Chill your chocolate:** Pop that chocolate bar in the fridge for about 10-15 minutes. **A slightly firm bar is key** for perfect curls, not smudges. Trust me on this one.
- **Unwrap and grip:** Take your chilled chocolate bar out of its wrapper. Hold it firmly in one hand. Make sure your hands are relatively clean and dry – chocolate doesn’t love moisture.
- **Peel away:** With your other hand, take your vegetable peeler. Start at one end of the chocolate bar and firmly, but gently, draw the peeler along the length of the bar. Apply even pressure for consistent results.
- **Watch the magic:** As you peel, beautiful, delicate curls of chocolate should form. If you’re using a sharp knife, hold it at a slight angle and shave thin layers off the chocolate. It’s truly satisfying!
- **Gather your glory:** Carefully collect your chocolate shavings/curls. They’re delicate, so be gentle! A wide, flat spatula can help transfer them without breaking.
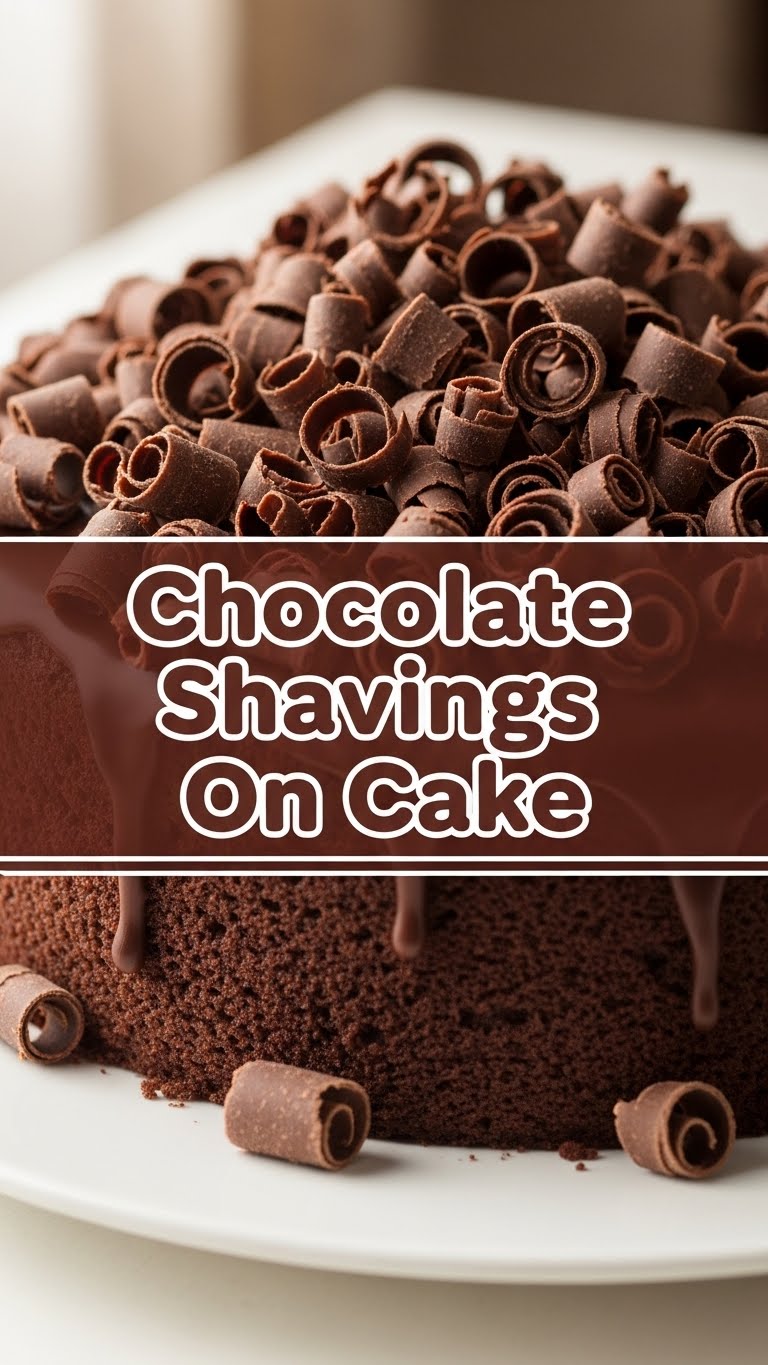
- **Decorate your cake:** Liberally sprinkle or artfully arrange the chocolate shavings over your cake. Go wild! More is always more when it comes to chocolate, right?
- **Serve and bask:** Present your beautifully decorated cake. Accept all compliments gracefully. You’ve earned ’em, you genius!
Common Mistakes to Avoid
- **Using warm chocolate:** Ever tried peeling soft butter? Yeah, it’s a mess. **Warm chocolate equals sad, smudged blobs**, not elegant curls. Chill it!
- **Going too fast or too hard:** Impatience is not your friend here. A steady, even hand is crucial. You want curls, not chocolate dust (unless that’s your vibe, no judgment).
- **Trying to make giant curls from a tiny bar:** Manage your expectations, friend. A standard chocolate bar yields lovely medium curls. For big fancy ones, you might need a bigger block of chocolate.
- **Ignoring the type of chocolate:** Super waxy, cheap chocolate might not curl as nicely. Good quality chocolate is more forgiving and produces better results. Just FYI.
Alternatives & Substitutions
Don’t limit yourself, my friend! This is where you can really get creative.
- **Chocolate type:** Milk chocolate gives a sweeter, softer curl. Dark chocolate offers a richer flavor and often a more defined curl. White chocolate looks super elegant, especially on a darker cake. Mix ’em for a marbled effect – because why pick just one?
- **Flavor infusions:** Got some fancy flavored chocolate? Go for it! Orange chocolate shavings on a plain vanilla cake? *Chef’s kiss!* Peppermint shavings during the holidays? Yes, please!
- **Tools:** No peeler? A really sharp, thin-bladed knife held at a shallow angle can work wonders. Just be extra careful, okay? Safety first! A cheese plane can also work for thinner, broader shavings if you’re feeling extra fancy.
- **The “Cake” part:** Don’t have a whole cake? Sprinkle these beauties on cupcakes, brownies, ice cream, hot cocoa, or even just straight into your mouth (no judgment here, we’ve all been there).
FAQ (Frequently Asked Questions)
- **”My shavings aren’t curling, they’re just breaking! What gives?”** Probably your chocolate is too cold or you’re pressing too hard. Let it warm up *just a tiny bit* at room temp, or try a lighter touch. It’s a delicate dance!
- **”Can I use chocolate chips?”** Technically, no. They’re too small and don’t have the right shape for peeling into curls. Stick to a solid bar, my friend, for optimal results.
- **”Does the quality of chocolate really matter?”** Uh, yeah! **Good quality chocolate melts better in your mouth** and just tastes superior. Plus, it tends to curl more beautifully. Treat yo’ self – you deserve it!
- **”How do I store leftover shavings?”** Pop them in an airtight container in the fridge. They’re great for hot chocolate, ice cream, or just, you know, a quick snack when no one’s looking.
- **”Can I make these ahead of time?”** Absolutely! Make them, store them in the fridge in an airtight container, and then sprinkle just before serving. Easy peasy, and saves you time when you’re entertaining.
Final Thoughts
See? I told you this was easy. Now you’ve got a secret weapon in your dessert arsenal that looks way more impressive than the effort it took. Go forth and adorn your cakes, cookies, even your morning oatmeal if you’re feeling decadent. You’ve officially leveled up your dessert game without breaking a sweat. Now go impress someone—or yourself—with your new culinary skills. You’ve earned it!


