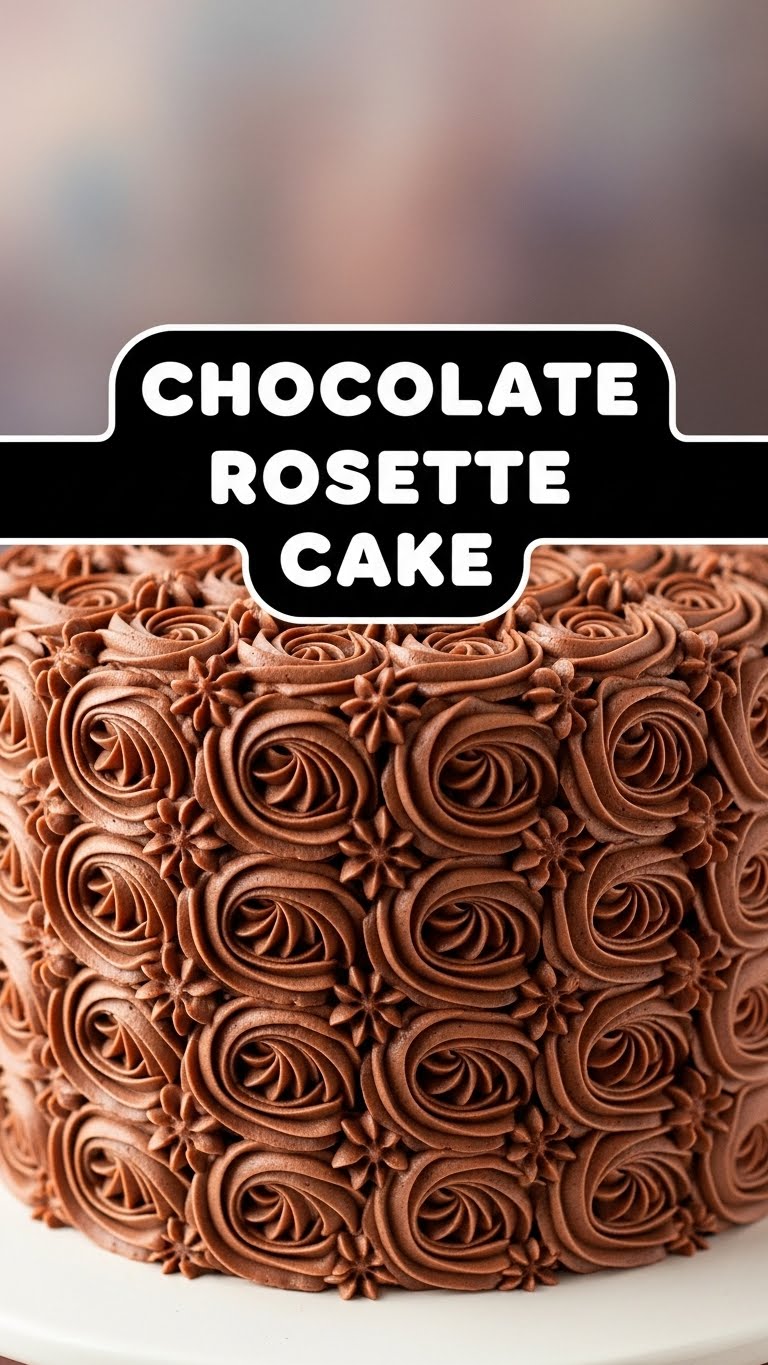
So, you’ve scrolled through Instagram and seen those ridiculously gorgeous cakes, right? The ones that look like they were piped by a magical unicorn? And then you thought, “Nope, not for me, I’ll just eat the batter.” Well, my friend, today we’re making a Chocolate Rosette Cake that looks fancy AF but is secretly super chill to make. Pinky promise!
Why This Recipe is Awesome
Okay, let’s be real. This isn’t just *any* chocolate cake. This is a “I-made-this-myself-and-now-everyone-thinks-I’m-a-baking-pro” kind of cake. It’s surprisingly **simple to whip up**, even if your current baking skill involves toasting bread without setting off the smoke alarm. Plus, those rosettes? They look complicated, but it’s basically just squeezing a bag in a pretty pattern. You got this, champ!
Ingredients You’ll Need
Gather your baking squad:
- All-Purpose Flour: The foundational goodness. We’re not getting fancy with cake flour today.
- Unsweetened Cocoa Powder: Dark, mysterious, and where all the chocolate magic begins.
- Granulated Sugar: Because life’s too short for unsweetened cake.
- Baking Soda & Baking Powder: Our little lift-off agents. Don’t skip these unless you enjoy flat, dense bricks.
- Salt: Just a pinch! It magically makes everything taste more “chocolatey,” trust me on this.
- Large Eggs: Preferably from a chicken, not a dragon. Room temperature, if you can remember.
- Whole Milk: For richness, or whatever non-dairy alternative you have lurking in your fridge.
- Vegetable Oil (or Canola): Keeps it moist, like a good secret.
- Vanilla Extract: The MVP of flavor. Don’t skimp on the good stuff here.
- Hot Water (or Hot Brewed Coffee): This is our secret weapon for a ridiculously deep chocolate flavor. Coffee amplifies chocolate without making it taste like a mocha latte (unless you want that!).
For the Dreamy Chocolate Buttercream:
- Unsalted Butter: Softened, please! Leave it on the counter for a bit, no microwaving unless you’re feeling chaotic.
- Powdered Sugar (Confectioners’ Sugar): Sifted! Please, for the love of smooth buttercream, sift it.
- Unsweetened Cocoa Powder: More chocolate, because why stop now?
- Heavy Cream (or Milk): To get that perfect fluffy, spreadable consistency.
- Vanilla Extract: More vanilla! It’s a flavor party.
Step-by-Step Instructions
For the Cake Layers:
- First things first, preheat your oven to 350°F (175°C). Grease and flour two 8-inch round pans. Lining the bottoms with parchment paper makes life even easier!
- In a big bowl, whisk together your dry squad: flour, cocoa, sugar, baking soda, baking powder, and salt. Give it a good mix until everyone’s acquainted.
- Add the eggs, milk, oil, and vanilla extract to the dry ingredients. Beat on medium speed for about 2 minutes. The batter will look thick, but don’t panic!
- Now, for the magic! **Carefully pour in the hot water (or coffee)**. The batter will suddenly get thin and liquidy, which is exactly what we want. Stir until *just* combined—don’t overmix.
- Divide the glorious batter evenly between your two prepared pans. Bake for 30-35 minutes, or until a toothpick inserted into the center comes out clean.
- Let the cakes cool in the pans for about 10 minutes before flipping them onto a wire rack to cool completely. **Patience, young grasshopper!** This step is crucial.
For the Buttercream & Assembly:
- While your cakes are chilling (literally), let’s make that buttercream. In a large bowl, beat the softened butter until it’s super creamy, light, and fluffy (2-3 minutes).
- Gradually add the sifted powdered sugar and cocoa powder, beating until combined. Start on low speed or you’ll have a delightful cocoa cloud in your kitchen!
- Pour in the heavy cream (or milk) and vanilla extract. Beat on high speed until the buttercream is light and fluffy. If it’s too thick, add a tiny splash more liquid; too thin, add more powdered sugar.
- Once your cakes are *completely* cool (seriously, I can’t stress this enough!), level them if needed with a serrated knife. Spread a generous layer of buttercream on the first cake layer, then carefully top with the second.
- Give your entire cake a thin “crumb coat” of frosting. This locks in any stray crumbs and creates a smooth canvas. Chill the cake in the fridge for 15-20 minutes.
- Now for the rosettes! Fit a piping bag with a large star tip (like a Wilton 1M). Fill the bag with the remaining buttercream.
- Starting from the center of your cake (or the edge, your call!), pipe a swirl outwards to create a rosette. Repeat, overlapping slightly, until the entire top and sides of your cake are covered in beautiful, edible flowers. Ta-da!
Common Mistakes to Avoid
We’ve all been there. Learn from my past (and often delicious) failures:
- Baking with Cold Ingredients: Your butter needs to be soft, your eggs room temp. Seriously, it makes a huge difference in texture. Don’t be a cold-hearted baker!
- Overmixing the Batter: Mix just until combined, especially after adding the flour. Overmixing develops gluten, which leads to a tough, chewy cake. We want tender, not tire rubber!
- Frosting a Warm Cake: This is a one-way ticket to “frosting-soup” disaster. **Let your cakes cool completely**, or you’ll end up with a sliding, melting mess. I warned you!
- Skipping the Crumb Coat: It’s like wearing pajamas under your fancy outfit – necessary to keep things smooth and prevent awkward crumb explosions later. Don’t skip this quick chilling step!
Alternatives & Substitutions
Feeling adventurous? Or just missing an ingredient? I got you:
- Gluten-Free Flour: Swap 1:1 with your favorite GF baking blend. Works like a charm!
- Dairy-Free: Use almond, soy, or oat milk, and a good quality dairy-free butter alternative for the frosting. It’s surprisingly good, IMO!
- Flavor Twists: Add a dash of espresso powder to the cake batter for an even deeper, more complex chocolate flavor. For the buttercream, try a little peppermint extract for a mint-chocolate vibe, or a hint of orange zest for a zesty kick.
- Rosette-Free Zone: Don’t feel like piping? Just give it a rustic swirl with an offset spatula. Still delicious, still impressive. Who’s judging? (Hint: not me!)
FAQ (Frequently Asked Questions)
Got questions? I’ve got answers (mostly):
- Q: Can I use instant coffee instead of brewed?
A: Absolutely! Just dissolve a tablespoon of instant coffee granules in the hot water. It’s all about that chocolate boost, not fancy barista skills.
- Q: My buttercream is too stiff/runny, help!
A: Don’t panic! If it’s too stiff, add a tiny splash more cream or milk (like, a teaspoon at a time) until it’s perfect. Too runny? Add a spoonful or two of powdered sugar until it firms up. It’s like a buttercream therapy session!
- Q: How far in advance can I make this cake?
A: You can bake the cake layers a day or two ahead and wrap them tightly in plastic wrap at room temperature. Frost the day you plan to serve for peak freshness, though it holds up well frosted for a few days in an airtight container in the fridge.
- Q: Do I really need a piping bag and tip for the rosettes?
A: For those gorgeous, uniform rosettes, yes, a piping bag with a large star tip (like Wilton 1M) is your best friend. But hey, if you’re feeling rustic or lazy, just slather the frosting on with a spatula! It’ll still taste amazing, and that’s what truly matters, right?
- Q: Can I make this a sheet cake instead?
A: You bet! Pour the batter into a greased 9×13 inch pan and reduce baking time slightly (start checking around 25-30 minutes). Rosettes on a sheet cake? Why not, live your best life!
Final Thoughts
See? That wasn’t so scary, was it? You just whipped up a showstopper of a cake that tastes even better than it looks (and it looks pretty darn good). So go on, bask in the glory, take a million pictures for the ‘gram, and then devour that delicious creation. You’ve earned every single bite. Now go impress someone—or yourself—with your new culinary skills. Happy baking, my friend!


