So, You’re Craving Something Delicious and Kinda Life-Changing, But Also Want to Keep It Super Chill in the Kitchen, Huh? Same.
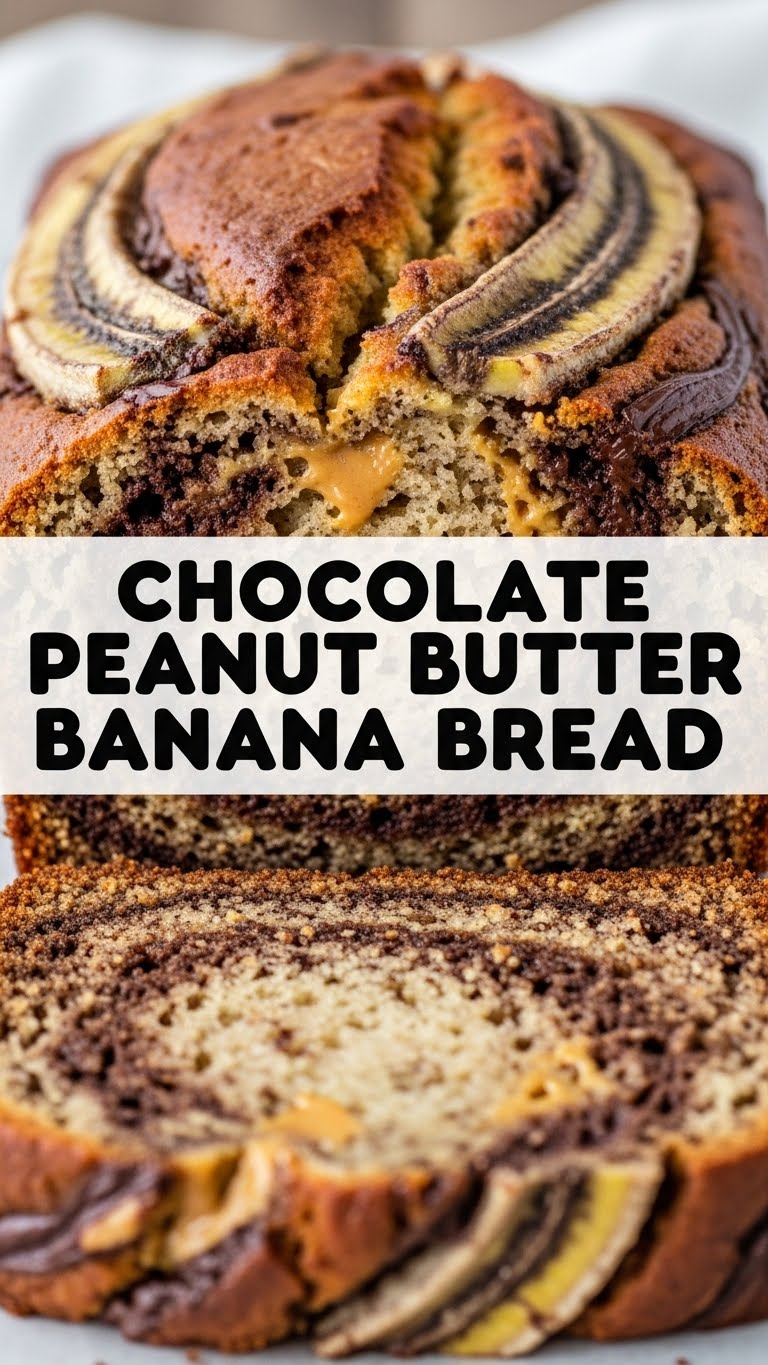
Let’s be real, some days you just want to bake something that smells amazing and tastes even better without needing a culinary degree or, like, three hours of prep. You want comfort, you want flavor, and you want it NOW (or at least, soonish). Enter: the legendary Chocolate Peanut Butter Banana Bread. This isn’t just banana bread; it’s a hug in loaf form. It’s the “I-had-a-rough-day-and-need-chocolate” solution. It’s the “wow-I’m-actually-a-baker” ego boost. Let’s get into it!
Why This Recipe is Awesome
Okay, so why should this be your go-to recipe? Because it’s practically magic. Seriously. You get the classic comfort of banana bread, but then we crank it up to 11 with two of the greatest flavor partners known to humankind: chocolate and peanut butter. It’s rich, it’s moist, it’s got those perfect sweet-and-salty vibes going on. Plus, it’s pretty much idiot-proof. I’ve made this when I’m tired, when I’m distracted, and even when I’m debating what episode to binge next, and it still turns out amazing. If I can do it, you can definitely do it. No fancy techniques, no obscure ingredients, just pure, unadulterated deliciousness.
Ingredients You’ll Need
Gather ’round, my friend. Here’s your shopping list for edible happiness:
- 1 ½ cups all-purpose flour: The basic building block of dreams.
- 1 teaspoon baking soda: Our trusty leavening agent for that perfect rise. Don’t skip it!
- ½ teaspoon salt: A little pinch for balance, like the universe intended.
- ½ cup unsalted butter, melted: Because everything is better with butter. Trust me.
- ¾ cup granulated sugar: Sweetness for your soul.
- 1 large egg: The binder that holds our beautiful bread together.
- 1 teaspoon vanilla extract: Liquid gold for flavor.
- 3 very ripe bananas, mashed: The spottier, the better! We’re talking brown, mushy, practically screaming “bake me!” bananas.
- ½ cup chocolate chips: Semi-sweet, dark, milk—whatever makes your heart sing.
- ½ cup creamy peanut butter: Get a good quality one; it really shines here. Or chunky, if you’re feeling wild.
Step-by-Step Instructions
Ready to bake? Let’s do this. It’s so easy, you might accidentally impress yourself.
- Preheat Power: First things first, get your oven to 350°F (175°C). While it’s heating up, grab a 9×5-inch loaf pan and either grease it or line it with parchment paper. Trust me, future you will thank present you for the easy cleanup.
- Dry Mix Magic: In a medium bowl, whisk together your flour, baking soda, and salt. Give it a good whisk to make sure everything’s evenly distributed. Set it aside for a hot minute.
- Wet Mix Wonders: In a larger bowl, combine the melted butter and sugar. Whisk ’em good until they’re nice and blended. Then, crack in that egg and pour in the vanilla extract. Whisk again until everything looks happy and homogenous.
- Banana Bash: Now for the star of the show! Add your mashed ripe bananas to the wet mixture. Stir ’em in gently until just combined. Don’t go crazy here; a few lumps are totally fine.
- Combine and Conquer: Slowly add your dry ingredients to the wet ingredients. Mix until just combined. And I mean just. Overmixing is the enemy of moist banana bread, so stop as soon as you don’t see any streaks of dry flour.
- Chocolatey Goodness: Gently fold in those chocolate chips. Distribute them evenly, because nobody wants a sad, chip-less slice.
- Peanut Butter Swirl: Now for the fun part! Pour about half of your batter into the prepared loaf pan. Dollop about half of the peanut butter randomly over the batter. Use a knife or a skewer to gently swirl the peanut butter into the batter. Repeat with the remaining batter and peanut butter.
- Bake It Up: Pop that beautiful loaf pan into your preheated oven. Bake for 50-60 minutes, or until a wooden skewer or toothpick inserted into the center comes out with just a few moist crumbs (no wet batter!). If the top starts getting too brown, you can lightly tent it with foil.
- Cool Down: Once it’s done, let it cool in the pan for about 10-15 minutes before carefully transferring it to a wire rack to cool completely. Or, if you’re impatient like me, slice into it while it’s still warm and gooey. You do you!
Common Mistakes to Avoid
Nobody’s perfect, but we can avoid some common banana bread blunders. Learn from my past mishaps!
- Under-ripe Bananas: Using yellow, firm bananas is a rookie mistake. They won’t mash well and won’t give you that glorious natural sweetness. Go for the brown, spotty, almost-ready-for-the-bin bananas. They’re the real MVPs.
- Overmixing the Batter: I cannot stress this enough: overmixing leads to tough, dry banana bread. As soon as the dry ingredients are just incorporated into the wet, stop. Lumps are your friend here.
- Not Greasing Your Pan Properly: Ever had your delicious creation stick to the pan? It’s soul-crushing. Take the extra minute to grease and/or line your loaf pan.
- Opening the Oven Door Too Often: Resist the urge to peek every five minutes! You’re letting heat out, which can mess with the baking process. Trust the oven.
Alternatives & Substitutions
Feeling creative? Or just missing an ingredient? No worries, we’ve got options!
- Nut Butter Swap: Don’t have peanut butter? Almond butter, cashew butter, or even sunflower seed butter would work beautifully. Just pick your favorite!
- Chocolate Choices: Mix it up! Use milk chocolate chips for extra sweetness, dark chocolate for a richer flavor, or even chopped chocolate bars for bigger melty pockets. White chocolate could be fun too!
- Sweetener Switch: You could try half brown sugar for a deeper, molasses-y flavor. Maple syrup or honey could also work for some of the sugar, but adjust the flour slightly if the batter gets too wet.
- Add-ins Galore: Want more texture? Throw in a handful of chopped nuts (pecans or walnuts are classic) with the chocolate chips. A sprinkle of flaky sea salt on top before baking is also *chef’s kiss*.
FAQ (Frequently Asked Questions)
Got questions? I’ve got answers. Probably. Let’s see:
- My bananas aren’t ripe enough! What do I do? Oh, the horror! You can roast them in their skins on a baking sheet at 300°F (150°C) for 15-20 minutes until they’re black and soft. Let them cool, then mash ’em up! Or, you know, just wait. But who has time for that?
- Can I make this gluten-free? Absolutely! Swap out the all-purpose flour for a 1:1 gluten-free baking blend. The results should be pretty darn similar.
- How do I store this masterpiece? Once cooled, wrap it tightly in plastic wrap or foil and keep it at room temperature for up to 3-4 days. It actually gets even more moist and flavorful the next day, IMO.
- Can I freeze it? Yes! Wrap the cooled loaf (or individual slices) tightly in plastic wrap, then again in foil. It’ll keep in the freezer for up to 3 months. Thaw at room temp when cravings strike.
- What if I don’t have a loaf pan? A square 8×8-inch pan will work, but the baking time will likely be shorter (around 35-45 minutes). Keep an eye on it!
- Can I use margarine instead of butter? Well, technically yes, you *can*, but why hurt your soul like that? Butter just tastes better, and this recipe deserves the best.
Final Thoughts
Alright, superstar, you’ve got this. You’re now equipped with the knowledge to bake the most epic Chocolate Peanut Butter Banana Bread known to humanity (or at least, your kitchen). It’s simple, it’s satisfying, and it’s proof that you don’t need to be a Michelin-star chef to create something truly spectacular. So go forth, bake with abandon, and enjoy every single glorious bite. Now go impress someone—or yourself—with your new culinary skills. You’ve earned it!


