So, you’re looking for that sweet spot between “I need something ridiculously delicious” and “I barely have the energy to open a package of cookies,” huh? Welcome to the club! We’ve all been there. And guess what? Your culinary fairy godparent (that’s me!) has just the thing: a Chocolate Orange Bundt Cake that looks like you spent hours slaving away, but is actually a piece of cake (pun absolutely intended).
Why This Recipe is Awesome
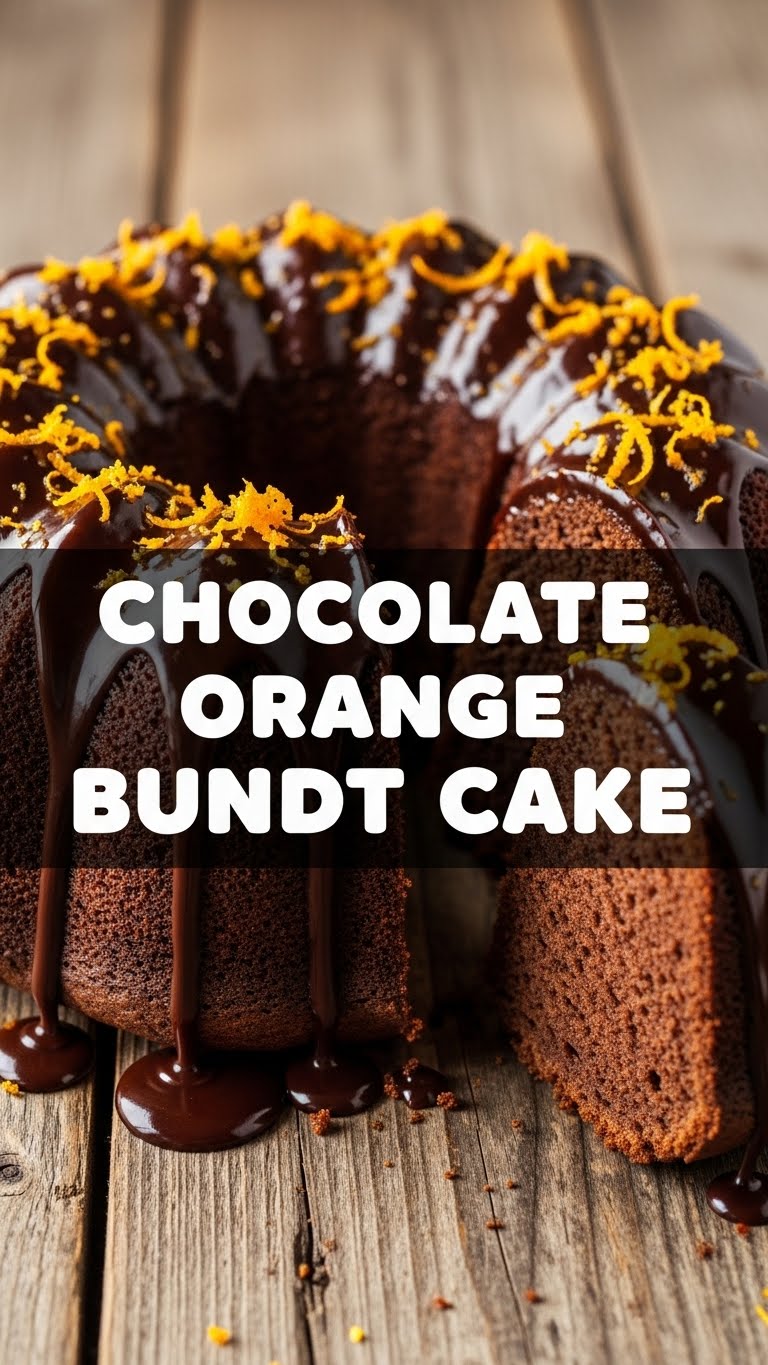
Let’s be real, who doesn’t love a bundt cake? They’re inherently fancy, despite being pretty low-maintenance. This one takes that fancy-pants vibe and injects it with the ultimate flavor combo: chocolate and orange. It’s like a sophisticated Terry’s Chocolate Orange, but in cake form. Plus, it’s pretty much **idiot-proof**. Seriously, if I can bake it without causing a kitchen catastrophe, so can you. It’s moist, rich, zesty, and just generally a hug in cake form. And did I mention it looks *stunning*?
Ingredients You’ll Need
Get ready for a grocery list that won’t make you cry. Most of this stuff you probably already have, or can grab easily. No unicorn tears required!
- Unsalted Butter: 1 cup (2 sticks), softened. Let it sit out! Cold butter is the enemy of fluffy cake.
- Granulated Sugar: 1 ¾ cups. For that sweet, sweet life.
- Large Eggs: 3 of ’em. Room temperature, please! They mix better.
- All-Purpose Flour: 2 ½ cups. The backbone of our cakey dreams.
- Unsweetened Cocoa Powder: ½ cup. Gives us that deep, chocolatey goodness without being overly sweet.
- Baking Powder: 1 ½ teaspoons. Our lift-off agent!
- Baking Soda: ½ teaspoon. Another leavening buddy.
- Salt: ½ teaspoon. Just a pinch to make all those flavors pop.
- Orange Zest: From 2 medium oranges. This is the real star, so don’t skimp!
- Fresh Orange Juice: ½ cup. Squeezed from those zested oranges, because we’re efficient like that.
- Buttermilk: ½ cup. Adds incredible moisture and tenderness.
- Chocolate Chips or Chunks: 1 cup (semisweet or dark, your call!). Because more chocolate is always a good idea.
For the Glaze (Optional, but highly recommended):
- Powdered Sugar: 1 ½ cups. Sifted, to avoid lumps.
- Fresh Orange Juice: 2-3 tablespoons. To get that perfect drizzly consistency.
- A tiny bit of milk or cream (optional): If you want a thicker, creamier glaze.
Step-by-Step Instructions
Alright, apron on, good tunes playing, let’s do this! This is surprisingly easy, promise.
- Prep Like a Pro: First things first, preheat your oven to **350°F (175°C)**. Now, grab that gorgeous bundt pan. This is crucial: **grease and flour it generously**. I mean *every nook and cranny*. Use a baking spray with flour, or butter/shortening and a good dusting of flour. This is the difference between a triumphant flip and a sticky, heartbreaking mess.
- Cream It Up: In a large bowl, using an electric mixer, beat the softened butter and granulated sugar until it’s light and fluffy. This usually takes about 3-5 minutes. Don’t rush this step!
- Egg-cellent Additions: Add the eggs one at a time, beating well after each addition. Scrape down the sides of the bowl to make sure everything is incorporated.
- Dry Mix Magic: In a separate medium bowl, whisk together the flour, cocoa powder, baking powder, baking soda, and salt. Give it a good whisk to get rid of any lumps and distribute everything evenly.
- Wet Meets Dry (Slowly!): Now, it’s time to combine. Add about a third of the dry ingredients to your butter mixture and mix on low speed until just combined. Then, pour in half of the orange juice and buttermilk. Mix. Repeat with another third of the dry, the remaining wet, and finally the last third of the dry. **Do not overmix!** Mix only until no streaks of flour remain. Overmixing leads to tough cake, and nobody wants that.
- Flavor Bomb Time: Gently fold in the orange zest and chocolate chips. Use a spatula for this part; no need for the mixer.
- Pan It Up: Pour the batter evenly into your prepared bundt pan. Give the pan a gentle tap on the counter a couple of times to release any air bubbles.
- Bake Away: Bake for 50-60 minutes, or until a wooden skewer or toothpick inserted into the center comes out clean. **Resist the urge to open the oven door too often!**
- The Big Reveal: Once baked, let the cake cool in the pan on a wire rack for about **15-20 minutes**. This cooling period is vital! Then, carefully invert the cake onto the wire rack to cool completely. If you flip it too soon, it might stick or break.
- Glaze Glory (Optional): Once the cake is completely cool, whisk together the powdered sugar and orange juice for the glaze. Add more juice a tiny bit at a time until you reach your desired drizzly consistency. Drizzle it all over the cooled cake. Ta-da!
Common Mistakes to Avoid
We’ve all been there, staring at a slightly sad-looking cake. Here are a few common pitfalls and how to dodge them like a pro:
- The Stuck Bundt Catastrophe: Not greasing and flouring your bundt pan **thoroughly** is the number one rookie mistake. Seriously, take your time here. Every crevice counts!
- Overmixing Madness: This is a big one. Mixing flour too much develops the gluten, making your cake tough and dry. Mix just until combined, then stop. IMO, a gentle hand is key.
- Ignoring Room Temperature Ingredients: Science, people! Room temperature butter and eggs emulsify better, creating a smoother batter and a more tender cake. Plan ahead!
- Impatience is a Virtue (for Cooling): Flipping the cake out of the pan too soon is a recipe for disaster. Let it cool for those 15-20 minutes. It needs to firm up before its grand exit.
- The Oven Door Peeker: Every time you open the oven, the temperature drops, messing with your bake. Let the cake do its thing!
Alternatives & Substitutions
Life’s too short not to experiment, right? Here are some ways to shake things up:
- No Buttermilk? No Problem! You can totally make your own. Just add 1 tablespoon of lemon juice or white vinegar to a measuring cup, then fill the rest with regular milk to equal ½ cup. Let it sit for 5 minutes until it curdles a bit.
- Citrus Swap: Not an orange fan? (Gasp! Just kidding… mostly). You can easily swap the orange zest and juice for lemon or even lime for a different citrusy kick. A Lemon-Chocolate Bundt? Yes, please!
- Chocolate Varieties: Feel free to use milk chocolate, dark chocolate, white chocolate, or even a mix of chips. Or skip the chips and make a rich chocolate ganache to pour over instead of the glaze.
- No Bundt Pan? You can bake this batter in two 8-inch round cake pans (reduce baking time to 30-35 minutes) or even as cupcakes (20-25 minutes). Just adjust baking times and keep an eye on them.
FAQ (Frequently Asked Questions)
Got questions? I’ve got (casual) answers!
- Can I use margarine instead of butter? Well, technically yes, but why hurt your soul like that? Butter just tastes better and contributes to a superior texture. For best results, stick with butter!
- My cake stuck to the bundt pan even after greasing! What gives? Oh, the horror! It likely wasn’t *generously* greased and floured enough. Or maybe you didn’t let it cool long enough in the pan before inverting. Also, some intricate bundt pans are trickier than others.
- How long does this cake last? If stored in an airtight container at room temperature, it’s generally good for 3-4 days. But honestly, it rarely lasts that long in my house!
- Can I add more orange zest? I really, *really* love orange! You read my mind! Go for it! An extra half-teaspoon won’t hurt, and will just amp up that citrusy punch.
- What kind of cocoa powder should I use? Unsweetened cocoa powder (natural or Dutch-processed) works great. Just make sure it’s good quality; it makes a big difference in flavor.
- Can I freeze this cake? Absolutely! Let it cool completely, then wrap it tightly in plastic wrap and then foil. It’ll keep for up to 3 months. Thaw at room temperature.
Final Thoughts
See? That wasn’t so scary, was it? You’ve just created a show-stopping dessert that tastes like a dream and makes you look like a total culinary genius. Whether you’re making it for a fancy dinner party or just for yourself (no judgment here!), this Chocolate Orange Bundt Cake is a winner. Now go impress someone—or yourself—with your new culinary skills. You’ve earned it! Don’t forget to grab a big slice and a cuppa. You deserve a treat!


