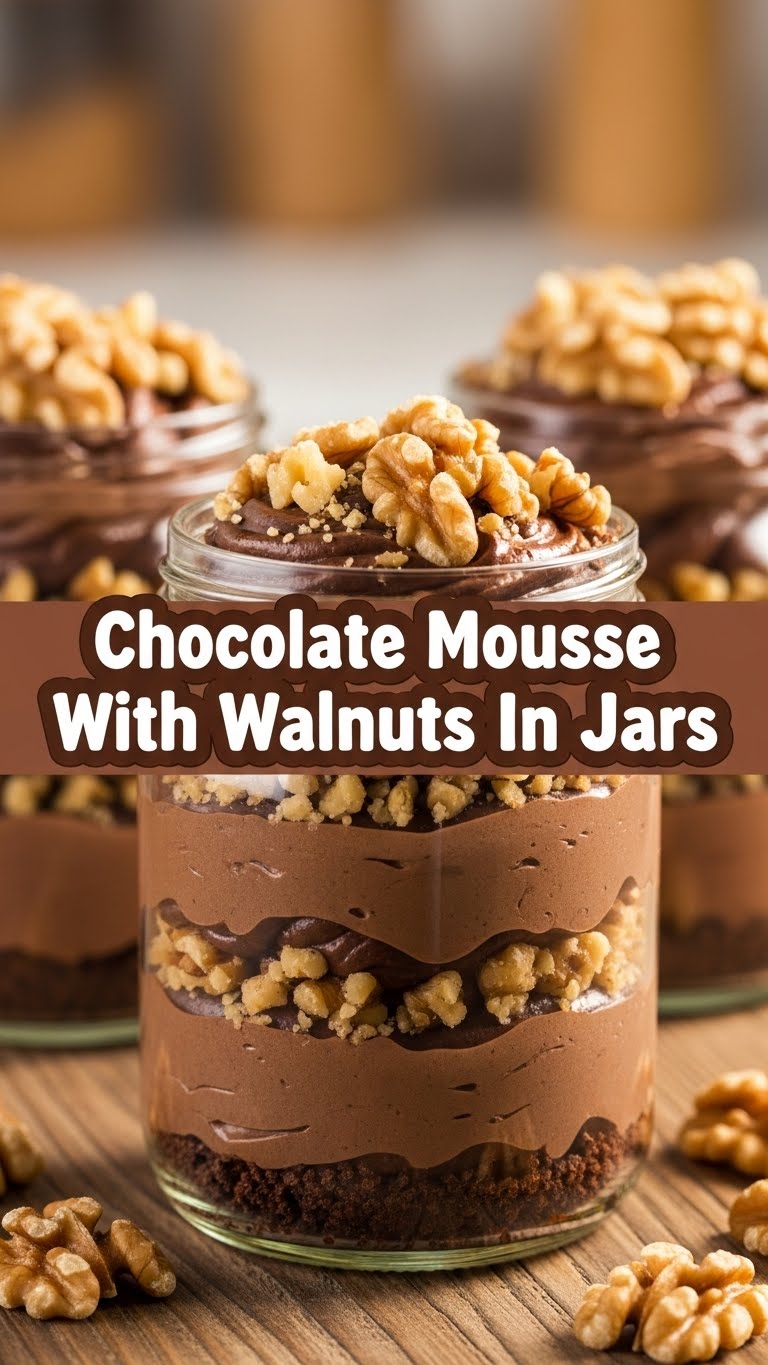
So you’re craving something ridiculously decadent, but the thought of spending hours slaving away in the kitchen makes you want to curl up with a bag of chips instead? Honey, same. But what if I told you there’s a dessert so effortlessly elegant, so shamelessly delicious, and so *dang* easy, you’ll wonder why you ever bothered with anything else? Enter: Chocolate Mousse With Walnuts In Jars. Get ready to have your mind (and taste buds) blown, all without breaking a sweat. Or a nail. Probably.
Why This Recipe is Awesome
Okay, let’s be real. We all love a good dessert, but sometimes the effort-to-reward ratio is just not cutting it. This recipe? It’s like the superhero of sweet treats – maximum impact, minimum fuss. Seriously, it’s practically idiot-proof. Even I, a person who once set off the smoke alarm making toast, can nail this. It’s rich, it’s creamy, it’s got that delightful crunch from the walnuts, and best of all? It’s served in adorable little jars. **Instant portion control** (unless you eat three, no judgment here), and they look super fancy without you doing any actual fancy stuff. Plus, no baking! Your oven can take a well-deserved nap for this one.
Ingredients You’ll Need
- Good Quality Dark Chocolate (60-70% cocoa): About 8 ounces (around 225g). This is not the time for wimpy chocolate, friends. Go bold, go dark, let your taste buds live a little!
- Heavy Cream: 2 cups (about 480ml), super cold. This is where the magic happens, turning liquid gold into fluffy clouds. Don’t skimp, don’t substitute.
- Powdered Sugar: 1/4 cup (or more, to taste). Because nobody wants gritty mousse, and who doesn’t love a little sweetness?
- Vanilla Extract: 1 teaspoon. The secret weapon that makes everything taste better.
- Toasted Walnuts: 1 cup, roughly chopped. The crunch factor! Toasting them really brings out their nutty goodness. Trust me on this.
- A Pinch of Salt: Just a tiny bit, like 1/8 teaspoon. It makes the chocolate taste even chocolate-ier. Culinary wizardry, I tell ya!
- Small Jars (4-6 ounces each): 4-6 of ’em. Because presentation is half the fun, right? Plus, they’re cute!
Step-by-Step Instructions
- First things first, let’s get that chocolate melting. Grab your good quality dark chocolate and roughly chop it. Place it in a heatproof bowl set over a saucepan of simmering water (make sure the bowl doesn’t touch the water!). Stir occasionally until it’s gloriously smooth and melted. Once it’s all melty, take it off the heat and let it cool down a bit – we don’t want to cook our cream!
- While the chocolate is chilling out, grab another large, super-chilled bowl and your cold heavy cream. Pour in the cream, powdered sugar, and vanilla extract. Whip it good with an electric mixer (or by hand if you’re feeling extra buff) until **soft peaks form**. Be careful not to over-whip it into butter – unless you want butter, in which case, mission accomplished?
- Now for the grand assembly! Take about a third of your whipped cream and gently fold it into the slightly cooled melted chocolate. Be gentle, we’re aiming for airy, not dense. Once combined, add the remaining whipped cream and fold until just combined. You’re looking for a light, fluffy, uniform chocolate cloud. Don’t overmix!
- Time to build our jar masterpieces! Spoon about half of your chocolate mousse into the bottom of each jar. Sprinkle a generous layer of those delicious toasted walnuts over the mousse. Then, top it off with the remaining chocolate mousse, filling the jars almost to the brim.
- Finally, for the grand finale, sprinkle a few more chopped walnuts on top of each jar for extra crunch and visual appeal. Pop those beauties into the fridge for at least 2 hours, or even better, overnight. **Chilling is crucial** for the mousse to set properly and reach its peak deliciousness.
Common Mistakes to Avoid
- Over-whipping the cream: Seriously, this is a mousse killer. Go from soft peaks to grainy butter faster than you can say “oops.” Keep an eye on it!
- Adding hot chocolate to cold cream: Recipe for disaster, my friend. Your mousse will curdle and separate, looking less like dessert and more like a science experiment gone wrong. Let that chocolate cool down!
- Not chilling enough: Impatience is not a virtue here. If you dig in too soon, you’ll have chocolate soup, not mousse. Give it time to firm up; it’s worth the wait.
- Using cheap chocolate: Don’t do it! The chocolate is the star here. A good quality bar makes all the difference in flavor.
- Folding too vigorously: You’re not trying to beat egg whites into submission. Be gentle, be tender, fold with love, otherwise, you’ll deflate all that lovely air.
Alternatives & Substitutions
Feeling a little rebellious? Here are some tweaks:
- Nuts: Not a walnut fan? Pecans or toasted hazelnuts would be equally delightful. Almonds are also a good shout if you’re feeling nutty (pun absolutely intended).
- Chocolate: While I’m a dark chocolate purist for this, you could totally use semi-sweet chocolate for a slightly less intense flavor. Milk chocolate might be a bit too sweet and soft for mousse, IMO, but hey, you do you!
- Boozy Kick: A splash of Kahlua, Grand Marnier, or even a nice brandy (1-2 tablespoons added to the melted chocolate) would make this an “adults-only” treat.
- Toppings: Get fancy! A dollop of extra whipped cream, a few chocolate shavings, a fresh raspberry, or even a tiny mint leaf can elevate your jar game.
- No Jars? No Problem: Small teacups, ramekins, or even just regular dessert bowls work perfectly fine. The jar is just for the cute factor and portability!
FAQ (Frequently Asked Questions)
Got questions? I probably have answers, and maybe a witty remark or two.
- Can I make this ahead of time? Absolutely! In fact, it’s even better the next day after the flavors have had a chance to meld and the mousse has fully set. You’re basically planning for future deliciousness!
- How long does chocolate mousse last in the fridge? If you can resist eating it all, it’ll happily hang out in the fridge for 3-4 days. Just keep it covered.
- Do I really need to toast the walnuts? Well, technically no, but **why would you skip the best part?!** Toasting them deepens their flavor and gives them a wonderful aroma. Just a few minutes in a dry pan or oven, trust me, it’s worth it.
- What if my mousse seems too thin? Oh no! Did you overmix the chocolate and deflate the cream? Or perhaps the chocolate was too warm? Pop it back in the fridge and give it a solid 4+ hours to firm up. If it’s still soupy, it might be a lost cause, but a tasty, soupy cause!
- Can I use a stand mixer instead of a hand mixer? You betcha! A stand mixer is your best friend for whipping cream. Just remember to keep an eye on it to avoid over-whipping.
- Is there a dairy-free version? You can try using full-fat coconut cream (chilled overnight, scoop out the thick cream) and dairy-free chocolate. The texture might be slightly different, but still delicious!
Final Thoughts
So there you have it, my friend. A truly spectacular chocolate mousse recipe that requires minimal effort but delivers maximum “wow” factor. Go forth, conquer your cravings, and maybe even impress a few people while you’re at it. Or just eat all of them yourself, I won’t tell. You’ve earned this moment of pure, unadulterated chocolate bliss. Now go whip up some magic!


