So, you’re craving something ridiculously decadent but the thought of spending hours in the kitchen makes you want to crawl back into bed and re-binge that show on Netflix, huh? Same, friend, same. Well, grab your comfiest PJs because today, we’re making chocolate mousse. Not just any chocolate mousse, but that velvety, airy dream dusted with a cloud of powdered sugar that screams “I tried!” but actually took minimal effort. You’re welcome.
Why This Recipe is Awesome
Okay, let’s be real. This isn’t just a recipe; it’s a life hack for impressing people (or just yourself, no judgment here) with something that looks super fancy but is secretly idiot-proof. Seriously, it’s so easy, even I didn’t mess it up, and my track record with delicate desserts is… spotty, to say the least. It’s light, it’s airy, it’s chocolatey, and it practically melts in your mouth. Plus, the dusting of powdered sugar makes it look like it just floated in from a fancy French patisserie. Minimal fuss, maximum deliciousness – that’s the motto.
Ingredients You’ll Need
Gather ’round, my sweet-toothed companions! Here’s what you need to whip up this magic:
- 6 ounces (about 170g) good quality dark chocolate: The better the chocolate, the better the mousse. Don’t skimp here unless you want your tastebuds to protest.
- 4 large eggs: We’re separating these bad boys, so be gentle.
- 2 tablespoons granulated sugar: For the yolks. Just a touch of sweetness to get things going.
- 1 teaspoon vanilla extract: The secret weapon for making everything taste like happiness.
- Pinch of salt: Sounds weird, but it makes the chocolate flavor pop! Trust me.
- 1 cup heavy cream (cold): This is where the “airy” part comes in. Make sure it’s super cold for optimal whipping.
- 1/4 cup powdered sugar (plus more for dusting): For whipping into the cream, and of course, our beautiful, ethereal dusting at the end.
Step-by-Step Instructions
- Melt the Chocolate: Grab a heatproof bowl and set it over a pot of simmering water (make sure the bowl doesn’t touch the water!). Break up your glorious dark chocolate and let it melt slowly, stirring occasionally until smooth and glossy. Once melted, take it off the heat and let it cool slightly – we don’t want to scramble those eggs!
- Whip the Yolks: In a separate medium bowl, whisk your four egg yolks with the 2 tablespoons of granulated sugar and that tiny pinch of salt. Whisk until it’s pale yellow and slightly thickened. Now, slowly stream in your slightly cooled melted chocolate, mixing gently until it’s all combined. Stir in the vanilla extract. Set this mixture aside.
- Whip the Cream: In a large, very clean bowl (or your stand mixer), pour in your super cold heavy cream and the 1/4 cup of powdered sugar. Whip on medium-high speed until it forms soft peaks. You want it fluffy and light, but don’t overdo it, or you’ll have butter, which, while delicious, is not what we’re going for here.
- Whip the Whites: Time for the egg whites! In another *spotlessly clean* bowl (seriously, any grease will ruin it), whip your four egg whites until they form stiff, glossy peaks. This is where the airiness really comes alive.
- Fold it All Together: This is the delicate part. First, gently fold about a third of the whipped cream into your chocolate-yolk mixture. This lightens it up. Then, fold in the remaining whipped cream. Finally, and this is crucial, very gently fold in the whipped egg whites. Use a rubber spatula and a light hand, folding from the bottom up to keep all that beautiful air. Don’t overmix, or it’ll deflate, and we’ll both cry.
- Chill Out!: Spoon your glorious mousse into individual serving cups, ramekins, or one big bowl if you’re feeling generous (or just want to eat it all yourself). Cover loosely with plastic wrap and chill in the fridge for at least 4 hours, or ideally, overnight. This gives it time to firm up and for the flavors to truly mingle.
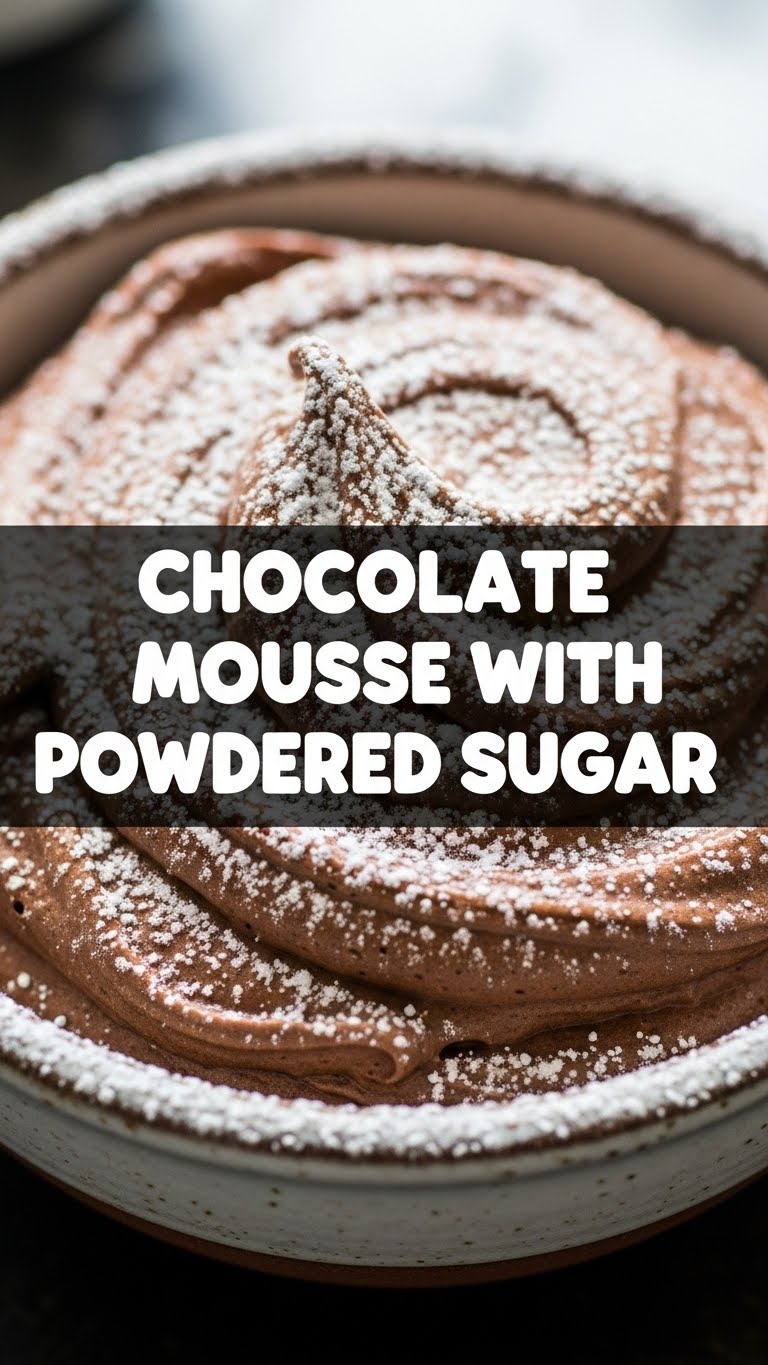
- Dust and Devour: Just before serving, grab a small sieve and liberally dust your chocolate mousse with a cloud of powdered sugar. Take a pic for the ‘gram, then dive in. You’ve earned this, my friend.
Common Mistakes to Avoid
- Greasy Bowls for Egg Whites: This is the #1 mousse killer. Any speck of fat (from yolks, fingers, dirty bowls) will prevent your egg whites from whipping into stiff peaks. Always use impeccably clean, dry bowls and beaters.
- Overmixing: Once you start folding, be gentle. Overmixing will knock all the air out of your whipped cream and egg whites, leaving you with a dense, sad mousse instead of a light, airy cloud.
- Hot Chocolate Mixture: Adding hot chocolate to your egg yolks will scramble them. No one wants chocolate scrambled eggs. Let that chocolate cool slightly!
- Not Chilling Enough: Patience, young padawan! If you don’t chill it long enough, your mousse will be more like a runny chocolate soup. Still tasty, but not the right texture.
- Using Subpar Chocolate: Seriously, don’t use that waxy stuff. Good chocolate makes a world of difference. Your tastebuds will thank you.
Alternatives & Substitutions
Feeling a little adventurous? Here are some tweaks you can make:
- Chocolate Variety: Want it less intense? Use milk chocolate (though you might need to adjust sugar slightly). Craving extra dark? Go for 70% cacao or higher.
- Boozy Mousse: Add a splash of your favorite liqueur to the melted chocolate or the finished mousse base. Think Grand Marnier, Kahlúa, rum, or a raspberry liqueur. About 1-2 tablespoons should do the trick.
- Flavor Boosters: A tiny pinch of espresso powder melted with the chocolate will deepen the chocolate flavor without making it taste like coffee. A little orange zest could also be fabulous.
- Toppings Galore: While powdered sugar is classic, feel free to get wild. Fresh berries (raspberries are divine!), chocolate shavings, a dollop of extra whipped cream, or a sprig of mint can elevate your presentation.
- Sugar Swap: While powdered sugar is excellent for dusting, if you only have granulated for the mousse itself, that’s generally fine. The small amount dissolves easily.
FAQ (Frequently Asked Questions)
Got questions? I’ve got (casual) answers!
- Can I skip separating the eggs? Not for this recipe, champ! The magic of mousse comes from those separately whipped whites and yolks. It’s worth the extra bowl.
- What if my egg whites don’t get stiff? Are your bowls spotless? Was there *any* trace of yolk? Even a tiny bit of grease or yolk can be a saboteur. Also, make sure your eggs are at room temperature – they whip up better.
- Can I use a stand mixer for all the whipping? Heck yes! That’s my go-to. It makes whipping the cream and egg whites a breeze and saves your arm muscles for lifting spoonfuls of mousse to your mouth.
- How long does chocolate mousse last in the fridge? It’s best enjoyed within 2-3 days. After that, the texture might start to deflate a bit, but it’ll still be tasty, IMO.
- Is it safe to eat raw eggs? This recipe uses raw eggs. If you’re concerned (pregnant, elderly, or immunocompromised), look for pasteurized eggs in your grocery store, or consider a cooked custard-based mousse recipe instead.
- Why powdered sugar for dusting? Can’t I just use regular sugar? Well, technically you *could*, but why would you want coarse granules when you can have a delicate, snowy finish? Powdered sugar (confectioners’ sugar) is super fine and dissolves beautifully on the tongue. It’s all about that elegant vibe.
- Can I make this ahead for a party? Absolutely! In fact, it’s better made ahead. It needs that chill time, and it’ll free you up to enjoy your party instead of stressing over dessert. Win-win!
Final Thoughts
And there you have it, folks! A chocolate mousse recipe that’s practically foolproof, utterly delicious, and surprisingly impressive. It’s the perfect end to any meal, or a fantastic pick-me-up on a Tuesday when you just need something chocolatey and fancy. So go on, whip up a batch (or two!). Now go impress someone—or yourself—with your new culinary skills. You’ve earned it! Don’t forget to send me a pic of your masterpiece!


