So, you’re craving something ridiculously tasty, chocolatey, and impressive, but you’re also, shall we say, in “minimal effort” mode? Same, friend, *same*. Forget slaving away in the kitchen for hours. We’re about to whip up a Chocolate Mousse Pie with Toppings that’s so easy, you’ll wonder if you accidentally swapped your chef’s hat for a magician’s. Get ready to fool everyone into thinking you’re a baking genius.
Why This Recipe is Awesome
Because it’s basically magic, but edible. Seriously. This isn’t just a dessert; it’s a therapy session in pie form. It’s **no-bake**, which means your oven can finally take a well-deserved nap. It’s idiot-proof—even I didn’t mess it up, and my kitchen adventures often end with the smoke detector cheering. It’s creamy, dreamy, chocolatey goodness piled high in a crunchy crust. Plus, you get to customize the toppings, so it’s basically your personal edible canvas. Think about it: minimal fuss, maximum deliciousness. You’re welcome.
Ingredients You’ll Need
Gather ’round, my fellow lazy gourmands! Here’s what you’ll need for your chocolatey masterpiece. Keep it chilled, keep it easy.
- For the Crust (aka the “Crunchy Base of Dreams”):
- 1 ½ cups (about 18-20 cookies) chocolate sandwich cookies (like Oreos, filling and all!), finely crushed. Don’t be shy, get those crumbs small!
- ¼ cup (4 tablespoons) unsalted butter, melted. Because everything is better with butter, IMO.
- For the Mousse (aka the “Cloud of Chocolatey Bliss”):
- 1 ½ cups cold heavy cream (the good stuff, no skimping here!)
- ½ cup powdered sugar (also known as confectioners’ sugar, it’s lighter and dissolves perfectly)
- ⅓ cup unsweetened cocoa powder (the darker, the better for that deep chocolate flavor)
- 1 teaspoon vanilla extract. Because vanilla makes everything sing.
- A tiny pinch of salt (seriously, just a pinch! It makes the chocolate pop)
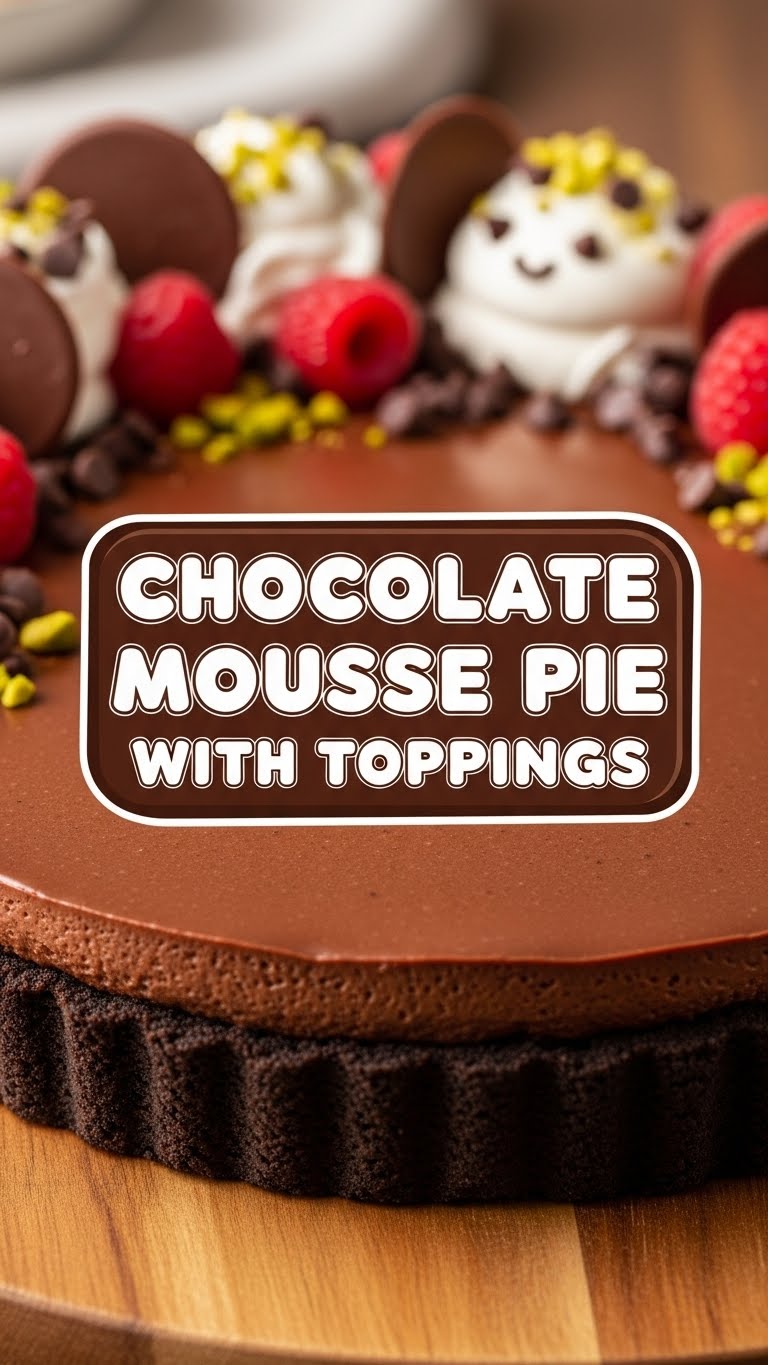
- For the Toppings (aka the “Glam Squad”):
- Extra whipped cream (because more is always more)
- Chocolate shavings or mini chocolate chips
- Fresh berries (raspberries, strawberries—they cut through the richness beautifully)
- A dusting of cocoa powder, if you’re feeling fancy.
Step-by-Step Instructions
- Crust Time! Grab those crushed chocolate cookies and pour them into a medium bowl. Drizzle in your melted butter. Mix it all up until the crumbs look like wet sand.
- Press It In: Press the buttery crumbs firmly into the bottom and up the sides of a 9-inch pie plate. Use the bottom of a glass to get it nice and compact. Pro tip: The firmer, the better for a stable crust!
- Chill Out: Pop that pie crust into the fridge for at least 30 minutes. This helps it firm up and prevents it from crumbling when you slice it. Patience is a virtue, especially when pie is involved.
- Mousse Magic: While your crust chills, grab a large bowl (preferably chilled itself!) and your cold heavy cream. Whip it on medium-high speed until soft peaks form.
- Sweeten and Flavor: Gradually add the powdered sugar, cocoa powder, vanilla extract, and that tiny pinch of salt. Continue whipping until you have firm, fluffy peaks. Be careful not to over-whip, or you’ll end up with chocolate butter (which isn’t bad, but not for mousse!).
- Assemble Your Masterpiece: Spoon the chocolate mousse into your chilled pie crust. Smooth the top with a spatula. Don’t be afraid to make it look rustic and charming!
- Final Chill: Cover the pie loosely with plastic wrap and refrigerate for at least 4 hours, or ideally, overnight. This is where the mousse sets and becomes pure bliss.
- Top and Serve: When you’re ready to serve, unleash the “Glam Squad”! Dollop with extra whipped cream, sprinkle on chocolate shavings or chips, and arrange those beautiful fresh berries. Slice it up and bask in the glory!
Common Mistakes to Avoid
Listen, we all make mistakes. But these are easily avoidable, especially when you’re aiming for pie perfection (or at least, pie that doesn’t look like a science experiment gone wrong).
- Thinking chilling is optional: It’s not. It’s crucial. A warm crust or mousse is a sad, soupy mess. Don’t rush the chill time, unless you enjoy eating pie with a spoon out of a bowl.
- Over-whipping the cream: One minute it’s beautiful, the next it’s grainy and separating. Stop whipping when you see firm peaks! If you go too far, you’re making butter.
- Not crushing the cookies enough: Big chunks are fine for some things, but for a smooth crust base, you want fine crumbs. No one wants to chip a tooth on a pie.
- Using warm ingredients: Your heavy cream and bowl need to be cold, cold, COLD. Seriously, pop that mixing bowl in the freezer for 10 minutes before you start. It helps the cream whip up like a dream.
Alternatives & Substitutions
Feeling adventurous? Or maybe you just ran out of something vital. No sweat, I got you.
- Crust variations: No Oreos? Use graham cracker crumbs, digestive biscuits, or even shortbread cookies. Adjust the butter as needed to get that “wet sand” consistency.
- Mousse flavor boosts: Add a teaspoon of instant espresso powder to your cocoa for a mocha kick. A few drops of peppermint extract turn it into a refreshing mint chocolate dream. Or, for a zesty twist, add some orange zest!
- Topping bonanza: Drizzle with caramel sauce, sprinkle with toasted chopped nuts (pecans or walnuts are divine), or add some edible glitter if you’re really feeling extra. FYI, a sprinkle of sea salt flakes on top is a game-changer!
- Dairy-free option: You can absolutely make this dairy-free by using full-fat canned coconut cream (chilled overnight!) and dairy-free chocolate cookies. Just be sure to scrape off the watery liquid from the coconut cream and only use the thick cream on top.
FAQ (Frequently Asked Questions)
Got questions? I’ve got answers, delivered with a side of sass.
Can I make this pie ahead of time? Absolutely! It’s actually better made a day in advance. The flavors meld, and the mousse sets beautifully. Perfect for impressing guests without last-minute stress. You’re basically a time-traveling dessert wizard.
How long does this pie last in the fridge? This glorious pie will keep well for 3-4 days in an airtight container in the refrigerator. If it lasts that long, you have more self-control than I do.
My cream isn’t whipping! What gives? Is your cream cold? Is your bowl cold? Is your cream heavy cream (at least 36% fat)? If the answer to any of those is “no,” there’s your problem. Warm cream just won’t cut it, darling. Sometimes, a super clean bowl and whisk also help.
Can I use sugar instead of powdered sugar? Well, technically you *can*, but why hurt your soul like that? Granulated sugar won’t dissolve as easily, giving you a slightly grainy mousse. Powdered sugar is specifically designed for silky smooth textures. Trust me on this one.
Is this really as easy as you say? Yes! I swear on my favorite spatula. The hardest part is waiting for it to chill. It’s perfect for beginner bakers or anyone who just wants an amazing dessert without the fuss.
Can I make individual mini pies? OMG, yes! Use muffin tins lined with paper liners or small ramekins. Adjust chilling times slightly. Mini pies are adorable and portion-controlled (or not, your call!).
Final Thoughts
Alright, my culinary compadres, you’ve got the intel. You’ve got the spirit. Now go forth and conquer this Chocolate Mousse Pie! It’s delicious, it’s impressive, and most importantly, it’s *easy*. Prepare for oohs and aahs, and maybe even a standing ovation. You’ve earned it, you magnificent dessert maker, you!


