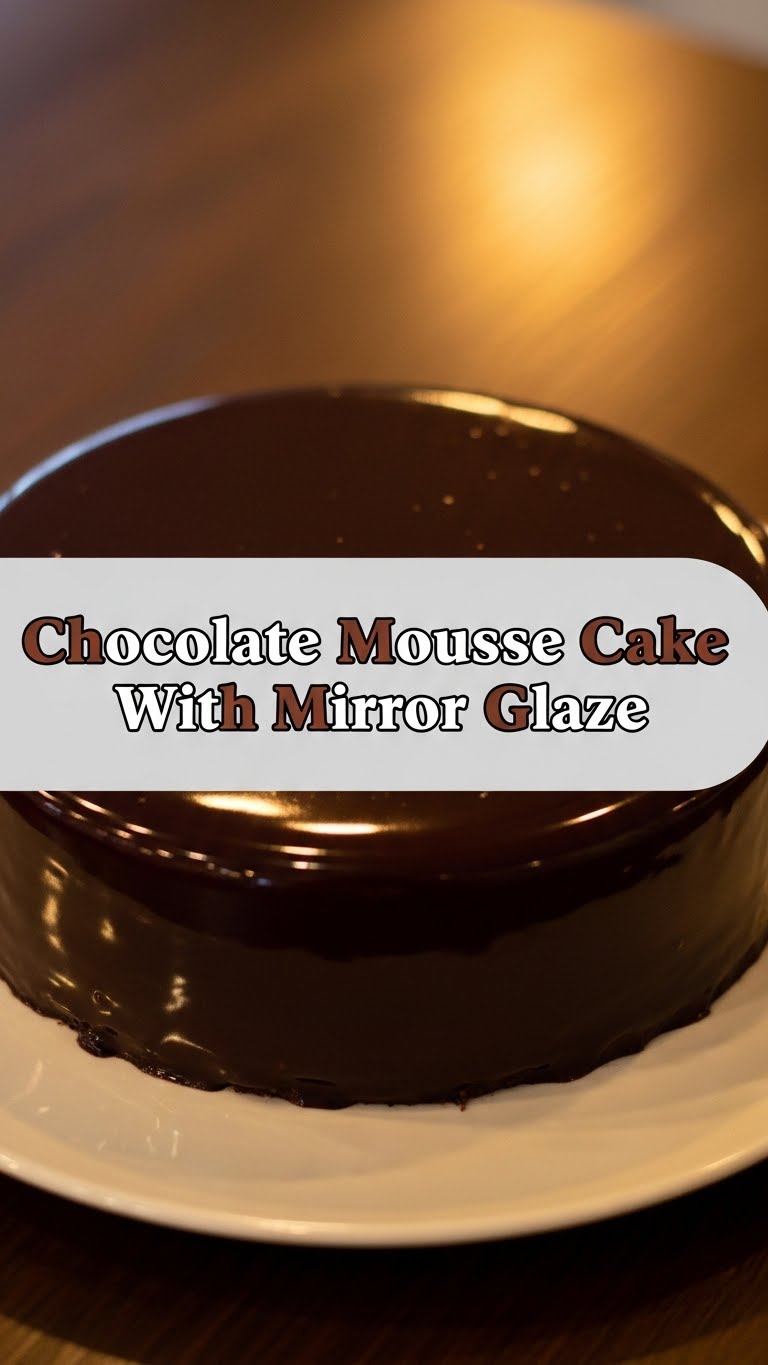
Ever stared into your fridge, felt a dessert craving hit like a truck, but then groaned at the thought of anything complicated? Same, friend, same. We all want that ‘wow’ factor without the ‘where did my weekend go?’ feeling. Well, buckle up, buttercup, because today we’re tackling something that looks like it belongs in a fancy French patisserie but is secretly (don’t tell anyone!) totally doable. We’re talking a Chocolate Mousse Cake so smooth, so rich, and topped with a Mirror Glaze so shiny, you might just see your reflection in it. Get ready to impress yourself (and maybe everyone else, but mostly yourself).
Why This Recipe is Awesome
Okay, let’s be real. This isn’t just *any* dessert. This is the kind of dessert that makes people gasp. It’s got layers of moist chocolate cake, silky smooth chocolate mousse, and then that ridiculously glossy mirror glaze. Seriously, it’s like magic on a plate. But here’s the kicker: it’s surprisingly straightforward. No need for a culinary diploma or a team of sous chefs. We’re going for maximum impact with minimum fuss. Think of it as your secret weapon for looking incredibly fancy without actually breaking a sweat. Plus, it’s chocolate. Need I say more? It’s **idiot-proof**, even I didn’t mess it up (much).
Ingredients You’ll Need
Gather your troops! Quality ingredients make all the difference here, so don’t skimp on the good stuff. Your taste buds will thank you.
- For the Chocolate Cake Base: (Or, you know, buy a pre-made one. No judgment!)
- 1 ½ cups all-purpose flour (the boring but essential stuff)
- 1 ½ cups granulated sugar (sweet, sweet joy)
- ¾ cup unsweetened cocoa powder (the darker, the better!)
- 1 ½ tsp baking soda (for that lovely lift)
- 1 tsp baking powder (more lift, yay!)
- 1 tsp salt (balances all that sweetness)
- 2 large eggs (room temp is key, apparently)
- 1 cup milk (any kind works, but whole milk is richer)
- ½ cup vegetable oil (or canola, for moisture)
- 2 tsp vanilla extract (liquid gold for flavour)
- 1 cup hot water or freshly brewed hot coffee (coffee enhances chocolate, trust me!)
- For the Decadent Chocolate Mousse:
- 12 oz good quality dark chocolate (60-70% cacao is perfect, don’t cheap out!)
- 2 tsp powdered gelatin (the unsung hero of stability)
- ¼ cup cold water (for blooming the gelatin)
- 2 cups heavy whipping cream (this is where the magic happens)
- ½ cup powdered sugar (because we like it sweet)
- 1 tsp vanilla extract (more liquid gold!)
- For the Dazzling Mirror Glaze:
- 2 tsp powdered gelatin (yes, again!)
- ½ cup cold water (to bloom the gelatin, round two)
- 1 cup granulated sugar (for that glossy finish)
- ½ cup glucose syrup (this is your secret to ultimate shine!)
- ¾ cup sweetened condensed milk (for opacity and creaminess)
- 3.5 oz good quality dark chocolate (chopped, more chocolate, woo!)
- ½ cup unsweetened cocoa powder (for deep, dark colour)
Step-by-Step Instructions
Deep breaths, you got this! We’re breaking it down so simple, you’ll feel like a pro.
- Bake Your Cake Base:
Preheat your oven to 350°F (175°C) and grease/flour a 9-inch round pan. In a large bowl, whisk together all the dry cake ingredients. In another bowl, whisk the eggs, milk, oil, and vanilla. Pour the wet into the dry, mix until just combined. Slowly stir in the hot water/coffee (it’ll be thin, don’t panic!). Pour into your prepared pan and bake for 30-35 minutes, or until a toothpick comes out clean. Let it cool completely, then carefully slice it horizontally into two even layers. You’ll only need one layer for this cake, so save the other for snacking or another dessert!
- Whip Up the Mousse:
First, “bloom” your gelatin by sprinkling it over ¼ cup cold water in a small bowl. Let it sit for 5 minutes until it looks like jelly. Gently melt your dark chocolate in a double boiler or microwave (in 30-second bursts, stirring each time). Set aside to cool slightly. In a separate, chilled bowl, whip the heavy cream, powdered sugar, and vanilla until medium-stiff peaks form. Don’t overdo it!
Now, gently warm the bloomed gelatin (microwave for 10-15 seconds until liquid) and stir it into the slightly cooled melted chocolate. Fold about a third of the whipped cream into the chocolate mixture to lighten it, then gently fold in the remaining whipped cream until just combined. Don’t overmix, or your mousse will lose its airiness. **Patience is key for fluffy mousse!**
- Assemble Your Masterpiece (Part 1):
Place your chosen cake layer at the bottom of a 9-inch springform pan (or a cake ring set on a flat plate) that you’ve lined with parchment paper. Pour all that luscious chocolate mousse over the cake layer. Smooth the top with an offset spatula. Now, pop it in the fridge for at least 4-6 hours, or ideally, overnight. We need this baby FIRM.
- Craft the Dazzling Glaze:
Like before, bloom your gelatin by sprinkling it over ½ cup cold water and letting it sit for 5 minutes. In a medium saucepan, combine the granulated sugar, glucose syrup, and ½ cup water. Bring to a boil over medium heat, stirring until the sugar dissolves. Remove from heat immediately. Stir in the bloomed gelatin until dissolved. Now, whisk in the sweetened condensed milk, chopped dark chocolate, and cocoa powder until everything is smooth and fully combined.
For a super-smooth glaze, pour it through a fine-mesh sieve into a heatproof measuring cup or bowl. Let it cool to **85-90°F (30-32°C)**. This is crucial for a perfect pour!
- Glaze & Gaze:
Get your chilled mousse cake out of the fridge. Remove the springform ring. Place the cake on a wire rack set over a baking sheet (to catch the drips). When your glaze is at the perfect temperature, pour it evenly over the top of the cold cake, starting from the center and spiraling outwards. Let the glaze drip off the sides for a minute or two. **Don’t touch it!** Gently transfer the cake to a serving plate. Return to the fridge for another hour to fully set the glaze. Slice and serve!
Common Mistakes to Avoid
Listen up, buttercup! A few rookie errors can derail your dazzling dessert. Learn from my mistakes (you’re welcome):
- Not Chilling Enough: If your mousse cake isn’t practically frozen before glazing, the warm glaze will melt it into a sad, sloppy mess. Think ice block, not soft pillow.
- Over-whipping the Cream: Your mousse will be grainy and dense, not light and airy. Stop when you see soft, stiff peaks. It’s not a race, okay?
- Glaze Temperature is Off: This is probably the biggest culprit for glaze failures. If it’s too hot, it’ll slide right off. Too cold, it’ll be too thick and chunky. Invest in a cheap thermometer, your sanity will thank you.
- Using Low-Quality Chocolate: The flavour will be… meh. Treat yourself and your cake to some decent dark chocolate.
- Skipping the Sieve for the Glaze: You’ll end up with tiny bubbles and lumps. A quick strain makes all the difference for that smooth, mirror-like finish. **Seriously, don’t skip this!**
Alternatives & Substitutions
Feeling adventurous or missing an ingredient? No stress, we can totally adapt!
- Cake Base Bonanza: Don’t want to bake? Grab a box of good quality brownies from the store, bake ’em up, and use a round cutter for your base. Or use crushed Oreo cookies mixed with melted butter for a no-bake crust! It’s all good.
- Mousse Flavours: Add a shot of espresso to your melted chocolate for a mocha kick. A splash of orange liqueur or a pinch of cayenne pepper (for a Mexican hot chocolate vibe) also works wonders.
- Glaze Glam-up: While this recipe is for a chocolate mirror glaze, you can totally use white chocolate and food colouring for a vibrant, colourful glaze. Just adjust the cocoa powder for white chocolate. Just sayin’.
- Gelatin-Free? For the mousse, you could try an agar-agar substitute, but it requires different proportions and method – I haven’t personally tried it for this specific recipe, so proceed with caution! **FYI**, the mirror glaze really needs gelatin for that characteristic shine and set.
FAQ (Frequently Asked Questions)
Got questions? I’ve got (casual) answers!
- Can I make this dairy-free?
Technically, yes! Use a dairy-free chocolate cake recipe, swap heavy cream for full-fat coconut cream (chilled overnight, scoop out the thick cream), and use dairy-free chocolate for the mousse and glaze. Just make sure your condensed milk is dairy-free too! - Why is my mirror glaze not shiny?
Ah, the million-dollar question! It’s usually a temperature issue. If it’s too cold, it’ll be dull and thick. If it’s too hot, it’ll be too thin and won’t adhere properly. Get that thermometer out and aim for that **30-32°C sweet spot**. Also, make sure you’re using glucose syrup, it’s a huge shine contributor. - Do I really need gelatin for the mousse and glaze?
Oh, honey, yes. For the mousse, it’s what gives it that perfect, stable, yet melt-in-your-mouth texture. For the glaze, it’s the secret to that magnificent, glass-like finish. **Don’t skip it!** - Can I make this cake in advance?
Absolutely! This cake actually tastes even better the next day after everything has had a chance to meld together in the fridge. You can assemble the mousse cake a day or two ahead, then glaze it on the day of serving. - What kind of chocolate is best for the glaze?
Good quality dark chocolate (around 60-70% cacao) is ideal for a deep, rich flavour and colour. Don’t use chocolate chips straight from the bag, as they often have stabilizers that can affect the glaze’s texture. - My mirror glaze has tiny bubbles! How do I avoid them?
A few tricks: when mixing the glaze, don’t whisk aggressively – stir gently. After combining all ingredients, **strain the glaze through a fine-mesh sieve** to catch any bits and pop bubbles. Then, tap the bowl gently on the counter to bring any remaining bubbles to the surface.
Final Thoughts
See? You’re practically a pastry chef now! This Chocolate Mousse Cake with Mirror Glaze isn’t just dessert; it’s an experience. It’s the kind of showstopper that makes everyone think you’ve secretly been training in a fancy European bakery. Go on, slice into that glossy goodness and bask in the glory of your own creation. You totally nailed it, even if you just wanted an excuse to eat chocolate. Now, go impress someone—or just yourself—with your new culinary skills. You’ve earned it (and probably a big slice of cake!).


